belbo
  • Overview
    • Getting to know Belbo
    • Location Settings
    • Switch to Belbo
    • Calendar View & Navigation
    • Recurring Appointments & Courses
    • Appointment Entry & Management
    • Logins & Permissions
    • Multiple Locations & Head Office
    • Manage Employees
    • Absences & Holidays
    • General
    • Working Hours
    • Time Tracking
    • Data Protection (GDPR)
    • Customer Communication (Email, SMS)
    • Customer Management & Records
    • Bonus & Loyalty Programs
    • Campaigns (Newsletter & SMS)
    • Marketing Consents (GDPR)
    • Tracking & Analytics
    • Overview
    • Services & Prices
    • Products
    • Service Packages & Subscriptions
    • Vouchers
    • Purchasing & Suppliers
    • Stock & Inventory
    • Scanning & Sales
    • Cost of Goods & Expenses
    • Design & Texts
    • Setup & Settings
    • Integration (Website, Google, Instagram, Facebook)
    • Online payment
    • Accounting & Exports
    • Cash Register Settings & Hardware
    • Checkout process
    • Daily Closing & Reports
    • TSE & Cash Register Anti-Tampering Ordinance
    • Export Overview
    • Employee Utilization
    • Revenue & Reports
    • Belbo Satellite
    • Printer
    • EC Terminal & Card Payment
    • Troubleshooting Hardware
    • Scanner & POS Devices
    • General Settings
    • API & Integrations
    • Notifications & Emails
    • Contracts & Legal
Skip to content

Everything about: Manage Employees

Lock employee booking

If you offer online booking, your users can generally book any staff members available for the selected services online. If you want certain customers to not have full selection, you can configure this in the respective customer accounts.


Prerequisites for blocking specific staff members

  1. You allow online booking only with login.
  2. Your customers must log in before they see the available staff members and free appointments.

1. Check online booking mode:

Under Settings > Online Booking the option "Registration mode / Allow booking appointments without login" must be disabled:

2. Check registration mode

Under Settings > Online Booking > Basic Settings > Registration the option "Also show available times, then prompt to login" must be disabled:

Set up a block for a team member

To prevent a customer from selecting one or more staff members in online booking, open the customer account and open the block dialog:

You can then select the desired person who should no longer be bookable by the customer in the future. A reason is not mandatory but can provide transparency. It is not visible to the customer.

This way, the customer will no longer see the blocked staff member as an option in online booking.

Employee File » Online Booking

You can determine whether and how an employee is available for online booking by your customers.


You can access this area via Settings > Employees > Click on the desired employee


Booking availability properties

Online bookable

This property specifies that your employee can be directly selected by customers during booking. When your customer books a service online that can be provided by multiple employees, the customer will see all available employees who have this option enabled.

Example: Markus can perform the selected service and has the "Online bookable" option enabled. He is therefore visible in the booking with his photo and can be directly selected by the customer.

Online bookable via "Any employee"

This employee can be considered by the automatic selection if your customer selects the "any employee" option during booking. Learn more about the "Any employee" feature here.

Block new customer bookings

If you want to prevent an employee from being booked by new customers, you can set this here. This setting is useful for team members who are very popular with regular customers or are otherwise heavily booked.

Important requirements for this are:

  • You have set an initial customer status that all new customers receive.
  • You offer booking with prior login and link exclusively this on your website, social media, etc.

A detailed guide on how to block bookings by new customers for certain employees can be found here: Block bookings of certain employees by new customers.

Booking interval

In the online booking settings, you can set a general booking interval. If an employee should have a different interval, you can set it here. This is only recommended in exceptional cases, for example, if this employee offers special services whose duration differs significantly from the services otherwise offered.

Viewing employee sales

You can view employee revenues in many places. Depending on whether you also use the POS system, you can quickly and easily compare employee revenue groups as well. Here is an overview.

Without POS System

If you do not use the POS system, we recommend the Employee Dashboard:

  1. Open the calendar
  2. Click on Settings
  3. Click on Employees
  4. Select the employee whose revenues are to be analyzed
  5. Select the "Dashboard" subitem
  6. You can find more information about the dashboard here.

With POS System

When using the POS system, there are many places where you can view your revenues:

  • In the POS system, in the Closings area, you can view revenues per employee per day, week, month. This is organized by revenue type (services, products, vouchers, service packages) and, within each, by group.
  • With the Barometer functions, you can view revenues in granular detail and define your own rules for revenue determination.
  • With the Daily Revenue Email, you receive your employees' revenues quickly and clearly by email
  • The Employee Commission function provides very simple insight into your employees' revenues and also allows for easy percentage-based commission calculation

Mitarbeiter verlässt das Unternehmen

Wenn ein Mitarbeiter Ihr Unternehmen verlässt, können Sie sicherstellen, dass dieser Mitarbeiter keinen Zugriff auf bestimmte Daten erhält. So können Sie Ihre Kundendaten schützen.

Read more →

Delete employees and find former team members

To avoid having to completely delete former team members from the system, we'll explain how departed team members are no longer visible in the calendar and how you can access their profiles and past appointments, sales, and absences such as vacation and sick days.


Under Settings > Employees you can access all your employees' profiles.


Important note: If you have already found a replacement for the departing team member, it is important that you do not simply rename the person! In order to be able to trace working hours, appointments, financial data, etc. later, it is important that each team member also has their own file!

Before departure: Adjust work schedule

If you know that a team member will be leaving you on a specific date, you can delete the team member's work schedule on that day. This prevents colleagues or customers from booking appointments with this person after the team member leaves.

  1. Go to "Work Schedule" in the main menu.
  2. Navigate to the date when the team member is no longer with you.
  3. Click on the checkbox next to the team member's name to delete the entire week.

You can then carry this week forward one year into the future to delete more weeks. Check that all working hours have actually been deleted.

On the first day after departure: Deactivate team member

Team members leaving your company can only be deactivated on the day they are no longer employed by your company. We cannot do this in advance and ask you to take the following steps on the first day of departure:

1. Reschedule appointments


IMPORTANT: Please first make sure that all future appointments still in the former team member's column are reassigned to other team members!

Especially in the event of sudden departure of a person, it can happen that there are still appointments in their column even though they no longer work in your company. These appointments must be rescheduled manually. There is no automatic function for this! It depends entirely on the workload and competencies of the other employees whether appointments need to be postponed or cancelled. If necessary, customers may need to be contacted by phone first.

To make sure after rescheduling the appointments that all appointments have been removed from the employee's column, you can check the appointment list in the employee's dashboard.

  1. Under Settings > Employees click on the desired team member.
  2. Here you switch to the "Dashboard" tab.
  3. Enter the time period in which appointments could still exist and be patient while the page loads.
  4. Switch to the "Appointment List" tab to check if there are still appointments in the selected period.

2. Remove online booking availability

If the team member was bookable online for your customers, you can now remove the booking availability again.

  1. Under Settings > Employees click on the desired employee.
  2. Here you switch to the "Online Booking" tab.
  3. Remove the options and save your entry.

3. Delete employee

Open the employee file and delete the person via "Options":

Select the desired option and click "Next".

The person will now be completely hidden from the calendar, work schedule, and cash register! This also affects all appointments that were in the employee's column. However, no data is deleted by this; it is merely hidden from the calendar!

Show employee again

If you want to show hidden employees again, for example to check working hours or past appointments, you can assign the employee a different role.

  1. Under Settings > Employees switch to the "Roles" tab.
  2. Here you see the list of all employees belonging to each role.
  3. Here you can click on the name of the employee you want to show.
  4. The employee file opens, where you can assign a different role.
  5. The employee is now visible again.

Lock employee

If your employee had their own login, you can lock it. You can find out how to lock employees here.

Until their departure, your employee still has access to the calendar as long as they are in your company and working with customers. You can find some tips here on how to protect your data from unauthorized access.

Employees, Rooms and Equipment

Your employees and their working hours are the foundation of your calendar. You can only enter appointments or offer online booking to customers if you also add your employees to the calendar.

Employees in the calendar
Your employees are displayed in the calendar:


Employees in online booking
Your employees are displayed to the customer in online booking:


Resources (equipment and rooms)
In fitness studios, cosmetics institutes and many other industries, equipment or rooms are often required that must be blocked in parallel with an appointment. These can also be added to the calendar to prevent double bookings.

Example of a calendar with employees and blocked rooms and equipment:


Articles about employees

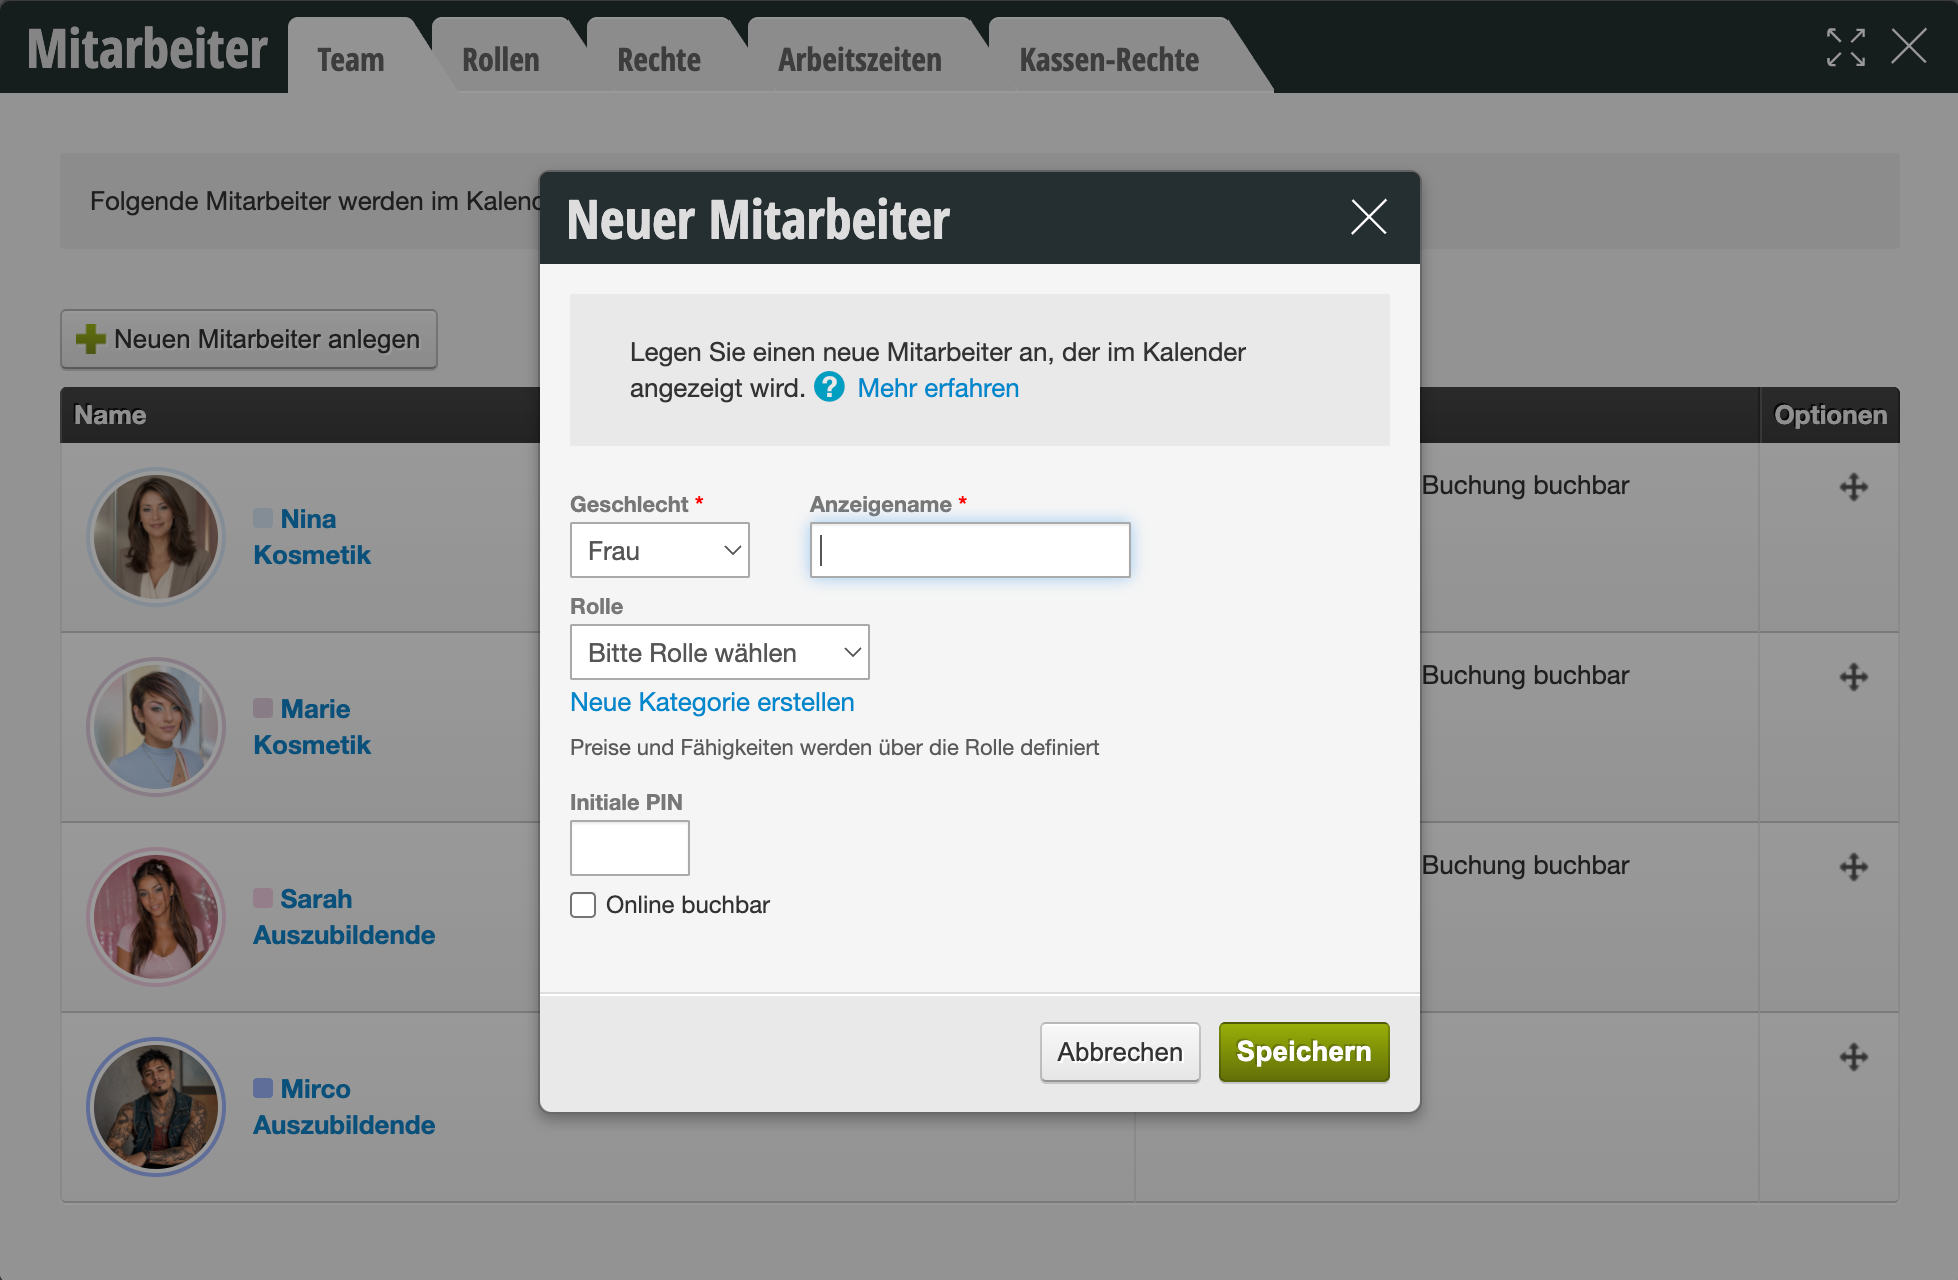
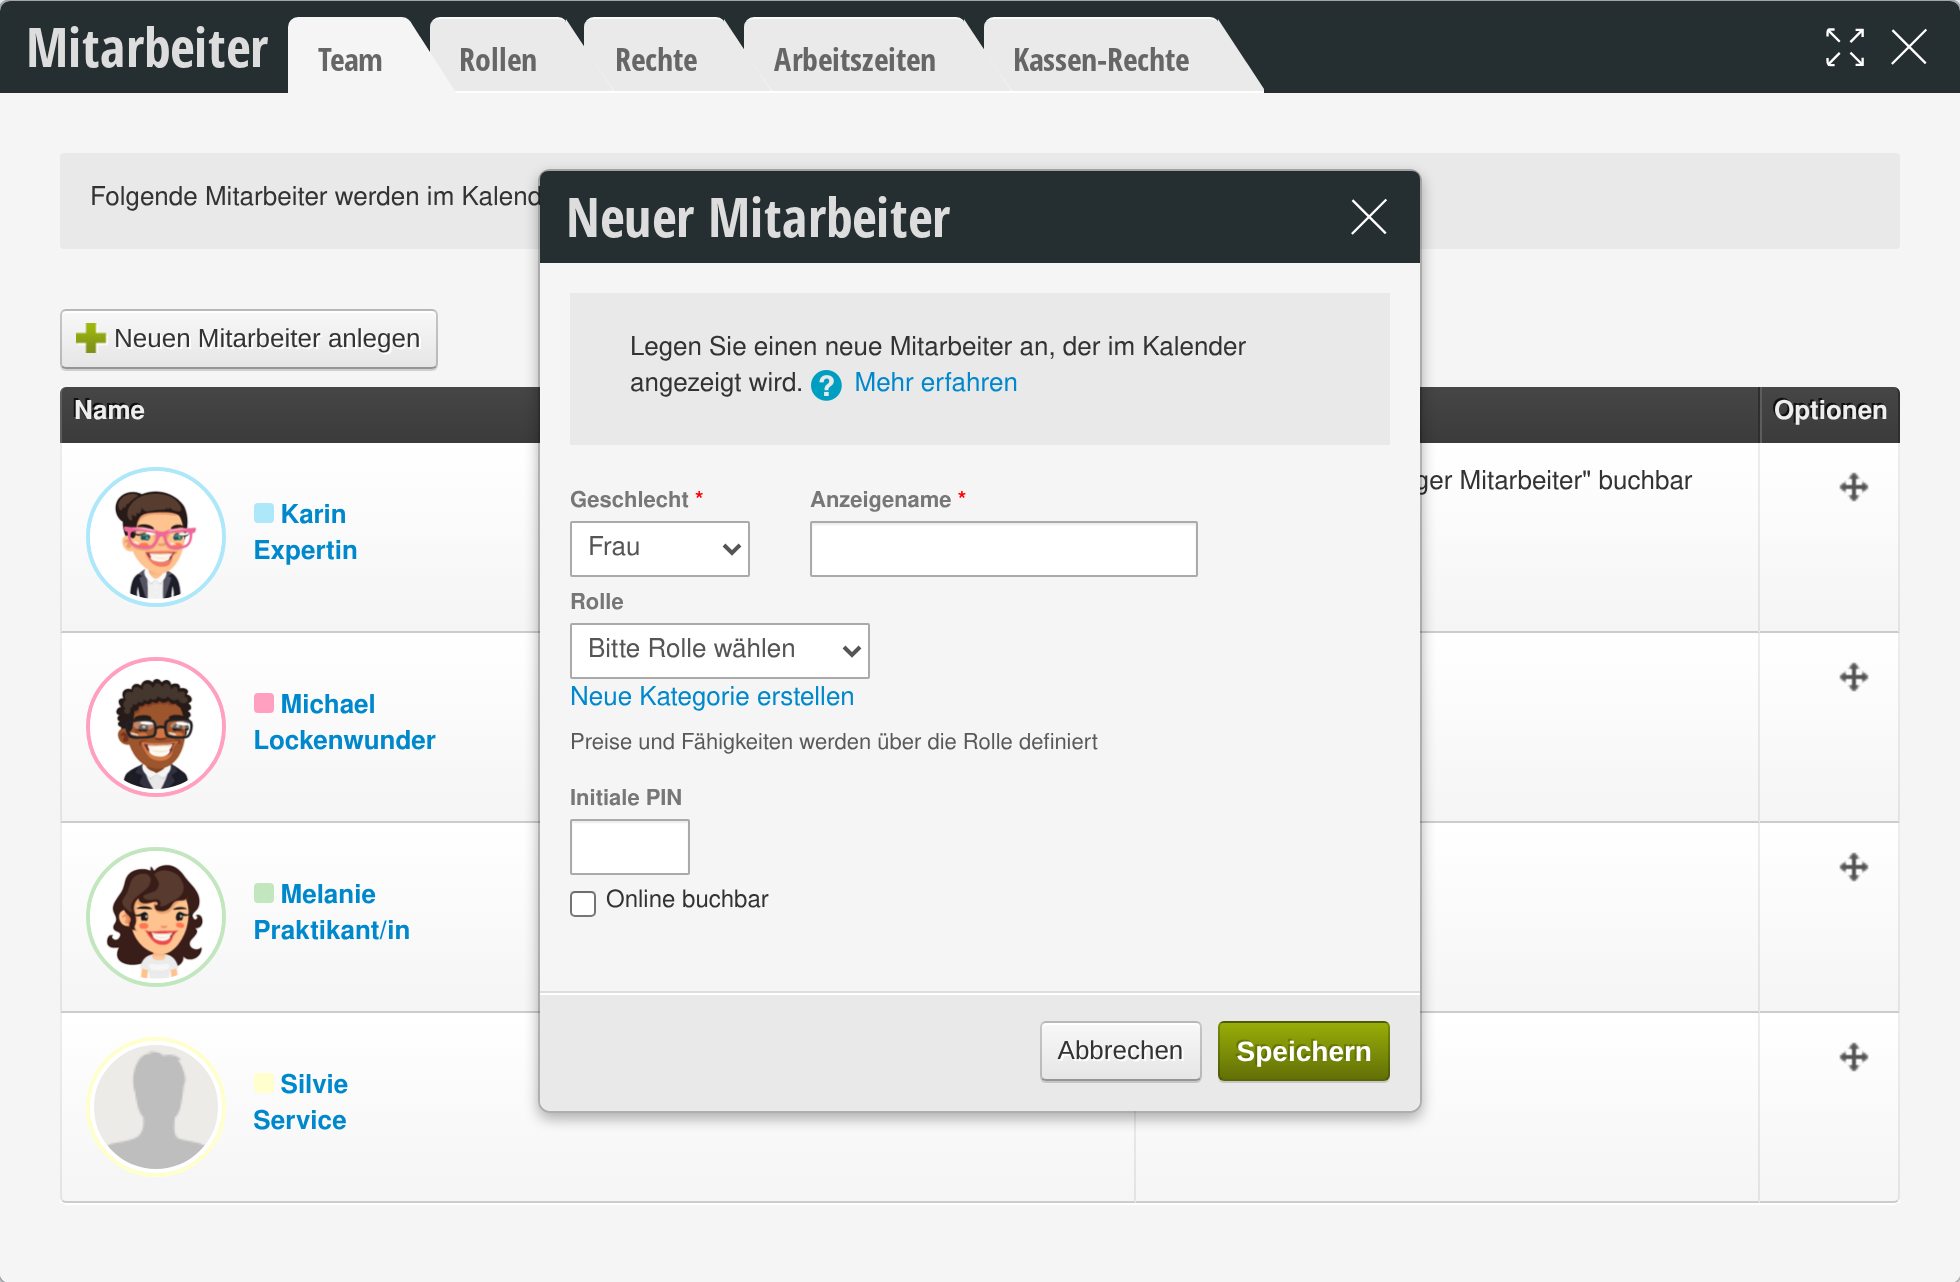
  • Add employees
  • Delete employees
  • Lock/unlock employees

Articles about rooms and equipment

Resources are equipment or rooms that are blocked at the same time as specific services to prevent double bookings.

  • Rooms and equipment overview
  • Create and edit rooms and equipment
  • Resource planning

Employee: Dashboard

In the Dashboard you will find statistics on sales, working hours and absences of your employees based on the appointments entered in the calendar.
Attention: If you are using the Belbo cash register, please refer to the statistics of your cash register for exact sales figures! We explicitly recommend the Barometer function for this.

You can access this area via
Settings > Employees > Employee name > Dashboard.

First, select the desired time period for which you would like to view your data. You can select a start and end date for this.

Graphs and Details

Here you can see the total sales, sales per working hour and working time with the respective comparison period.
Further statistics provide information on the number and sales per service as well as the ratio of duration and sales per appointment.
Sales and number of services are further broken down under Details.

Appointment List

In the appointment list you can see all appointments of this employee for the selected time period.

You can find an overview of all available statistics under Statistics & Reports.

Employee file

In the employee record, you can view and modify all essential data of a team member.

Basic Settings

Settings
In the settings, you can set the image, name, and gender. Additionally, there are further settings:

  • Calendar color: Set the color that the working hours of this team member will have in the calendar
  • Role: Assign an appropriate role to be able to assign the team member to calendar groups or competencies
  • Additional information: Information about this team member that can be displayed to customers in reminder and confirmation emails
  • Scheduled hours and annual leave: Note the contractually agreed times here so you can check them at any time.
  • Hide in calendar: Hides the team members from the calendar without deleting the profile
  • Save personal calendar view: Shows a defined view that can differ from the basic settings. A detailed description can be found here.

Online Booking
Specify here whether the team member can be booked online by customers. Please note that they will remain bookable even if "Online bookable" is disabled, as long as the "Any employee" function is still enabled. A detailed description of this topic can be found here.

Access Restrictions
If you want the team member to only see the current day and the future and not be able to edit past appointments, select "Restrict appointment view to current day and future".
If the team member should only see selected colleagues, restrict the view of the team member. Attention: When you add new team members, they may need to be activated here so that this team member can see them.

PIN Settings
Set the PIN of the team member and the associated rights here. With the PIN, they can identify themselves in the future. More information about the PIN can be found here.

Absences
If you have entered absences for this team member in the shift schedule, you can view them here.

Dashboard
In the dashboard you will find information on total turnover, turnover per working hour, and working time. You can also view turnover details and appointments of this team member. This data can be filtered by date, so you can view any time period.

Delete Team Member
At the top right in the record you will find the "Options" button, where you can delete the team member. In the following steps, you can decide whether you want to really delete the team member's data or only deactivate the person. You can learn more about this in the article Delete Team Member.

Team members can only be deleted if all future appointments have been completely removed from the team member's column.

Create Login

If your team member should receive their own login to log into the calendar from home or a mobile device, for example, set it up under Options » Create Login. Please remember to check the rights for this access under Settings > Employees > Rights after creation. More about creating a new login can be found here.
After you have created your own login, you can change the team member's password at this point.

Name and Display Name

Once you have assigned your team member their own login, you can distinguish between name and display name. The name should be filled in with real data and is not visible to customers (e.g. "Silke Schmidt"). The display name is used in the calendar and online booking and can also be a nickname under which colleagues and customers know the team member (e.g. just "Silke").

Data Protection

Important: Your team members have a right to data protection. Therefore, make sure that you use your team members' data in compliance with regulations. This includes, for example, the use of photos and names on your website or in online booking, which may only be done with explicit consent from the affected team member. It is best to have a consent form signed for this.

    • Images: The photo is shown to colleagues in the calendar and to customers in online booking and serves as an orientation aid. If your team member does not agree to publication, you can replace it with an avatar, for example, a comic image similar to the team member, which you can create for free on the internet.
    • Name: In the profile at Belbo, a distinction is made between name and display name. Even if you assign the correct name in the record, you can choose a different display name that will be shown to customers and colleagues when booking. This could be the first name or a nickname, for example, to protect the team member's full name.

Team Members at Multiple Locations

Once you have assigned your team member their own login, you can add them to additional locations. Your team member can then access both locations with the same login credentials.
In this case, a distinction is also made between locations in the record, and you can make different basic settings for each location.

Employee Utilization

See the workload of your employees. This is calculated from the entered working hours and the duration of all entered appointments.

You can access this area via Settings > Statistics & Reports

When you call up this statistic, the period of the last seven days is always displayed for all employees. This allows you to see the workload of your entire team for the recent past at a glance.

In the header area of the statistic you will find filters with which you can narrow down the viewing period as well as the displayed employee.

You can find more statistics and reports under Statistics & Reports

Delete team member

Deleting a team member is only possible if there are no future appointments assigned to this person.

You can access this area via Settings > Employees.

  1. Click on the desired team member in the calendar and then on View Profile. If the person is not listed in the calendar, click Settings > Employees in the navigation bar and select the desired team member.
  2. In the top right, you will find the Options button. Click on it and select delete.
  3. If there are still appointments assigned to this team member, your calendar will alert you. First, move all future appointments of this employee to other colleagues or cancel them.
  4. Once all future appointments for this team member have been moved or deleted, you can select the person again and open the delete dialog via the Options button.
  5. Follow the steps in the dialog to choose whether the team member should actually be deleted or only deactivated.
  6. For an overview of the best procedure when a team member leaves, see the article Former Team Members.
    For an overview of all important settings options for your team members, see here.

Post navigation

← Older posts
This manual is a service by belbo. Legal notice