
belbo
  • Overview
    • Getting to know Belbo
    • Location Settings
    • Switch to Belbo
    • Calendar View & Navigation
    • Recurring Appointments & Courses
    • Appointment Entry & Management
    • Tasks
    • Overview
    • Multiple Locations & Head Office
    • Manage Employees
    • Logins
    • Rights
    • Overview
    • Absences & Holidays
    • Working Hours
    • Time Tracking
    • Overview
    • Data Protection (GDPR)
    • Customer Communication (Email, SMS)
    • Customer Management & Records
    • Overview
    • Bonus & Loyalty Programs
    • Campaigns (Newsletter & SMS)
    • Marketing Consents (GDPR)
    • Tracking & Analytics
    • Overview
    • Services & Prices
    • Service Packages & Subscriptions
    • Vouchers
    • Products
    • Purchasing & Suppliers
    • Inventory & Stock Counts
    • Scanning & Sales
    • Cost of Goods & Expenses
    • Overview
    • Design & Texts
    • Setup & Settings
    • Integration (Website, Google, Instagram, Facebook)
    • Online payment
    • Overview
    • Accounting & Exports
    • Cash Register Settings & Hardware
    • Checkout process
    • Daily Closing & Reports
    • TSE & Cash Register Anti-Tampering Ordinance
    • Overview
    • Export Overview
    • Employee Utilization
    • Revenue & Reports
    • Belbo Satellite
    • Printer
    • EC Terminal & Card Payment
    • Troubleshooting Hardware
    • Scanner & POS Devices
    • General Settings
    • API & Integrations
    • Notifications & Emails
    • Contracts & Legal
Skip to content
Staff›Manage Employees

Add employee

To create a schedule and display your employees in the calendar, you must first add your employees.

You can access this area via Settings > Employees.
  1. 1
    Use the + Add New Employee button to enter your new employee.
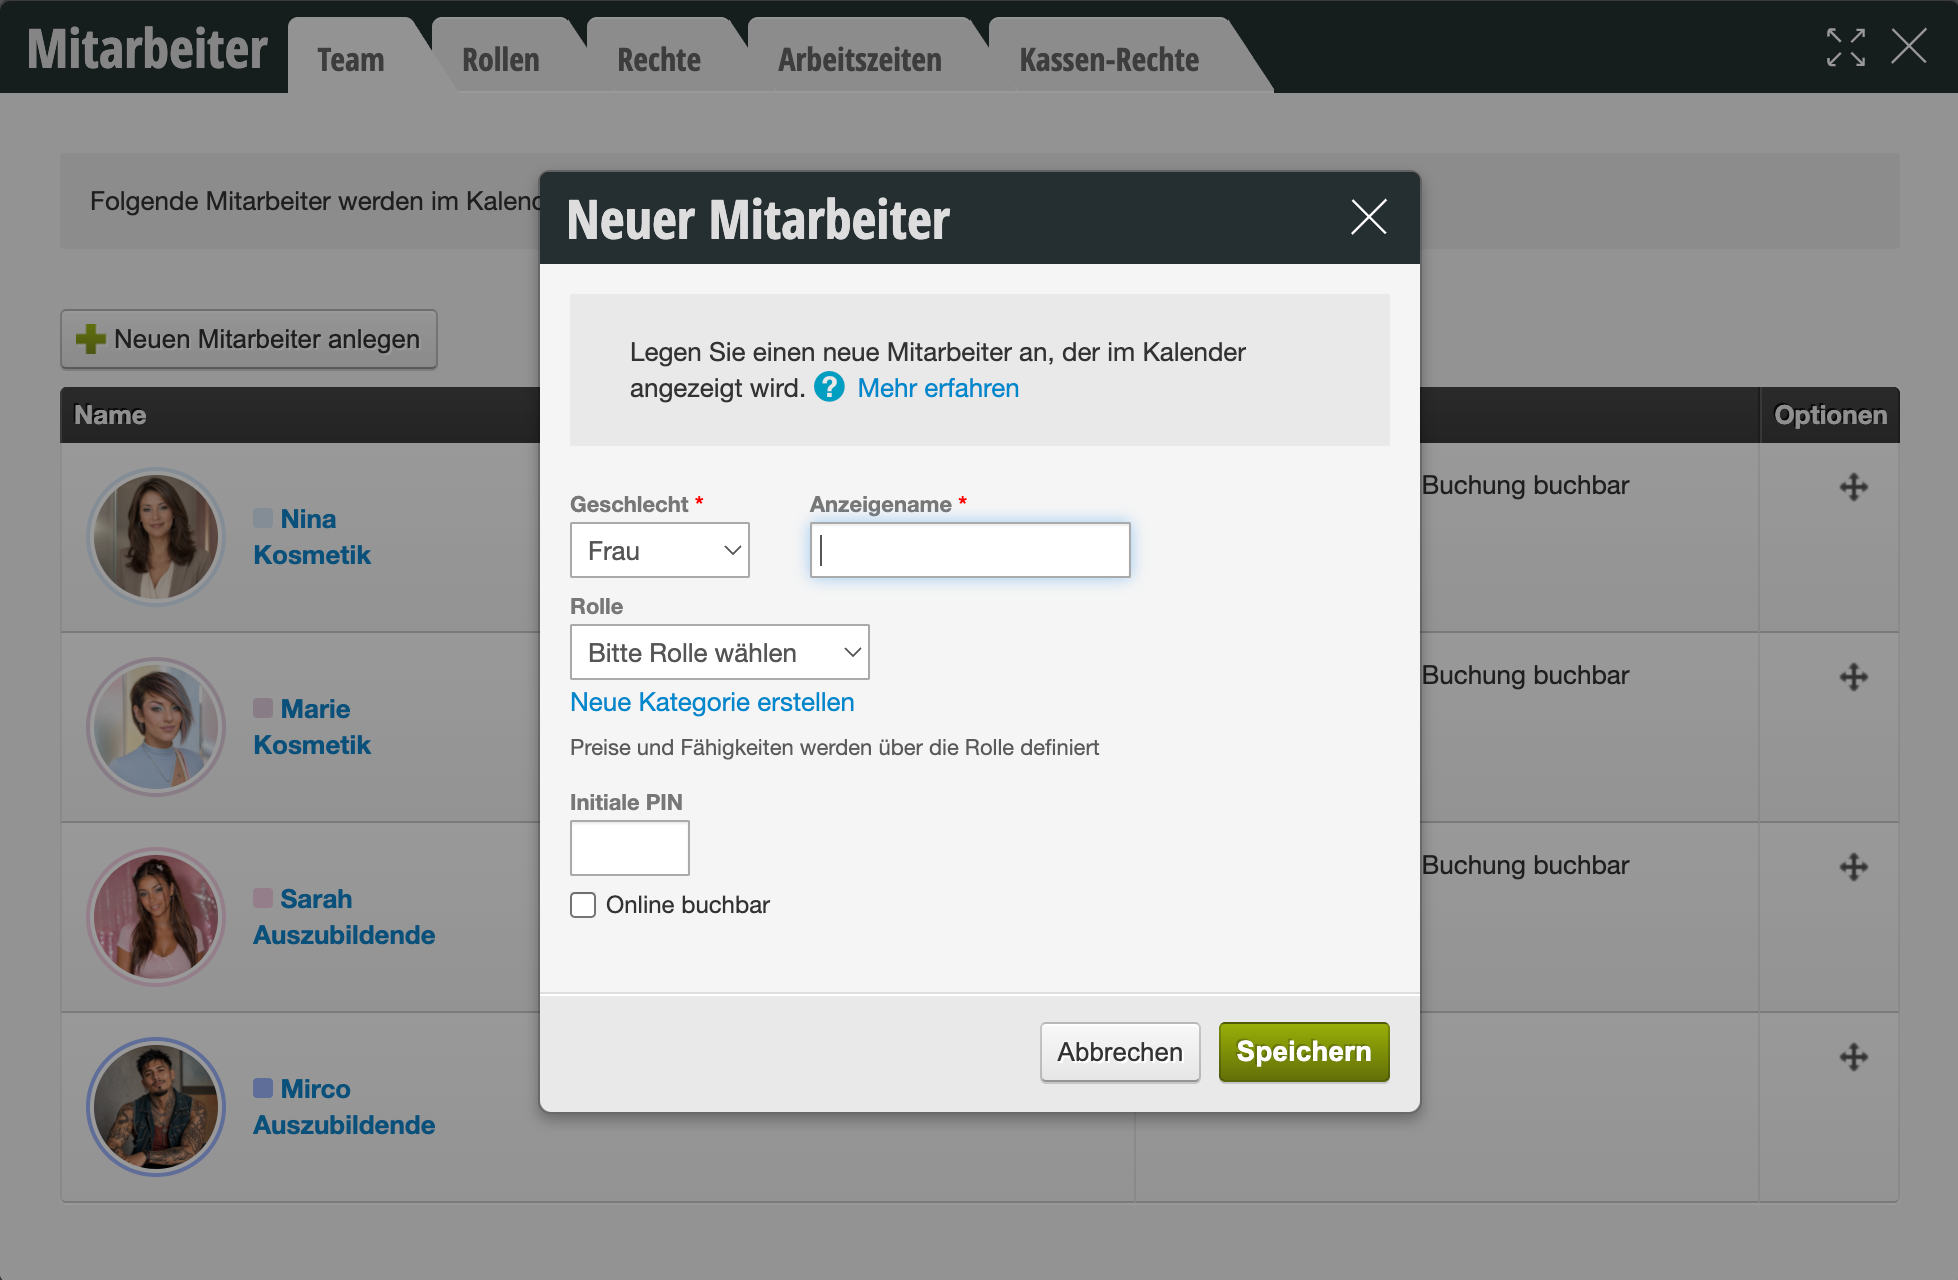
    Dialog window for adding a new employee with fields for gender, display name, role, PIN and online bookable option
  2. 2
    Assign the employee a role using the predefined groups or create a new role (see also: the meaning of the role).
  3. 3
    Decide whether the employee should be available for online booking (you can also select/change these settings later).
  4. 4
    After entering all requested data, complete the entry by clicking "Save".
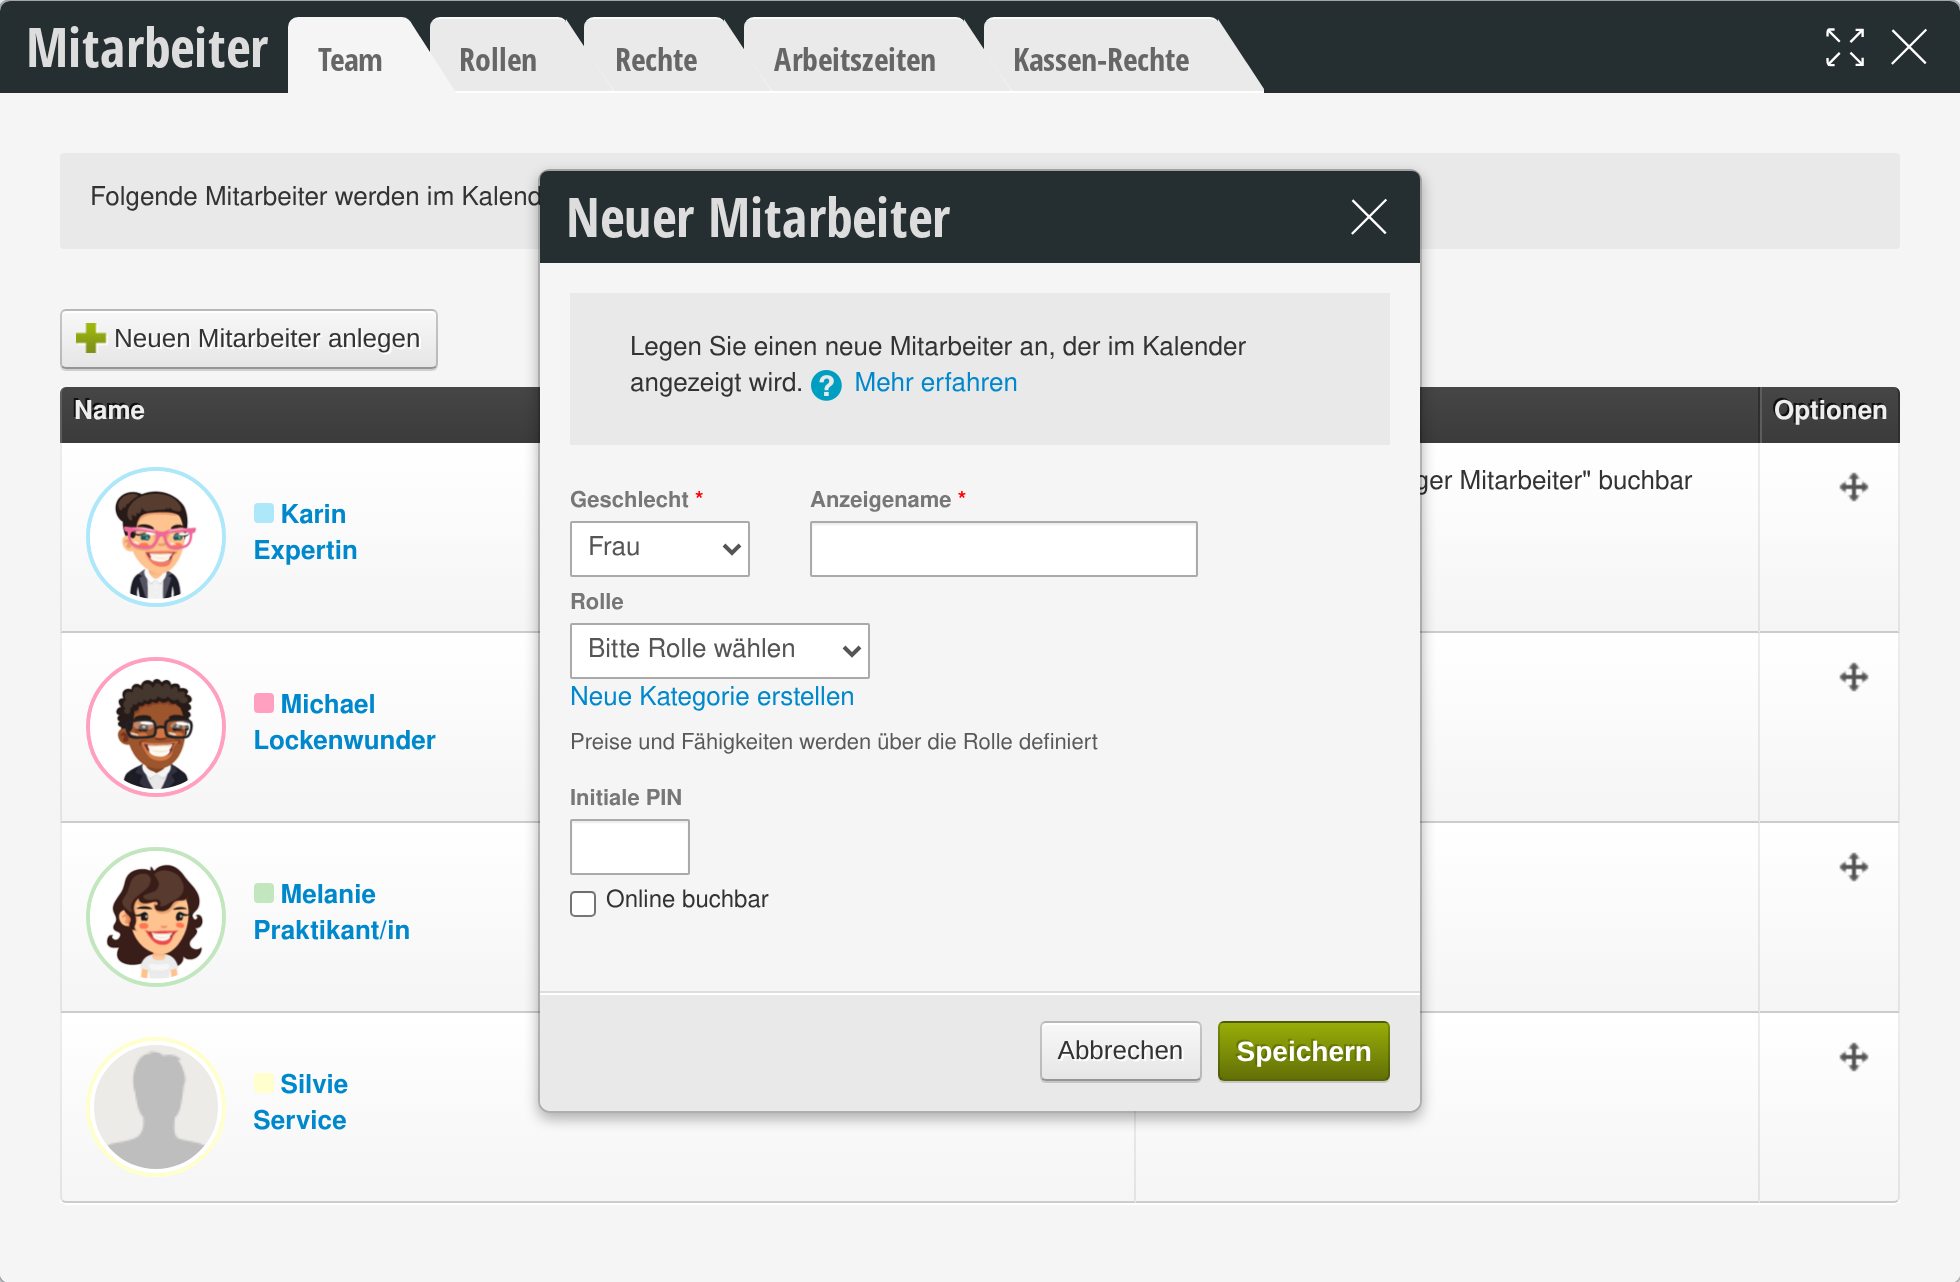
The newly added employee will now be displayed in the overview, as well as in the calendar and in the schedule.

In the employee file you can make numerous settings and view information. You can find more information here.
Categories: Manage Employees
Tags: Mitarbeiter hinzufügen

Have a question? Ask it here.

This manual is a service by belbo. Legal notice