
With the barometer, you get an overview of your sales, divided among your employees. This is useful, for example, for calculating commissions.
Activate and view the barometer
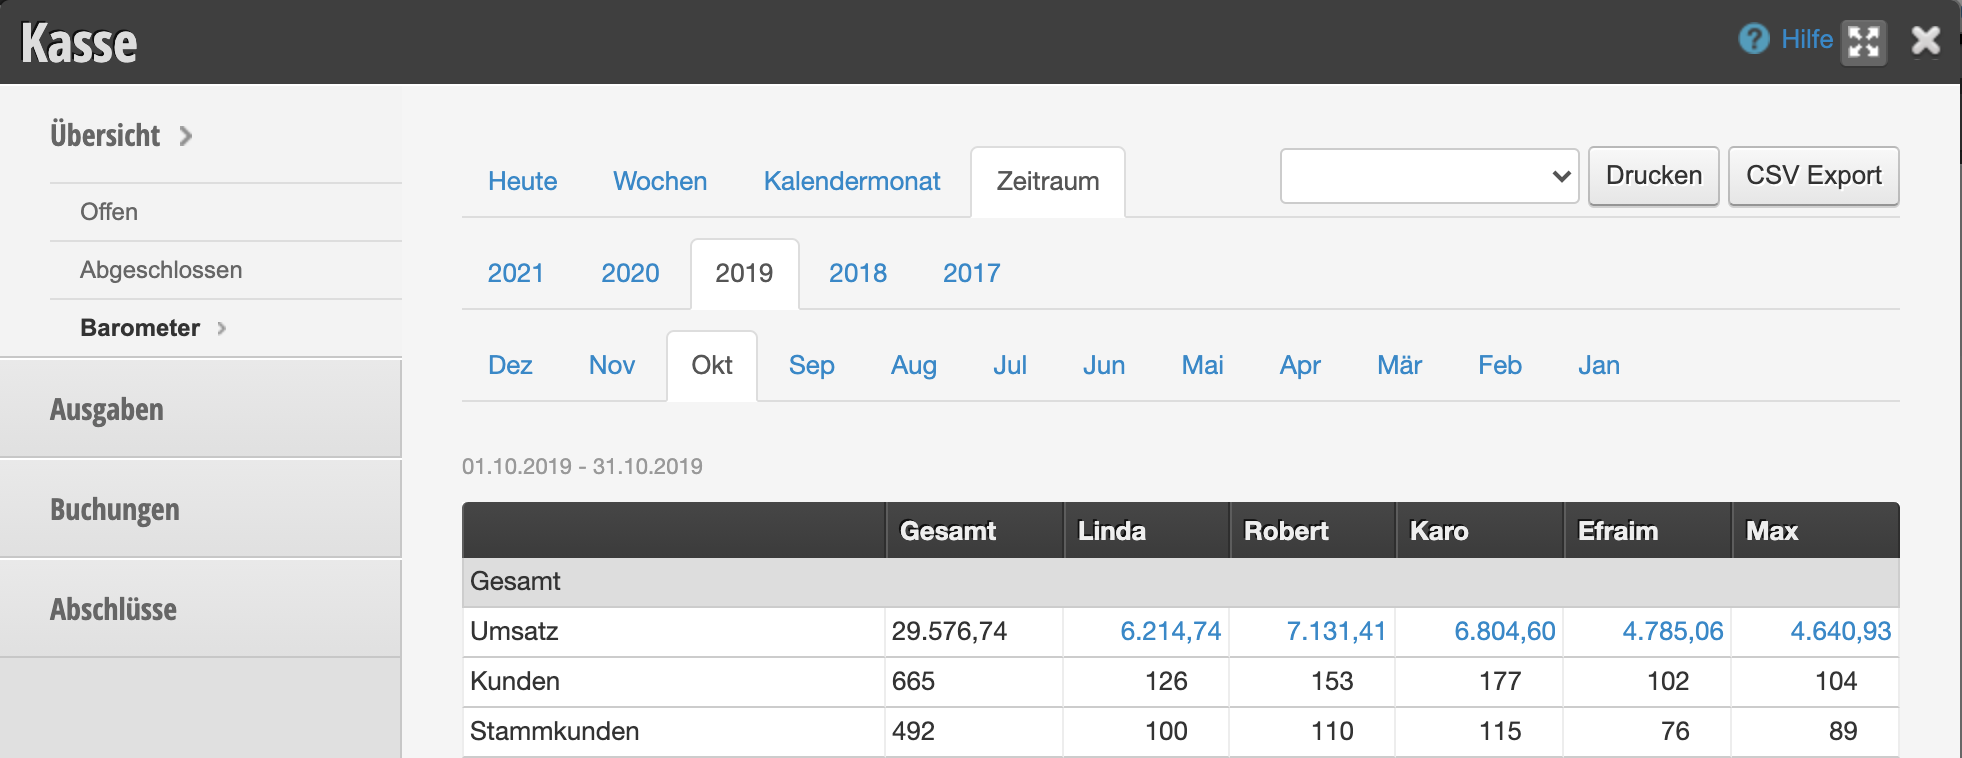
You can activate this function under Settings › Add function. Once it is activated, you will find the barometer in your cash register. Here you can view individual days, the current calendar month, or any time period.
Supplement barometer structure
Basically, meaningful evaluation groups are already included. These include total sales, sales from services, sales from merchandise, employee attendance, and much more. If you also want to distinguish between individual services, service groups, or product groups, you can add as many evaluation groups as you like.
1. Create evaluation groups
You can create your own evaluation groups and add any subgroups to them:
- Go to Settings › Barometer › Structure.
- Click on "+ Evaluation group" to create a new group.
- Enter a name (e.g., "Cosmetics") and, if necessary, specify the gender if you want to distinguish between men and women.
- Then define the subgroups (e.g., "Eyebrow plucking", "Lash tinting", etc.). To do this, click on "+ Row" and create one subgroup per row.
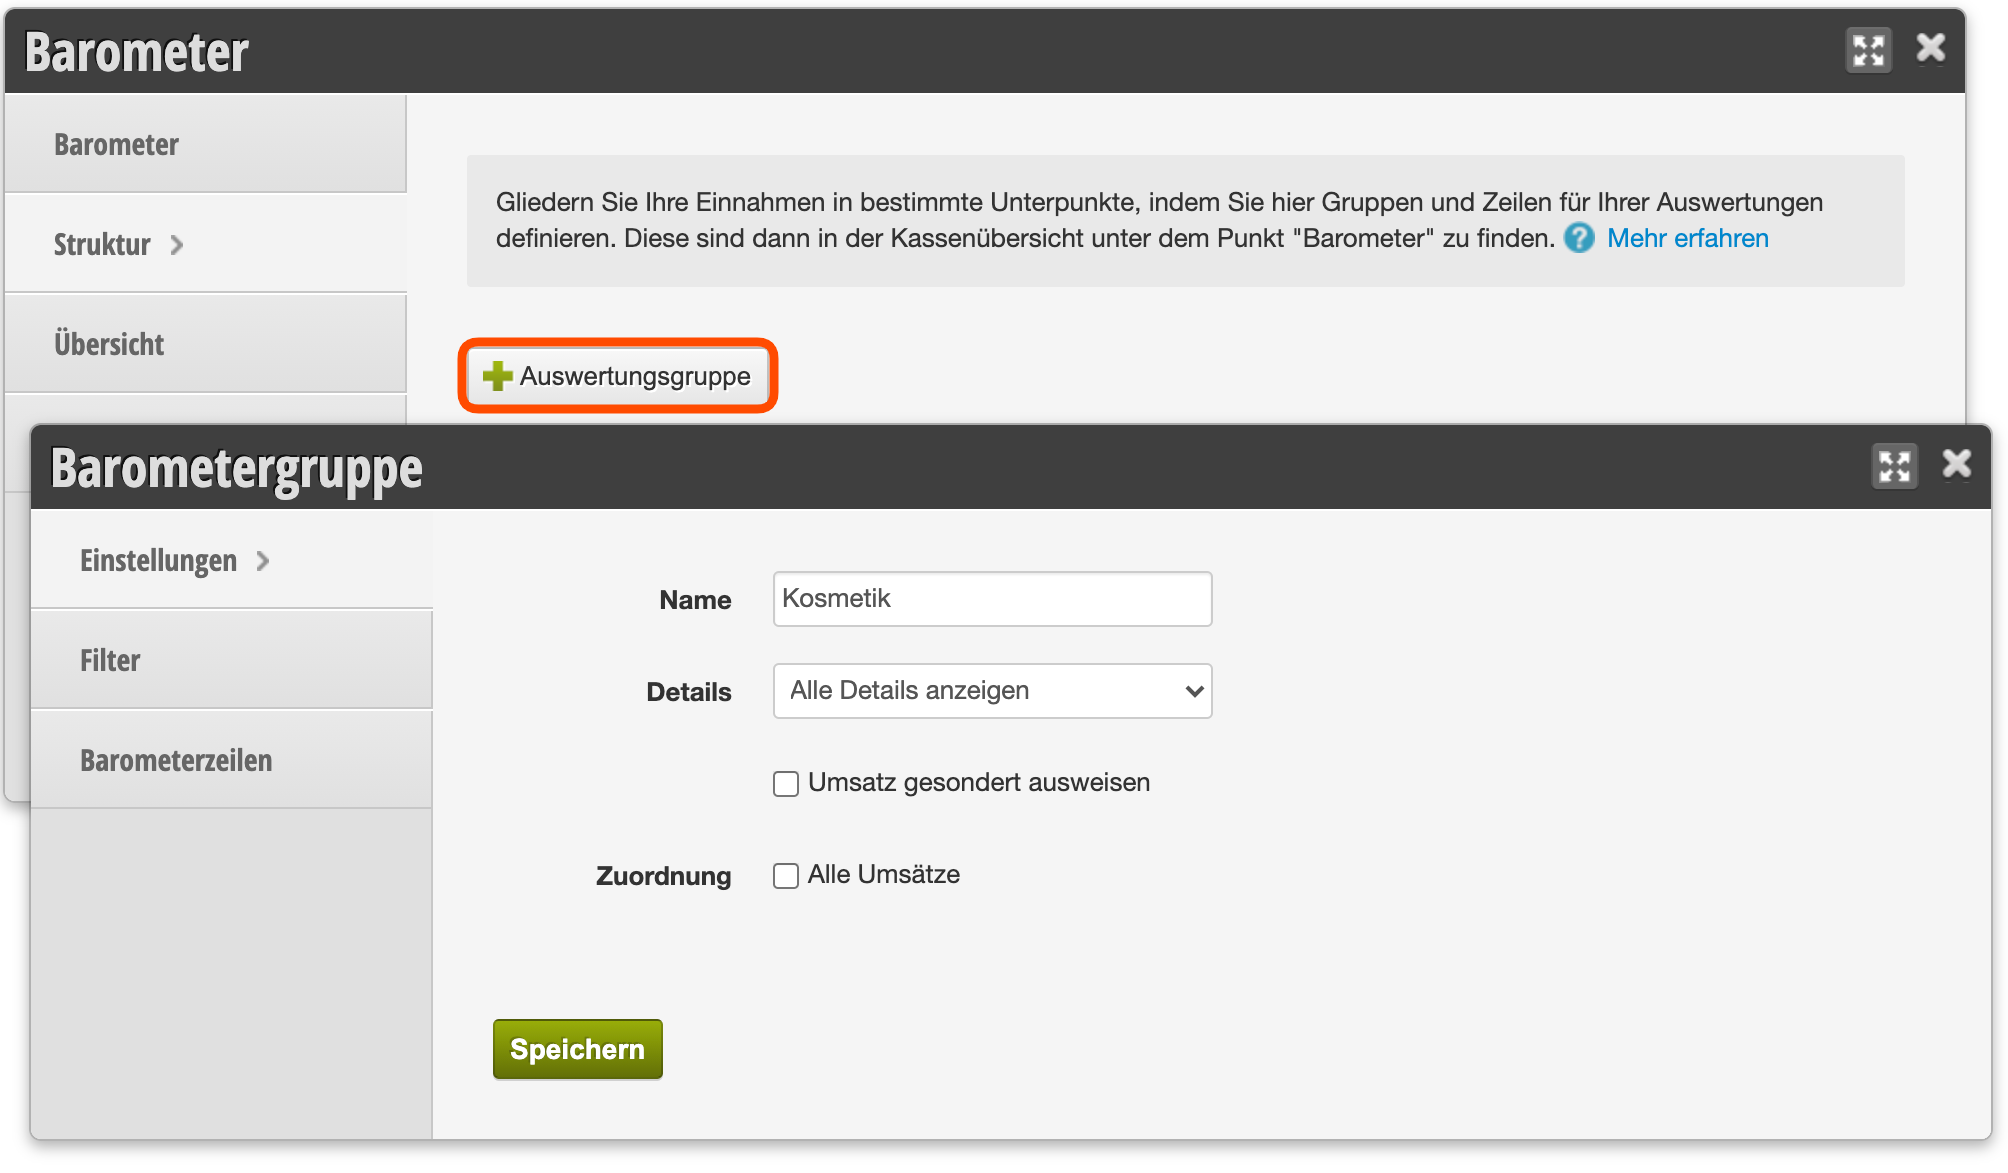
↑ Create and edit new barometer group
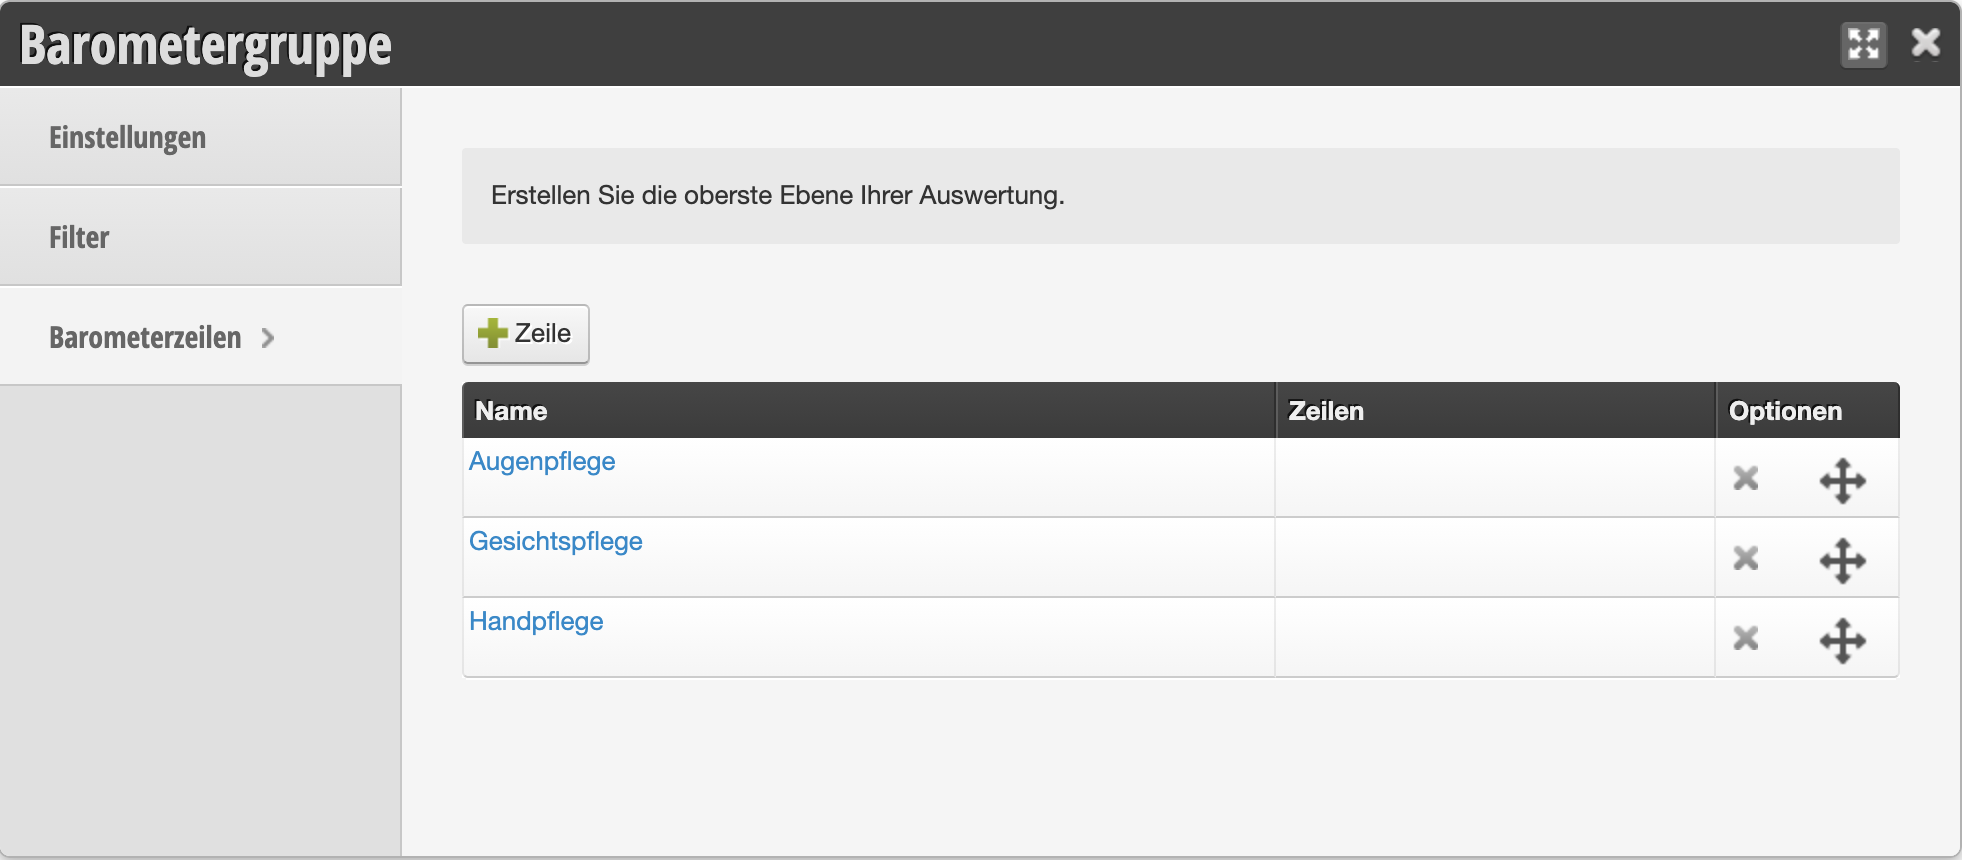
↑ Create and edit barometer subgroups
2. Link evaluation groups
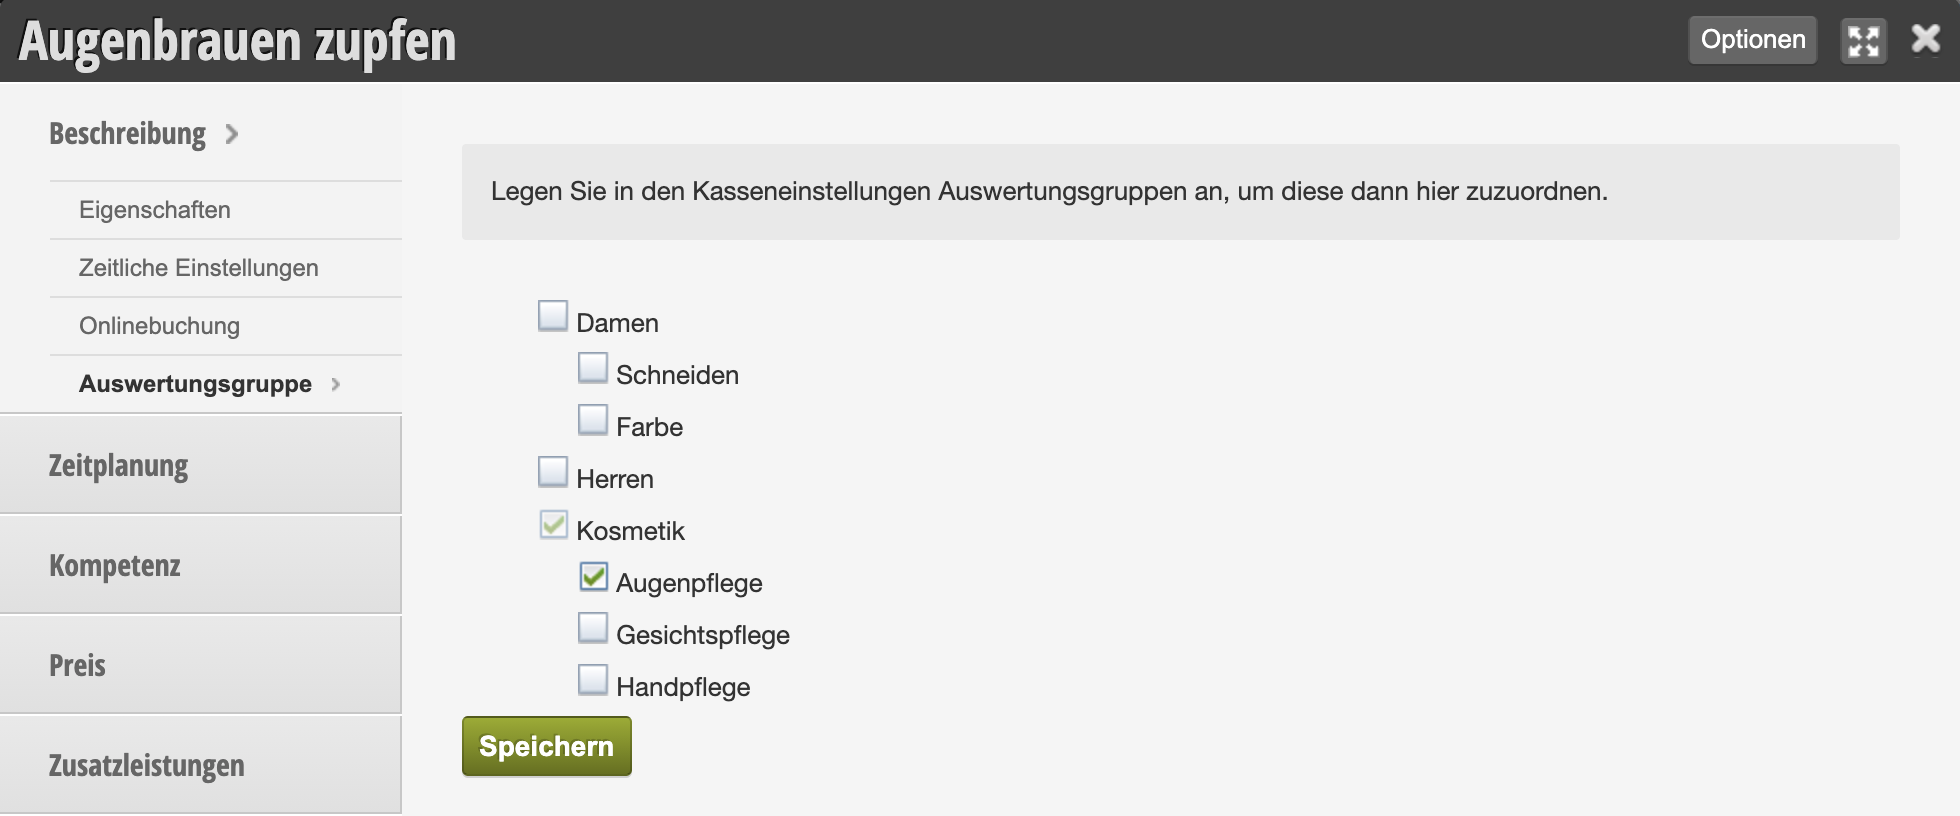
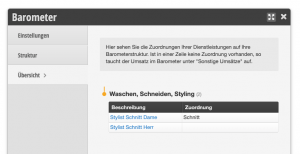
Once you have created the evaluation groups, you can link them to your services and, if applicable, cash register services. In each service you will find the submenu item "Evaluation group", which displays all self-created groups and subgroups. Activate the desired groups for each service.
You can then evaluate the services assigned to the new group in the barometer for the desired time period separately for each employee:
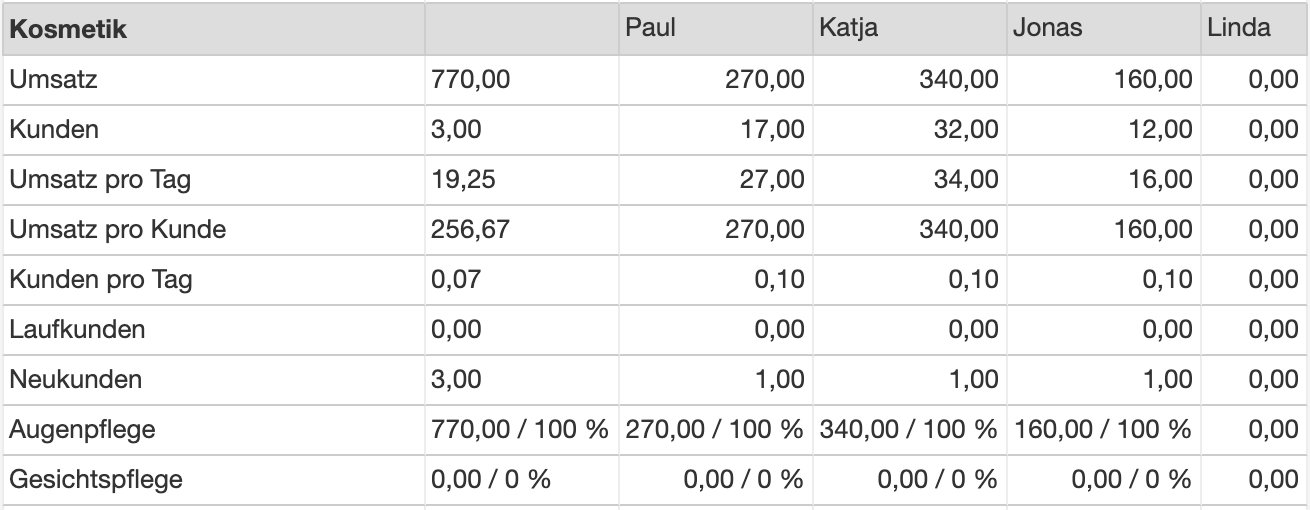
Step-by-step barometer structure using the haircut example
Here we want to show specifically how a barometer structure "Cut" can be created and how services can then be added to this group.
Step 1: Create structure
- Go to Settings
- Open the Barometer function
- Click on "Structure"
You are now here:
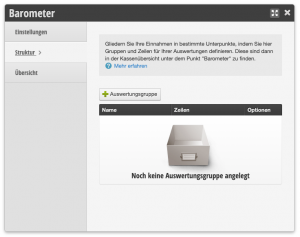
Now click on "+ Evaluation group", enter the name "Cut" and leave all other options unchanged. Then click Save.
Step 2: Assign services
- Go to Settings
- Open the Barometer function
- Click on "Structure"
You are now here:
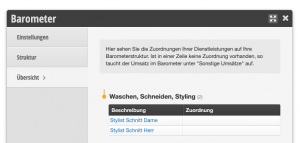
Now click on the service that should be assigned to the "Cut" group and open the "Evaluation group" subsection here.
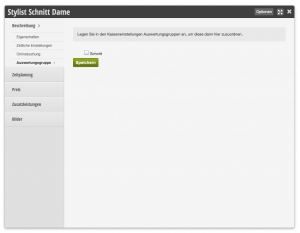
Now mark the group this service should belong to. In our case, we click on "Cut" and then on Save. When you close the window, "Cut" should appear in the row of the service you just edited:
Done! Now continue accordingly with other services that should appear separately in the barometer.