belbo
  • Overview
    • Getting to know Belbo
    • Location Settings
    • Switch to Belbo
    • Calendar View & Navigation
    • Recurring Appointments & Courses
    • Appointment Entry & Management
    • Logins & Permissions
    • Multiple Locations & Head Office
    • Manage Employees
    • Absences & Holidays
    • General
    • Working Hours
    • Time Tracking
    • Data Protection (GDPR)
    • Customer Communication (Email, SMS)
    • Customer Management & Records
    • Bonus & Loyalty Programs
    • Campaigns (Newsletter & SMS)
    • Marketing Consents (GDPR)
    • Tracking & Analytics
    • Overview
    • Services & Prices
    • Products
    • Service Packages & Subscriptions
    • Vouchers
    • Purchasing & Suppliers
    • Stock & Inventory
    • Scanning & Sales
    • Cost of goods & expenses
    • Design & Texts
    • Setup & Settings
    • Integration (Website, Google, Instagram, Facebook)
    • Online payment
    • Accounting & Exports
    • Cash Register Settings & Hardware
    • Checkout process
    • Daily Closing & Reports
    • TSE & Cash Register Anti-Tampering Ordinance
    • Export Overview
    • Employee Utilization
    • Revenue & Reports
    • Belbo Satellite
    • Printer
    • EC Terminal & Card Payment
    • Troubleshooting Hardware
    • Scanner & POS Devices
    • General Settings
    • API & Integrations
    • Notifications & Emails
    • Contracts & Legal
Skip to content

View appointment details

You can view numerous pieces of information about every appointment. Customer name and services are already clearly visible directly in the calendar. By clicking on an appointment, you can find out many more details.

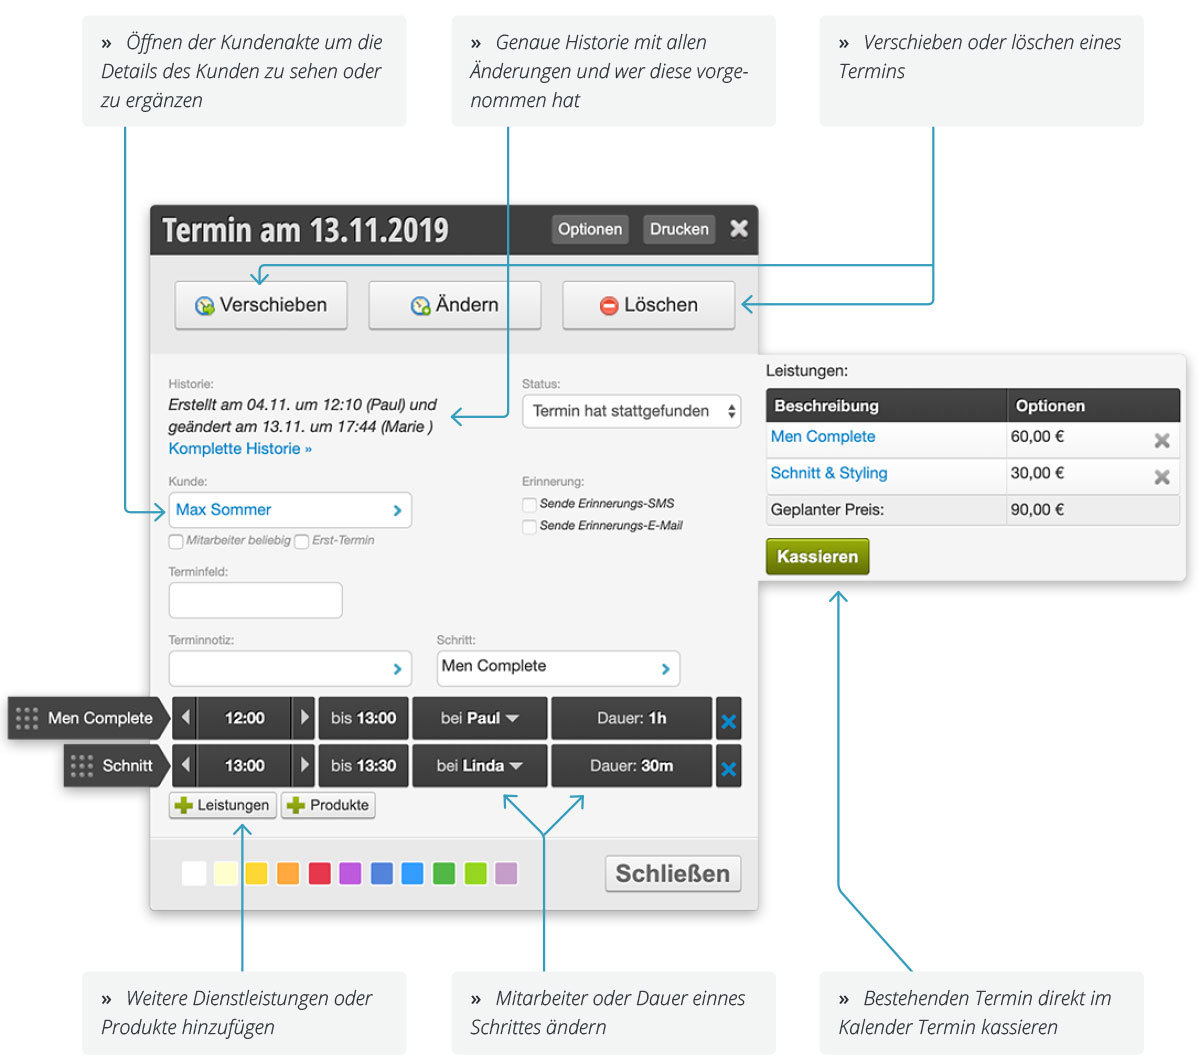
To have an overview of the details of booked appointments, click on the desired appointment. A window opens that shows you the date, customer, services, planned price, appointment notes, duration and employee at a glance.
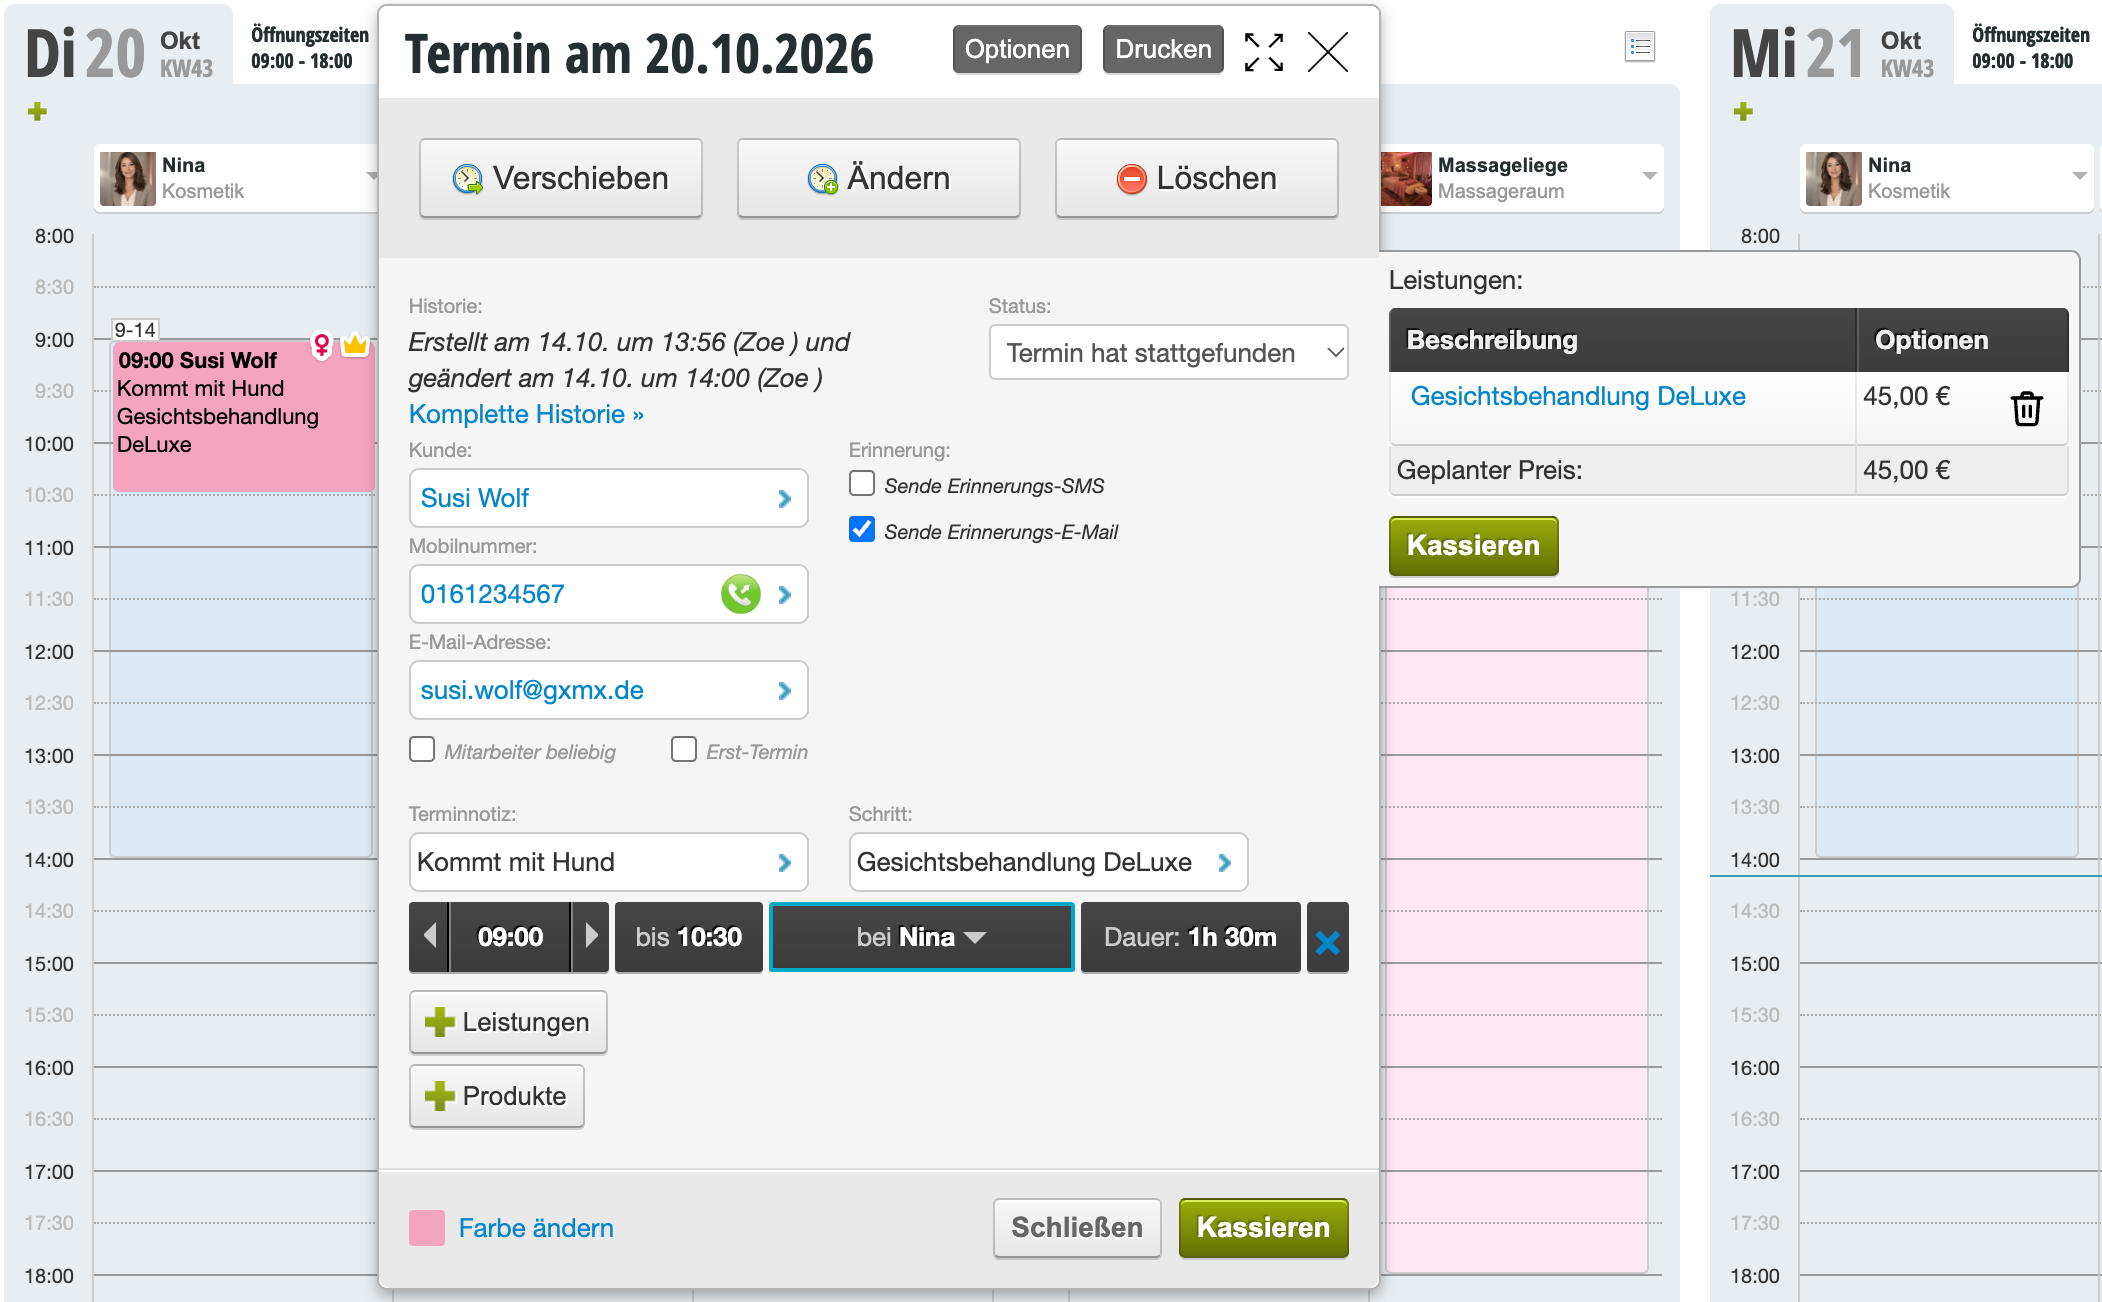
Information in the appointment detail

Options
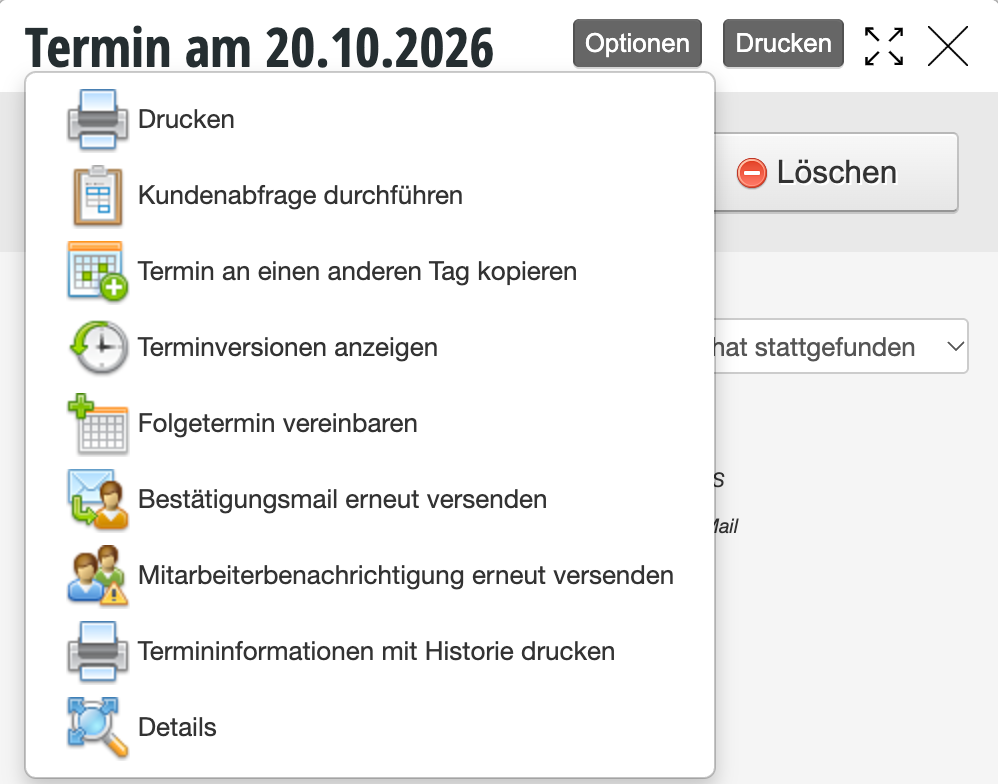
Under Options you will find numerous functions for your appointment:

  • Copy appointment to another day: Creates an identical appointment at the same time on the day you can select after clicking on this function.
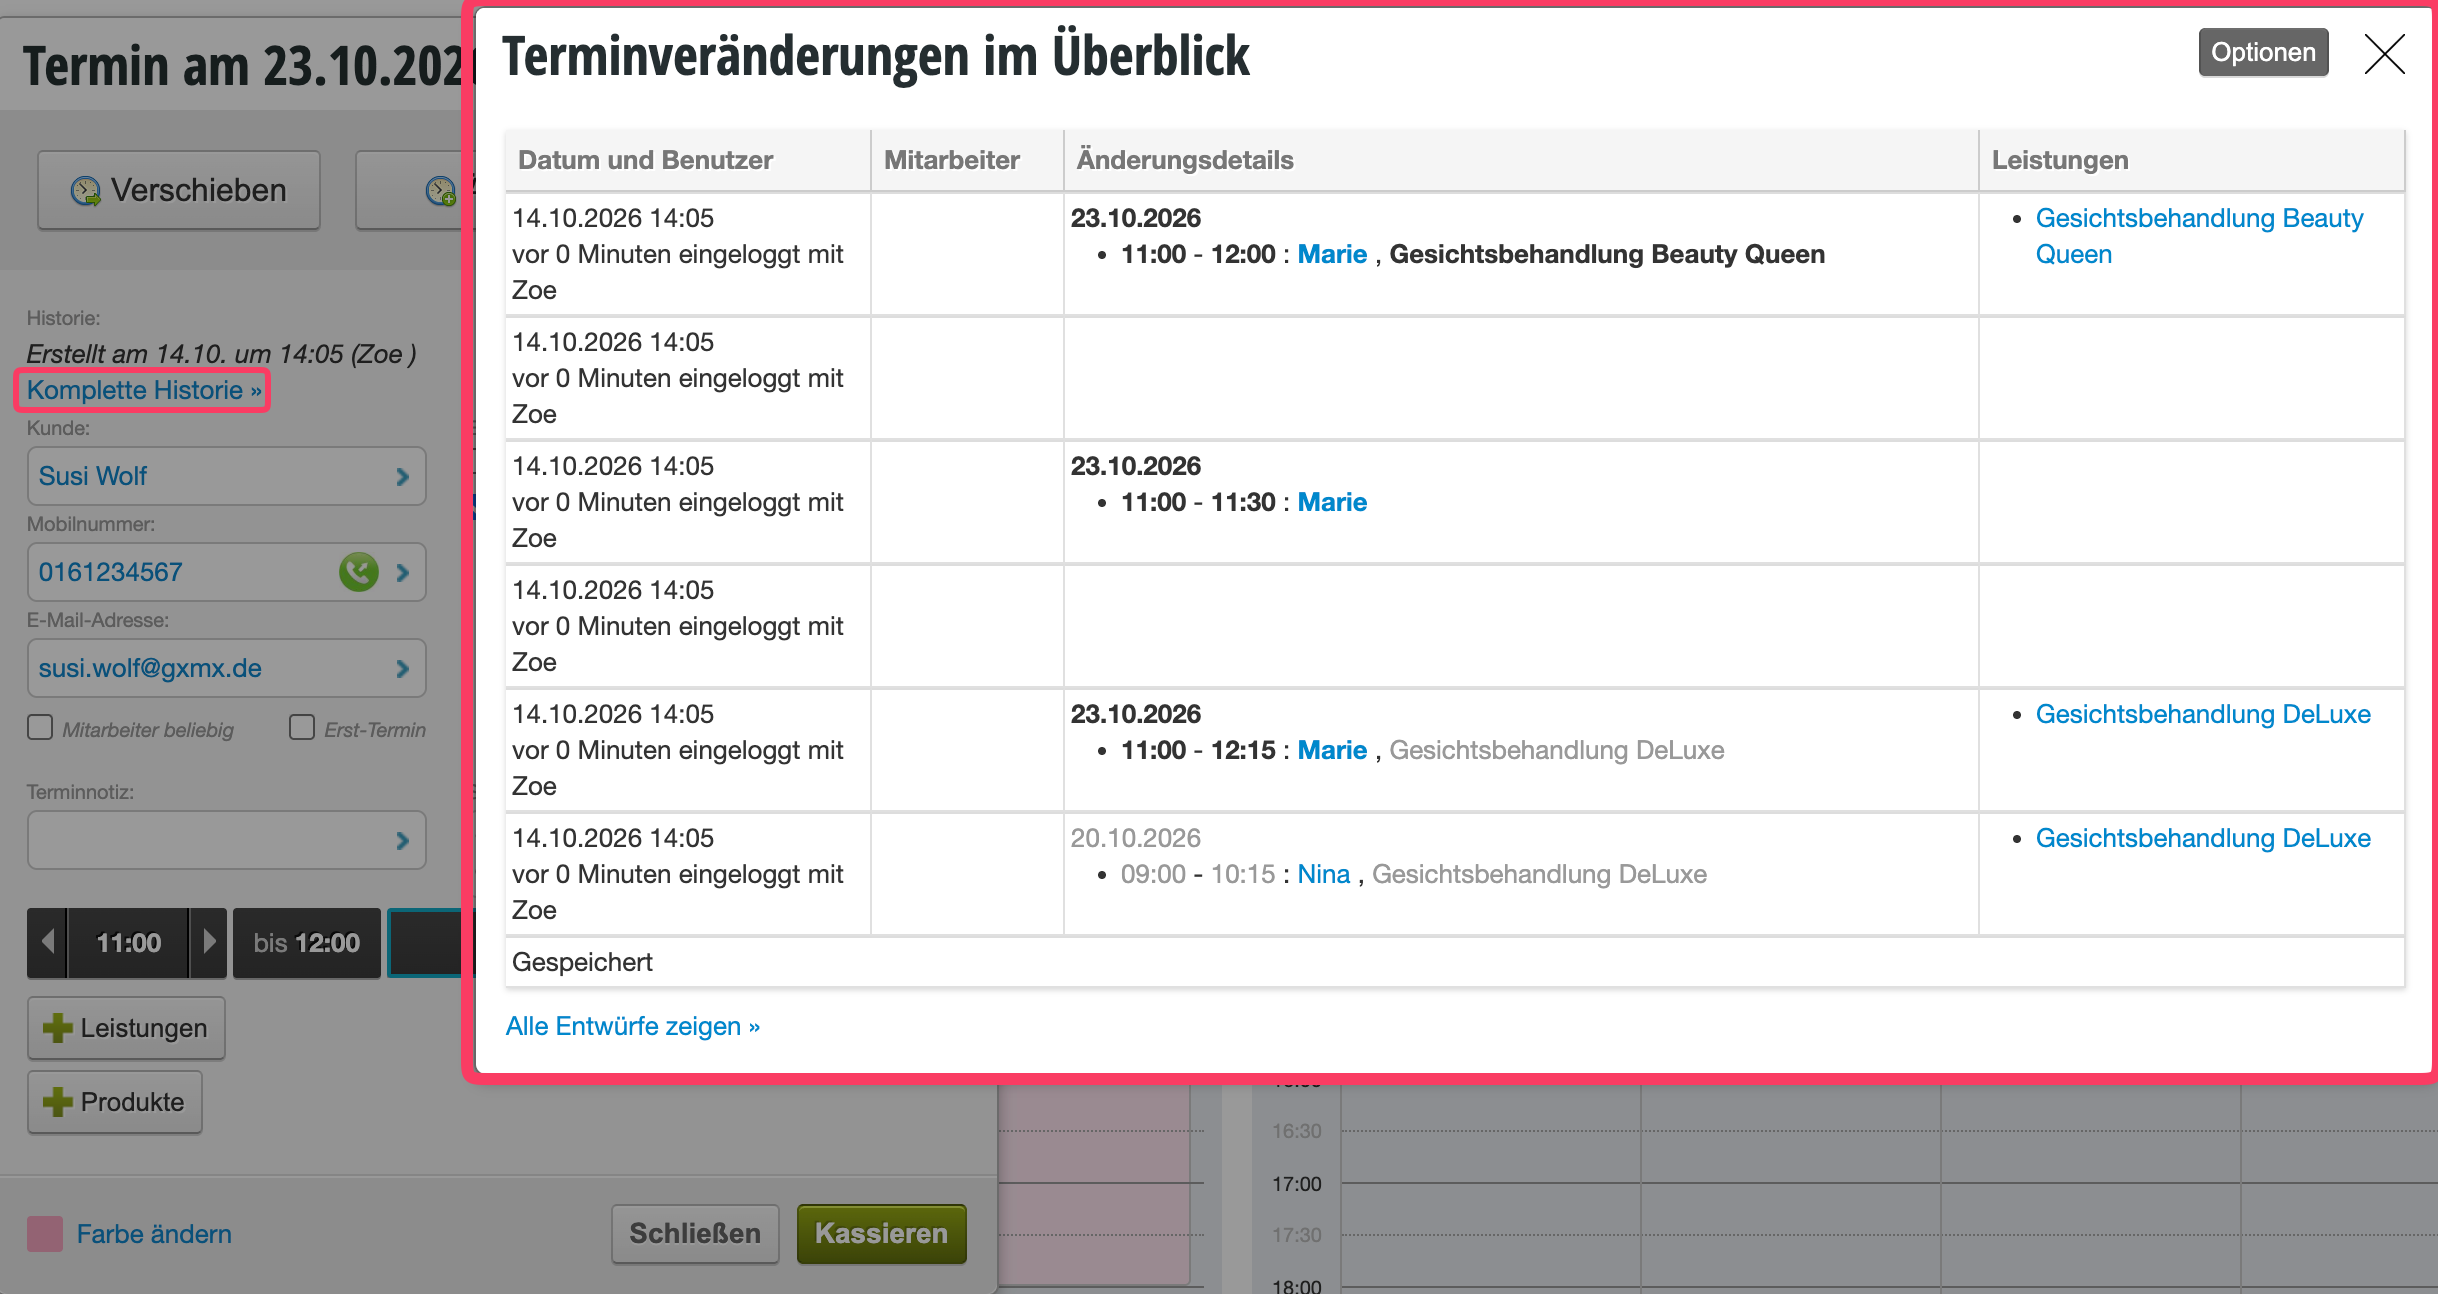
  • Show appointment versions: Shows the appointment history, from which you can see when and by whom an appointment was created or modified.
  • Schedule follow-up appointment: Opens the appointment assistant with pre-filled customer data.
  • Resend confirmation email: If the customer's email address has been changed or the customer has lost their confirmation email, you can resend it.
  • Resend staff notification: If the staff member's email address has been changed or the staff member has lost their staff notification, you can resend it.

Appointment options:

Print
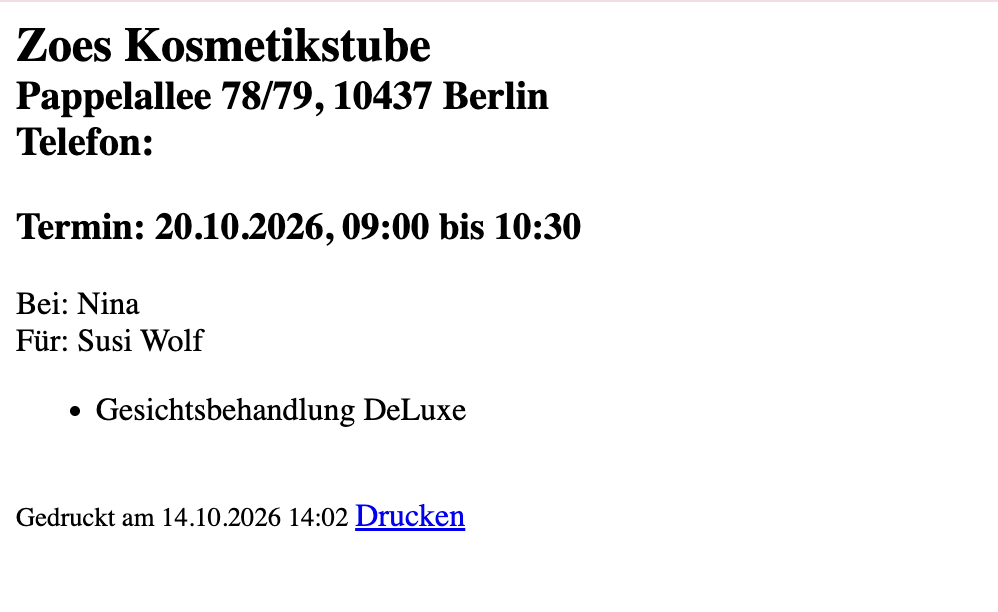
Under Print a receipt printer-friendly print version of the appointment is created, which you can give to the customer if they have neither an email address nor a mobile number.

Example of the print view of a single appointment:

Move / Edit / Delete

  • Move: Opens a monthly overview in which you can select the desired day to which your appointment should be moved.
  • Edit: Activates edit mode, with which you can change the duration of the appointment steps or move the entire appointment within the current day.
  • Delete: Removes the appointment from the calendar.
    Tip: In the Protocol and in the Customer file you can also view deleted appointments.
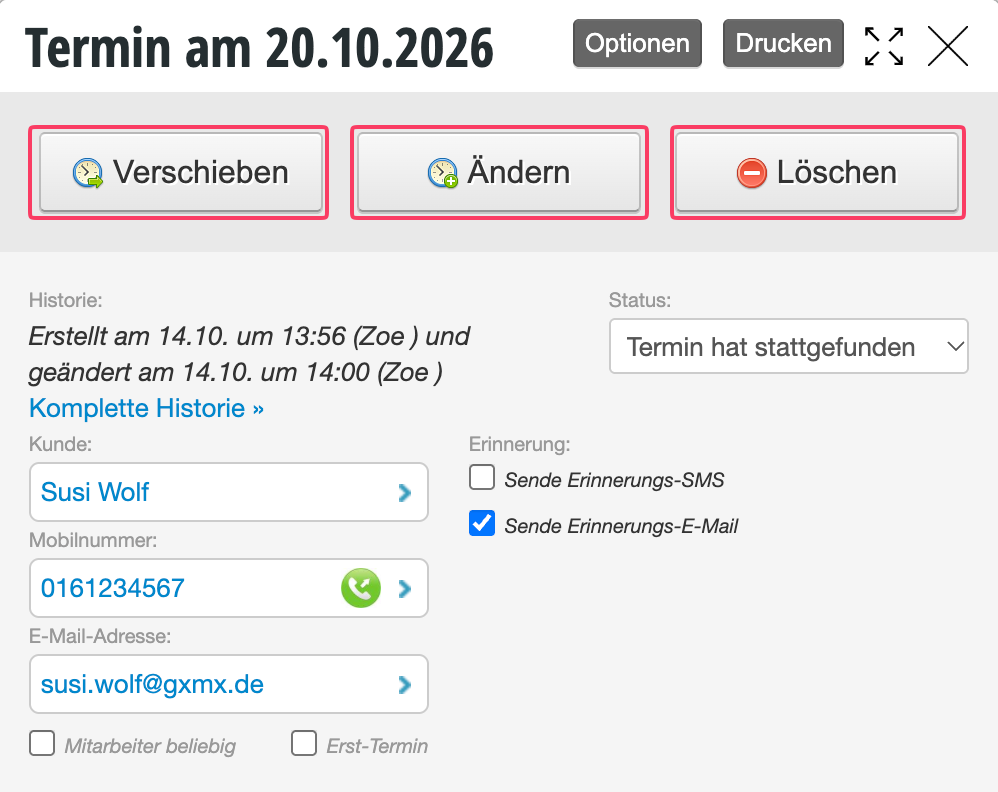

History
You can see who created the appointment and last modified it. By clicking on complete history you can view all appointment changes.

Example of appointment history:


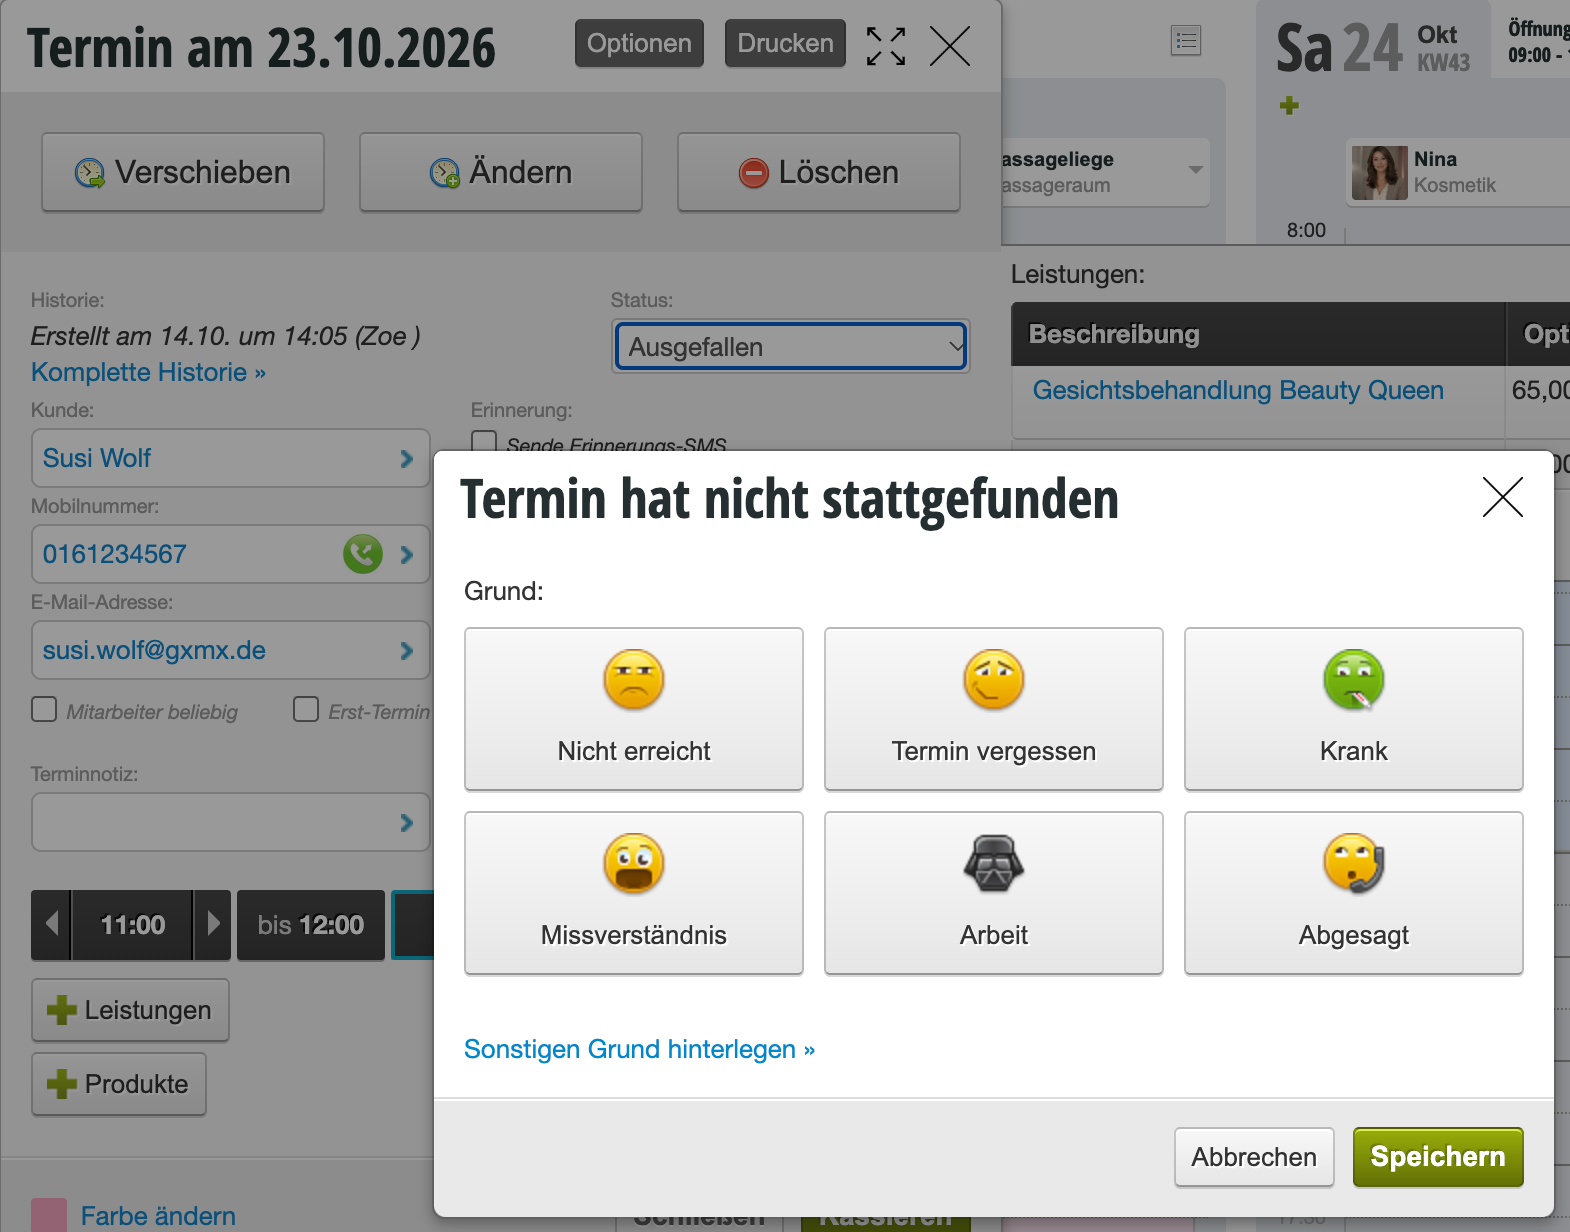
Status
With the Appointment status you can document whether an appointment took place or was cancelled. This helps you document the reliability of a customer.


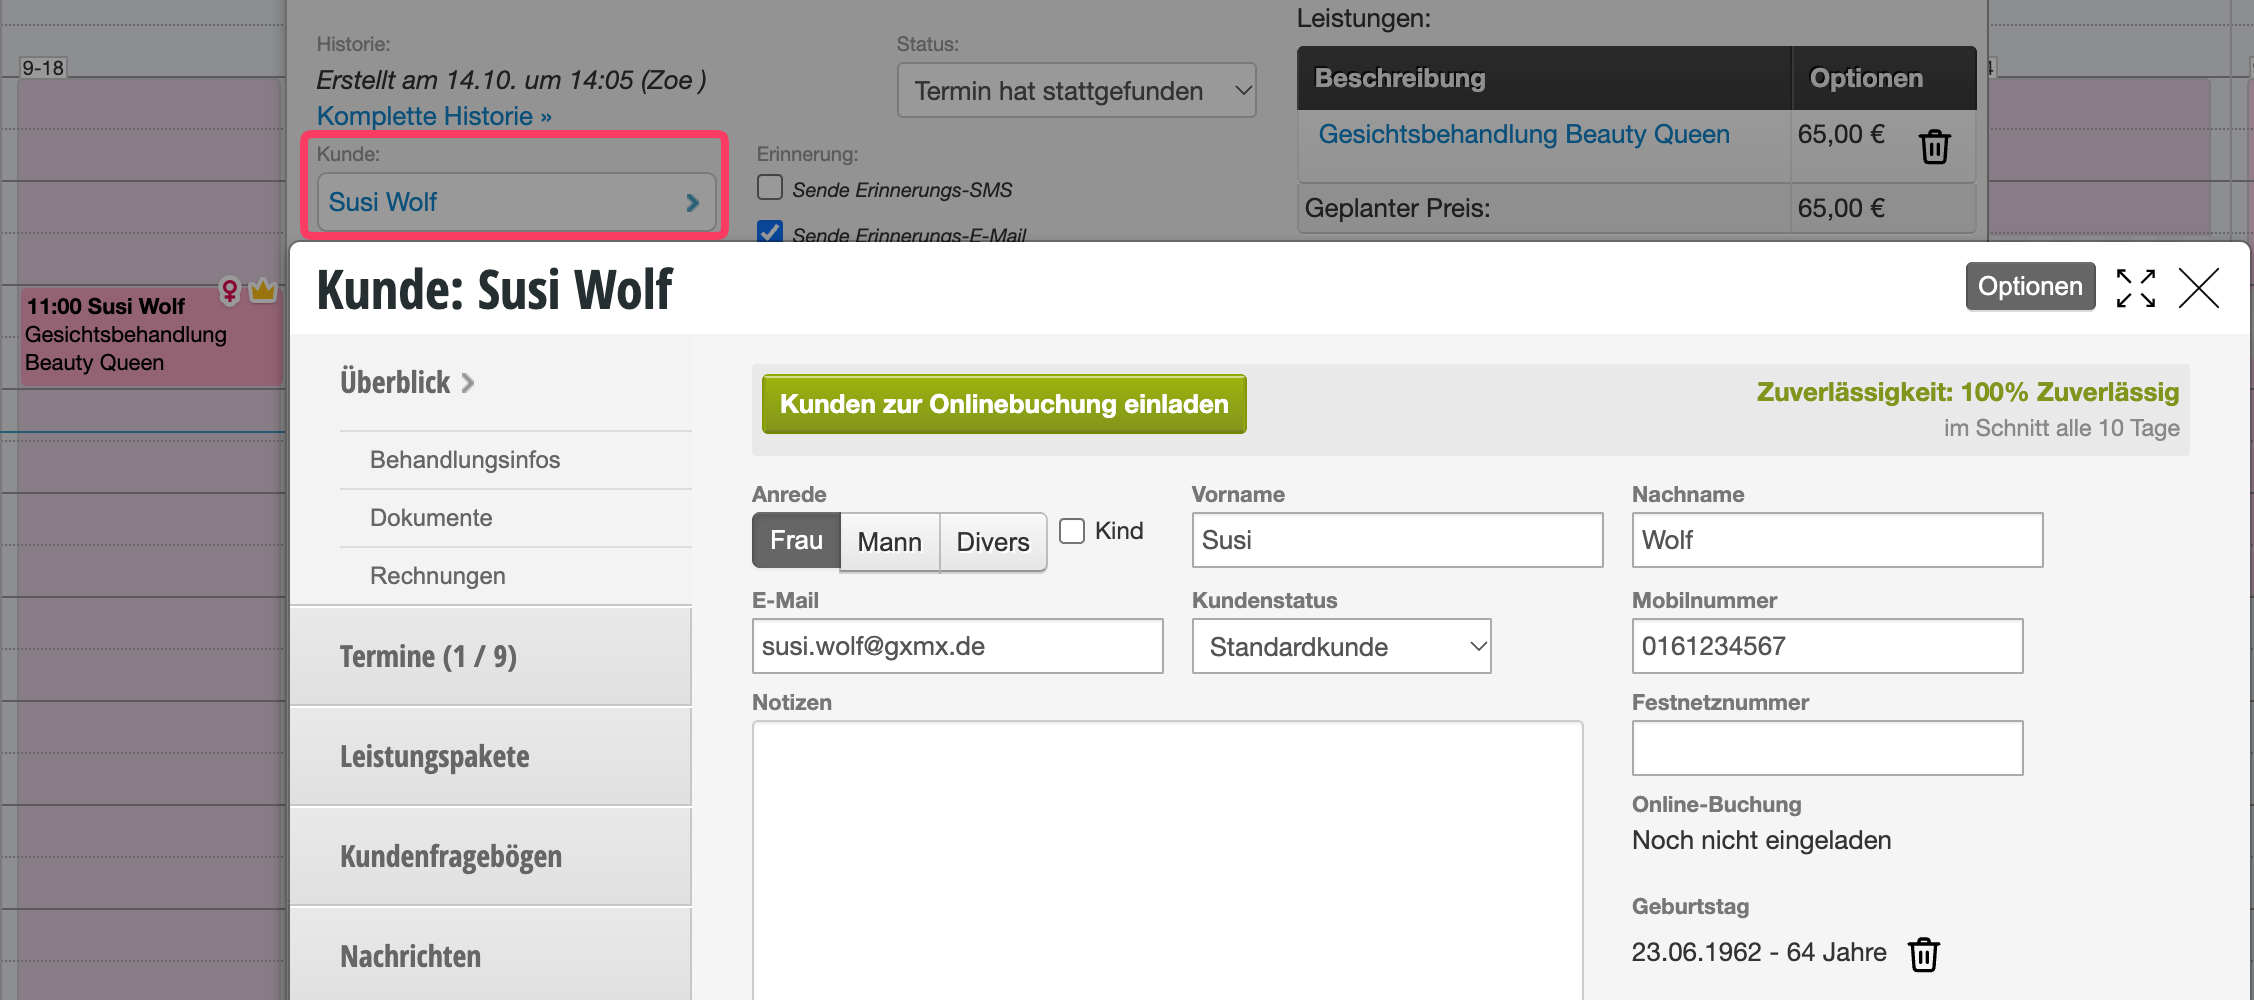
Customer
By clicking on the blue linked customer name, you can open the customer file and add or update data if necessary.


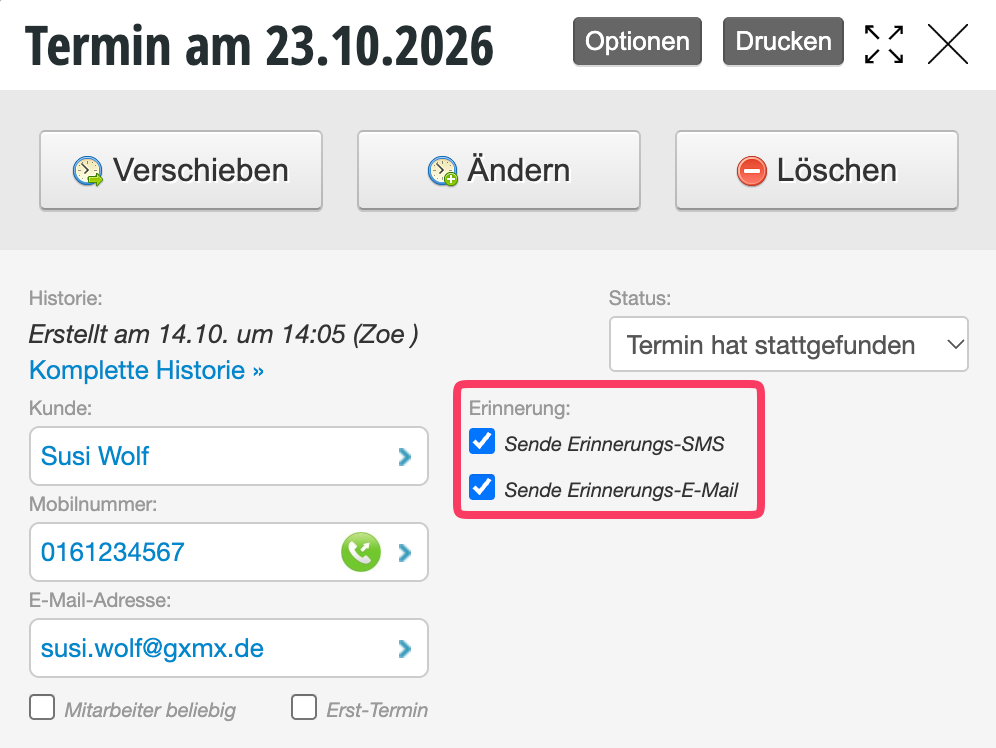
Reminder
You can see whether reminder messages are scheduled for a customer and whether they have already been sent.

Tip: In every customer file you can view all customer messages in the submenu item "Messages".

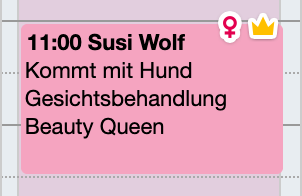
First Appointment
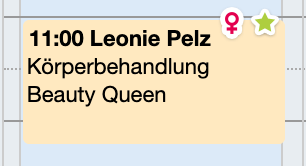
If the First Appointment field is activated, an icon appears directly on the appointment. The employee can see at a glance that it is a new customer.

Example of icon for a new customer appointment:


Appointment note
In the appointment note you can enter information that could be important for the appointment. The appointment note is displayed directly in the calendar. You can change or expand appointment notes by clicking on the appointment note field. After entering the appointment note, click Update to save your changes.

Example of an appointment note directly in the appointment:

Step
Under Step you can view and edit the planned appointment steps, which are shown directly in the calendar.

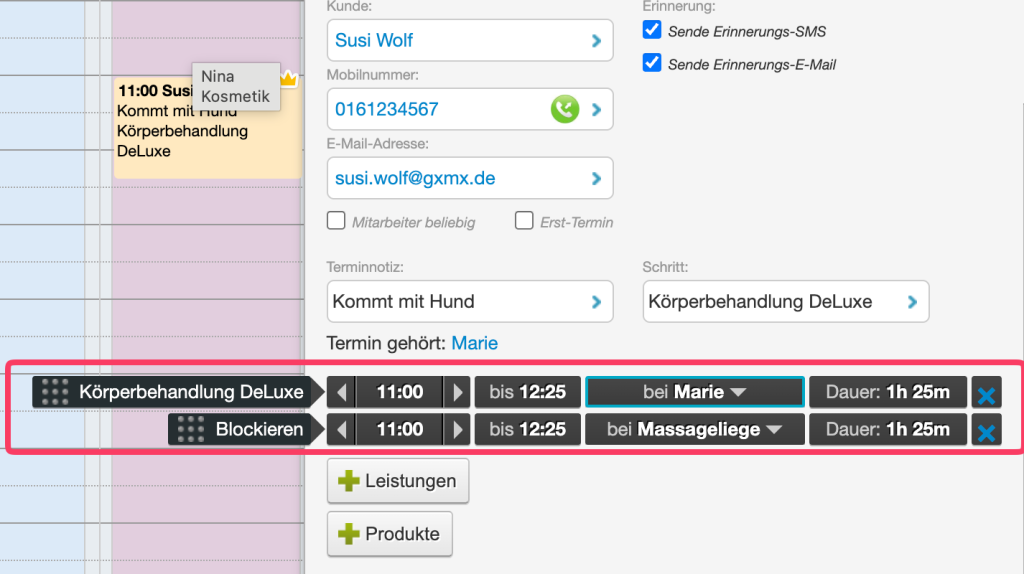
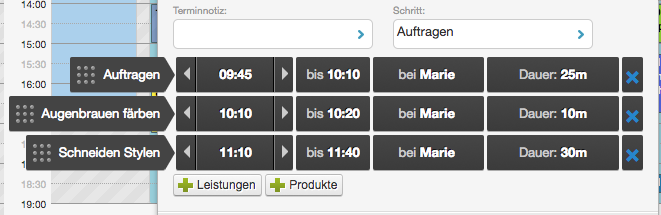
Moveable Appointment Steps
If you enable the "Make appointment steps moveable" option in the Calendar settings, the step names appear in the appointment detail for multi-step appointments. You can change the order of the appointment steps at the dotted areas.

Example of appointment with moveable appointment steps:
Short video on moveable appointment steps


Appointment detail when opening an appointment
Learn how to enter an appointment in the calendar here.
Categories: Appointment Entry & Management
Tags: drucken, Termindetails, Terminhistorie
This manual is a service by belbo. Legal notice