
You can create a separate login for each team member so they can log in to the calendar from home or their mobile phone, for example.
Create a login for an existing team member
Click on Options » Create login in the file of the desired team member. If this team member does not yet exist, please create the person first. How to create a login for a team member who should not appear in the calendar can be found further down on this page.
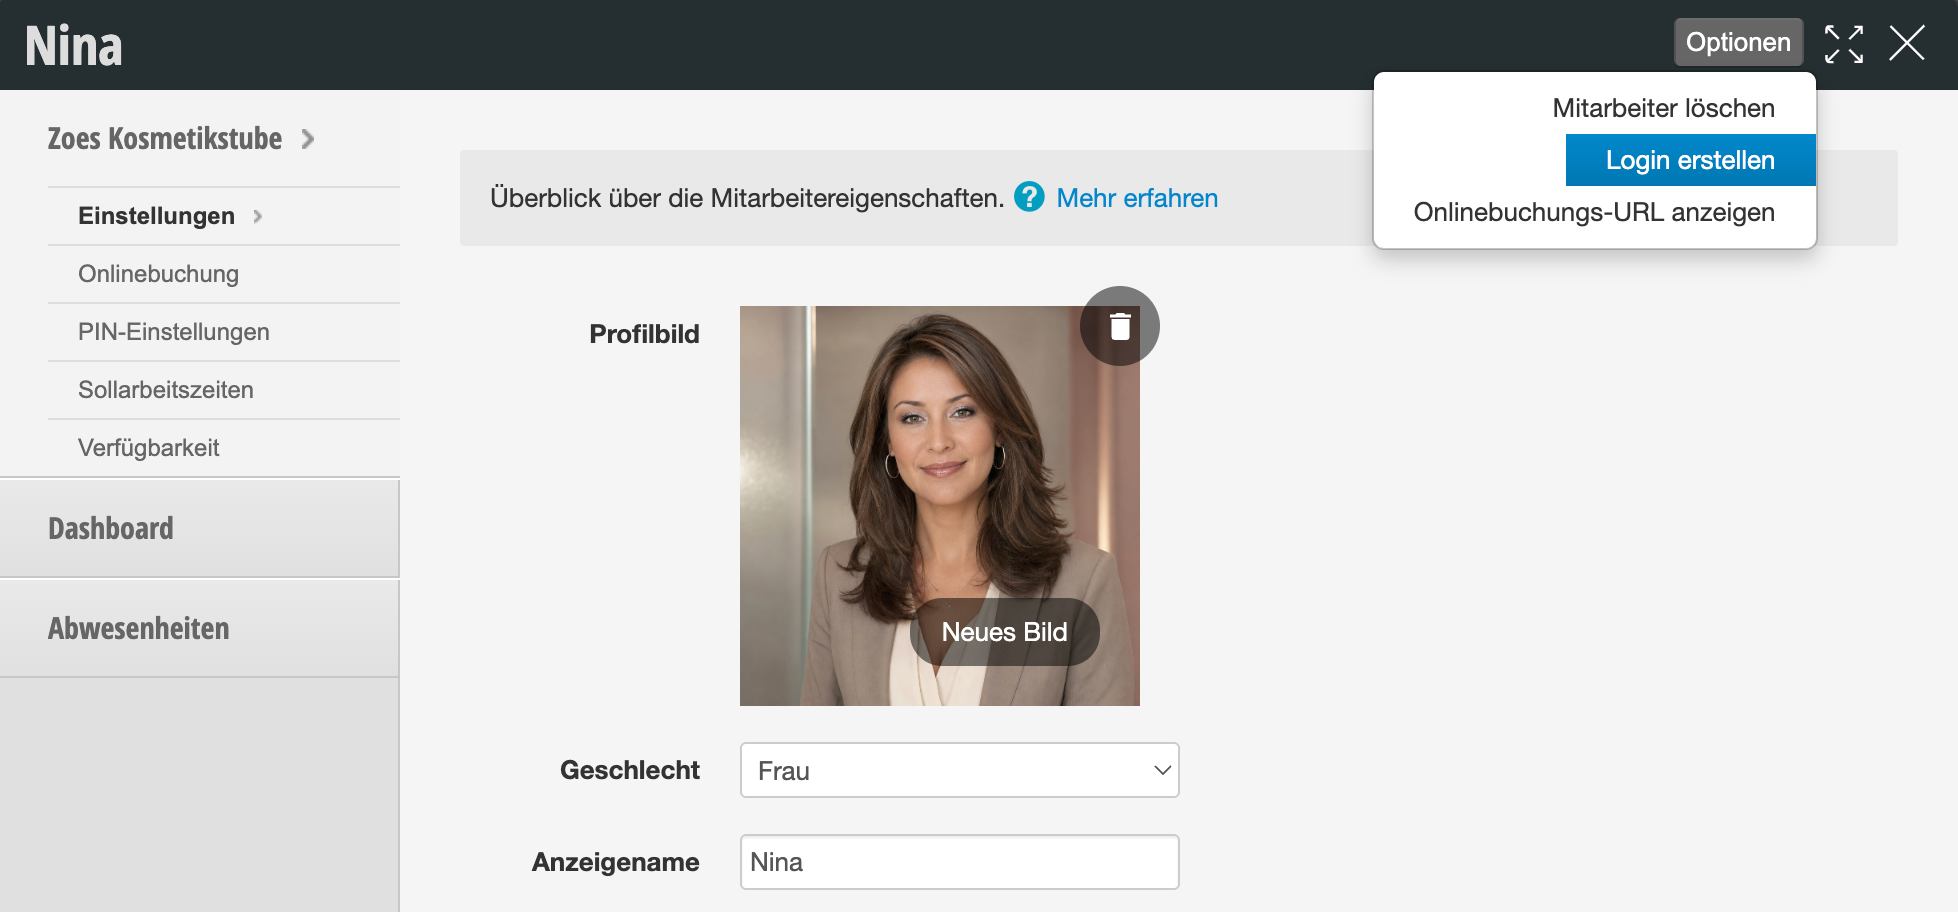
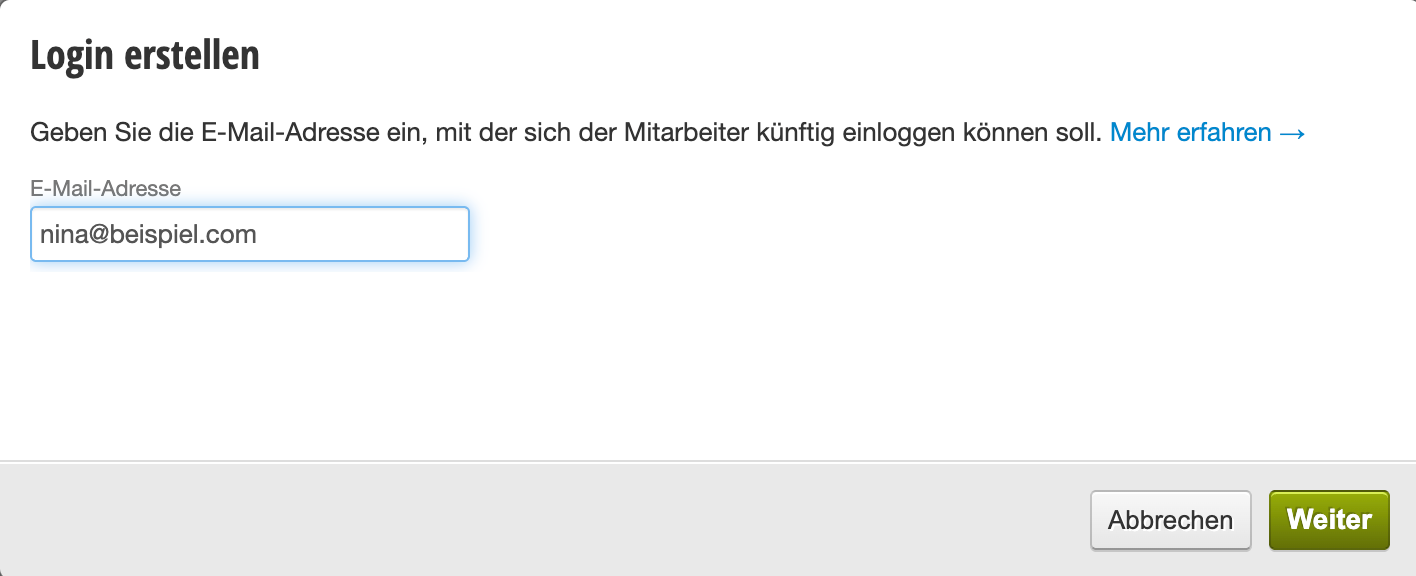
Follow the dialog that opens and enter the email address of the team member. This must not already exist as a login. How to link an existing login with a team member can be found further down on this page.
Assign password
After entering the email address, the employee receives an email with an activation link. Using this link, they can set a personal password and then activate their own login.
How to change the employee password at any time can be found here.
Assign permissions
For each login, you can assign individual access rights. This ensures that the person with the login can only view or modify the data they are authorized for. When creating a login, you can choose from various options to simplify the setup. After you have finished creating the login, you can view and edit the permissions for this login at any time under Settings > Employees > Permissions.
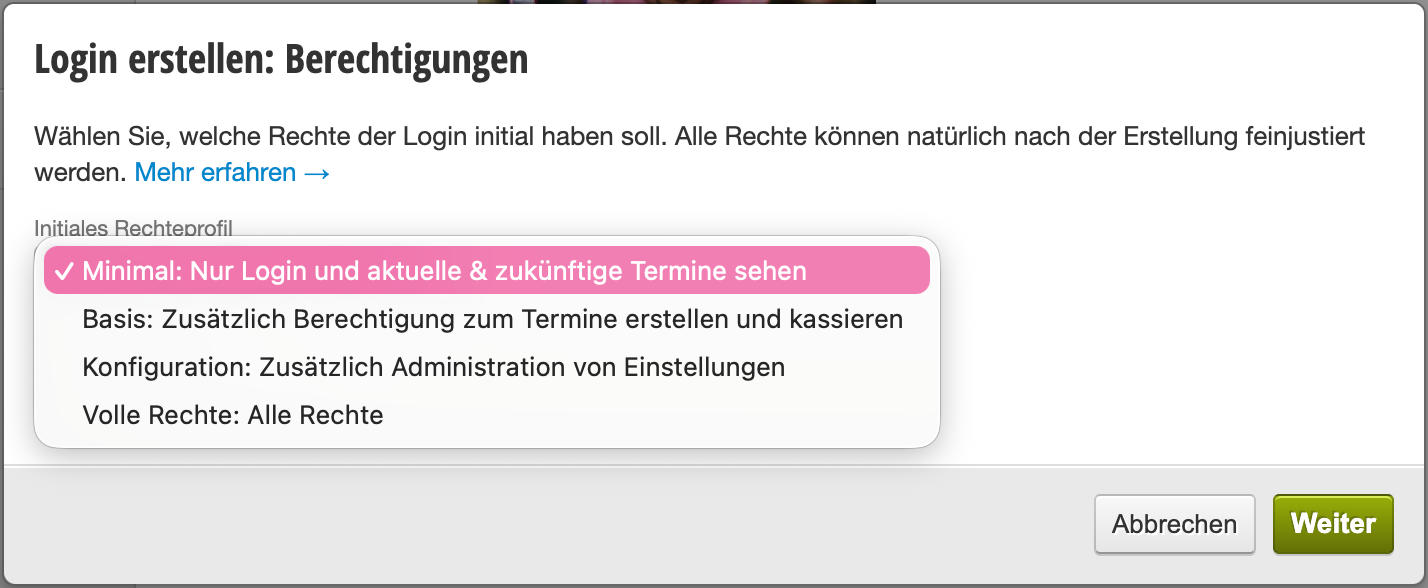
If you want to limit your employees' logins to the essentials, you can proceed as described here.
Enable two-factor authentication
In addition to the password, you can secure individual logins with two-factor authentication (2FA). This provides additional protection for particularly sensitive logins against unauthorized access.
Create a login for a team member who should not appear in the calendar
We explicitly recommend this type of login, which is not directly linked to a team member in the calendar, for your team login. This can be used by the entire team and is well-suited if all your team members share the same computer or tablet during their daily work.
You can also create logins for a person who should not be directly bookable for appointments in the calendar itself. This makes sense, for example, for:
- Managers who do not serve customers themselves
- Marketing and sales personnel who enter appointments for your company
- Administrative team members such as reception, webmaster, or office staff
Learn more about adding such logins here.
Already registered email address
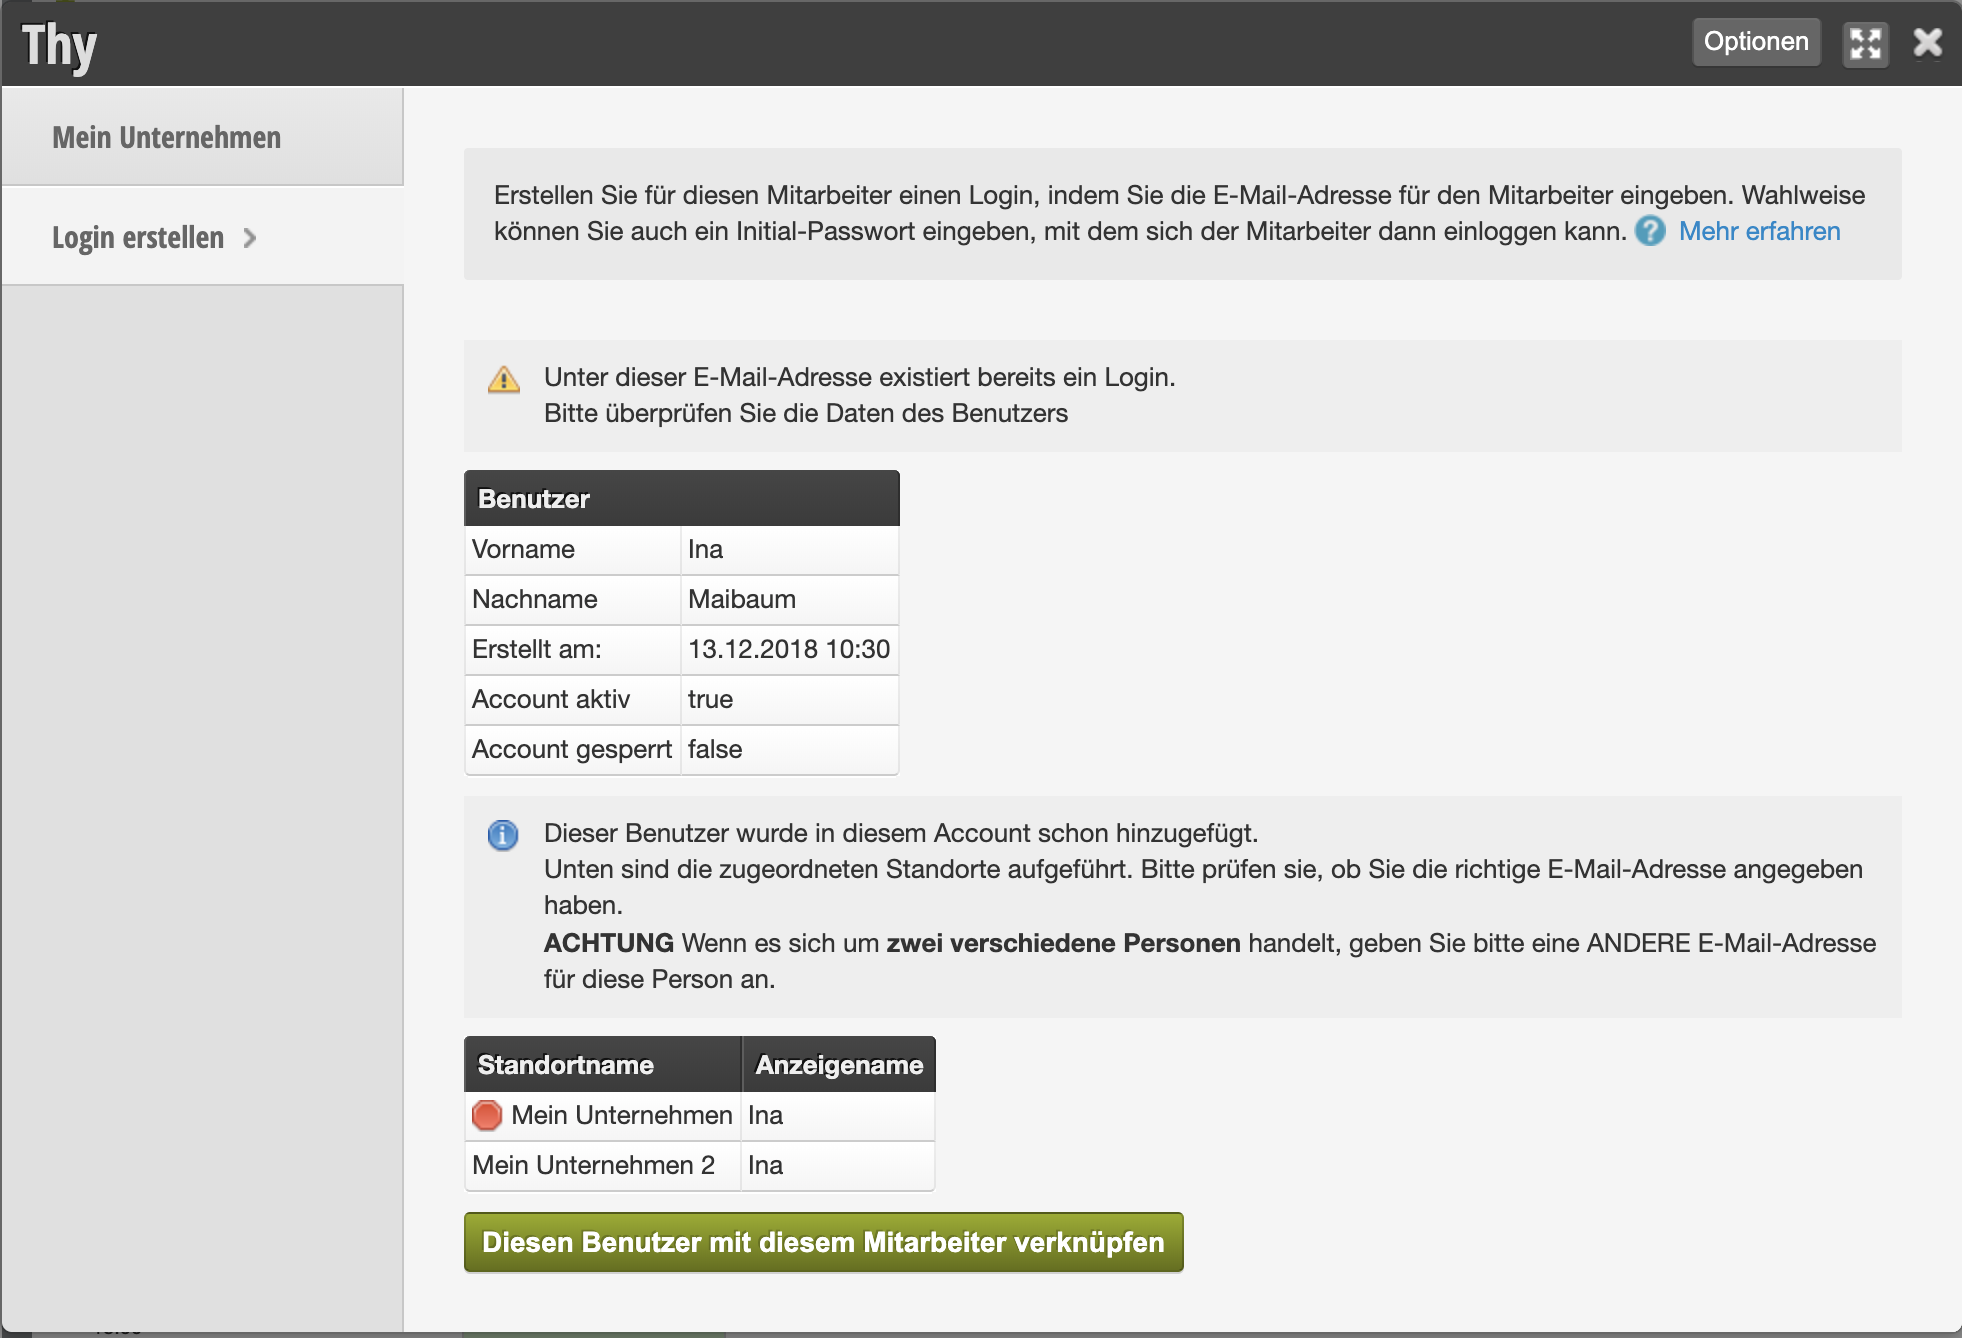
In your Belbo calendar, each email address can only be registered once. If the team member to whom you want to create a login is already registered, a corresponding message will appear. You can view all already registered team members under Settings > Employees > Permissions.
If you still want to link the already registered email address with the team member, you can link them.
Unlink a login from a team member
The login and team member are decoupled after confirmation. The login remains usable afterwards. If the login is linked to a profile at multiple locations, the other logins are retained.
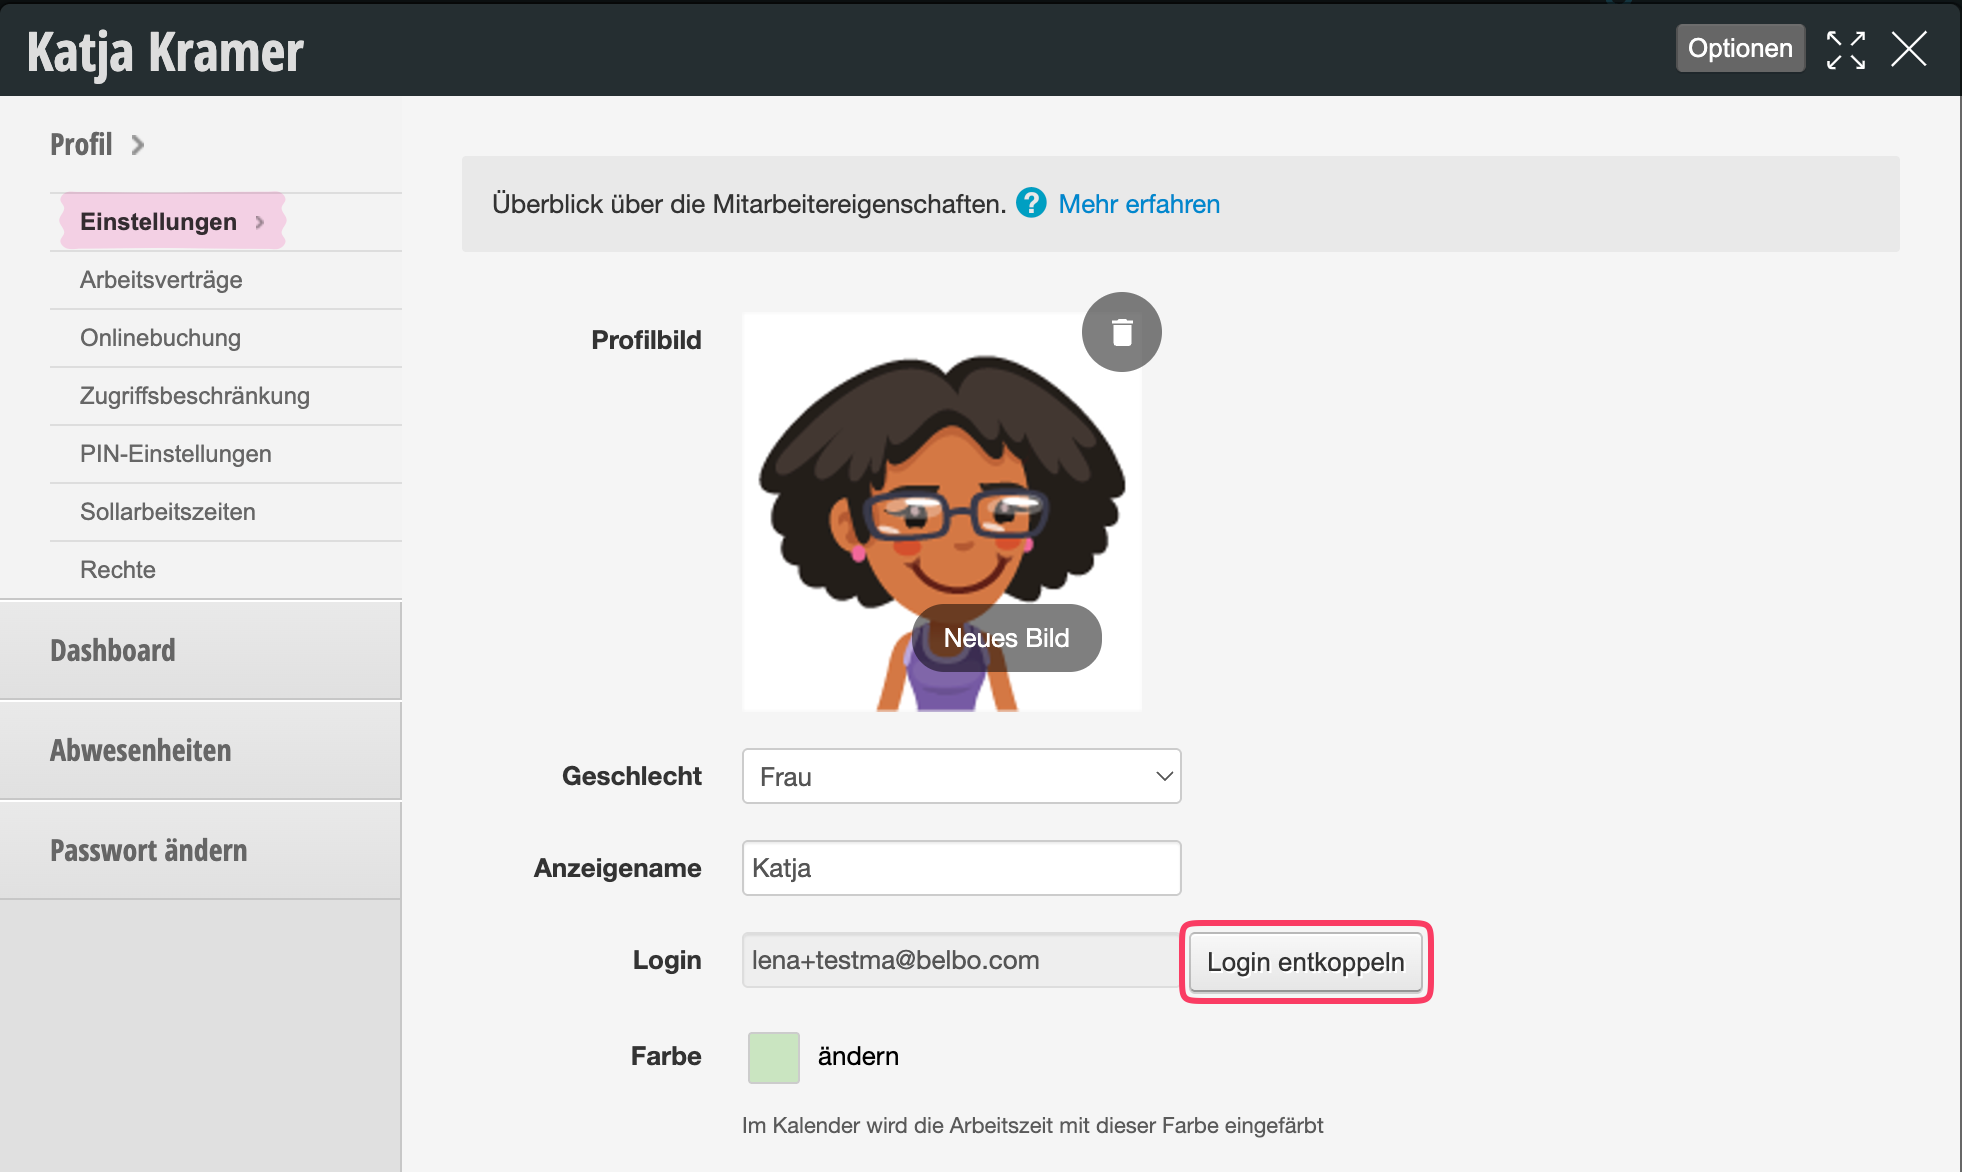
After unlinking, the login can be edited or deleted under Settings > Employees > Permissions.