
In the invoice design, you can specify how your receipts and invoices are designed.
Invoice Elements
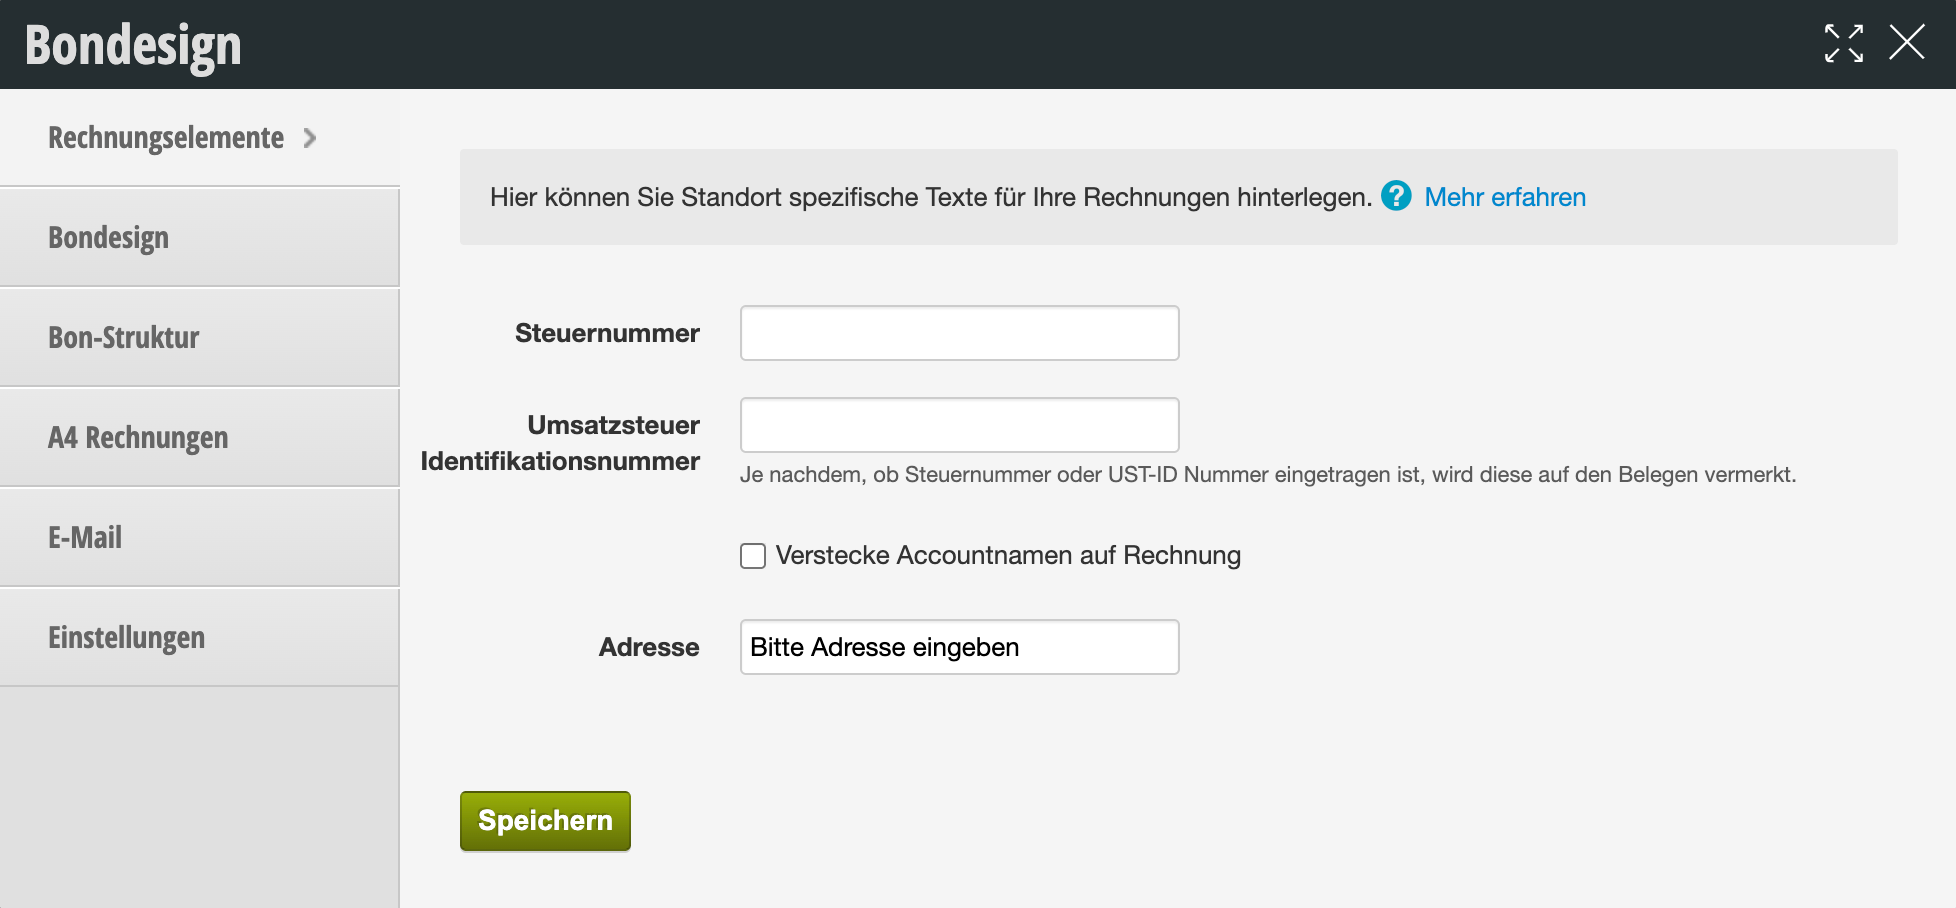
Enter the key data of your company here. If not specified otherwise, the location address will be used. Only fill in this field if your location address differs from the address of the invoice issuer shown on the invoices.
Receipt Design
Logo
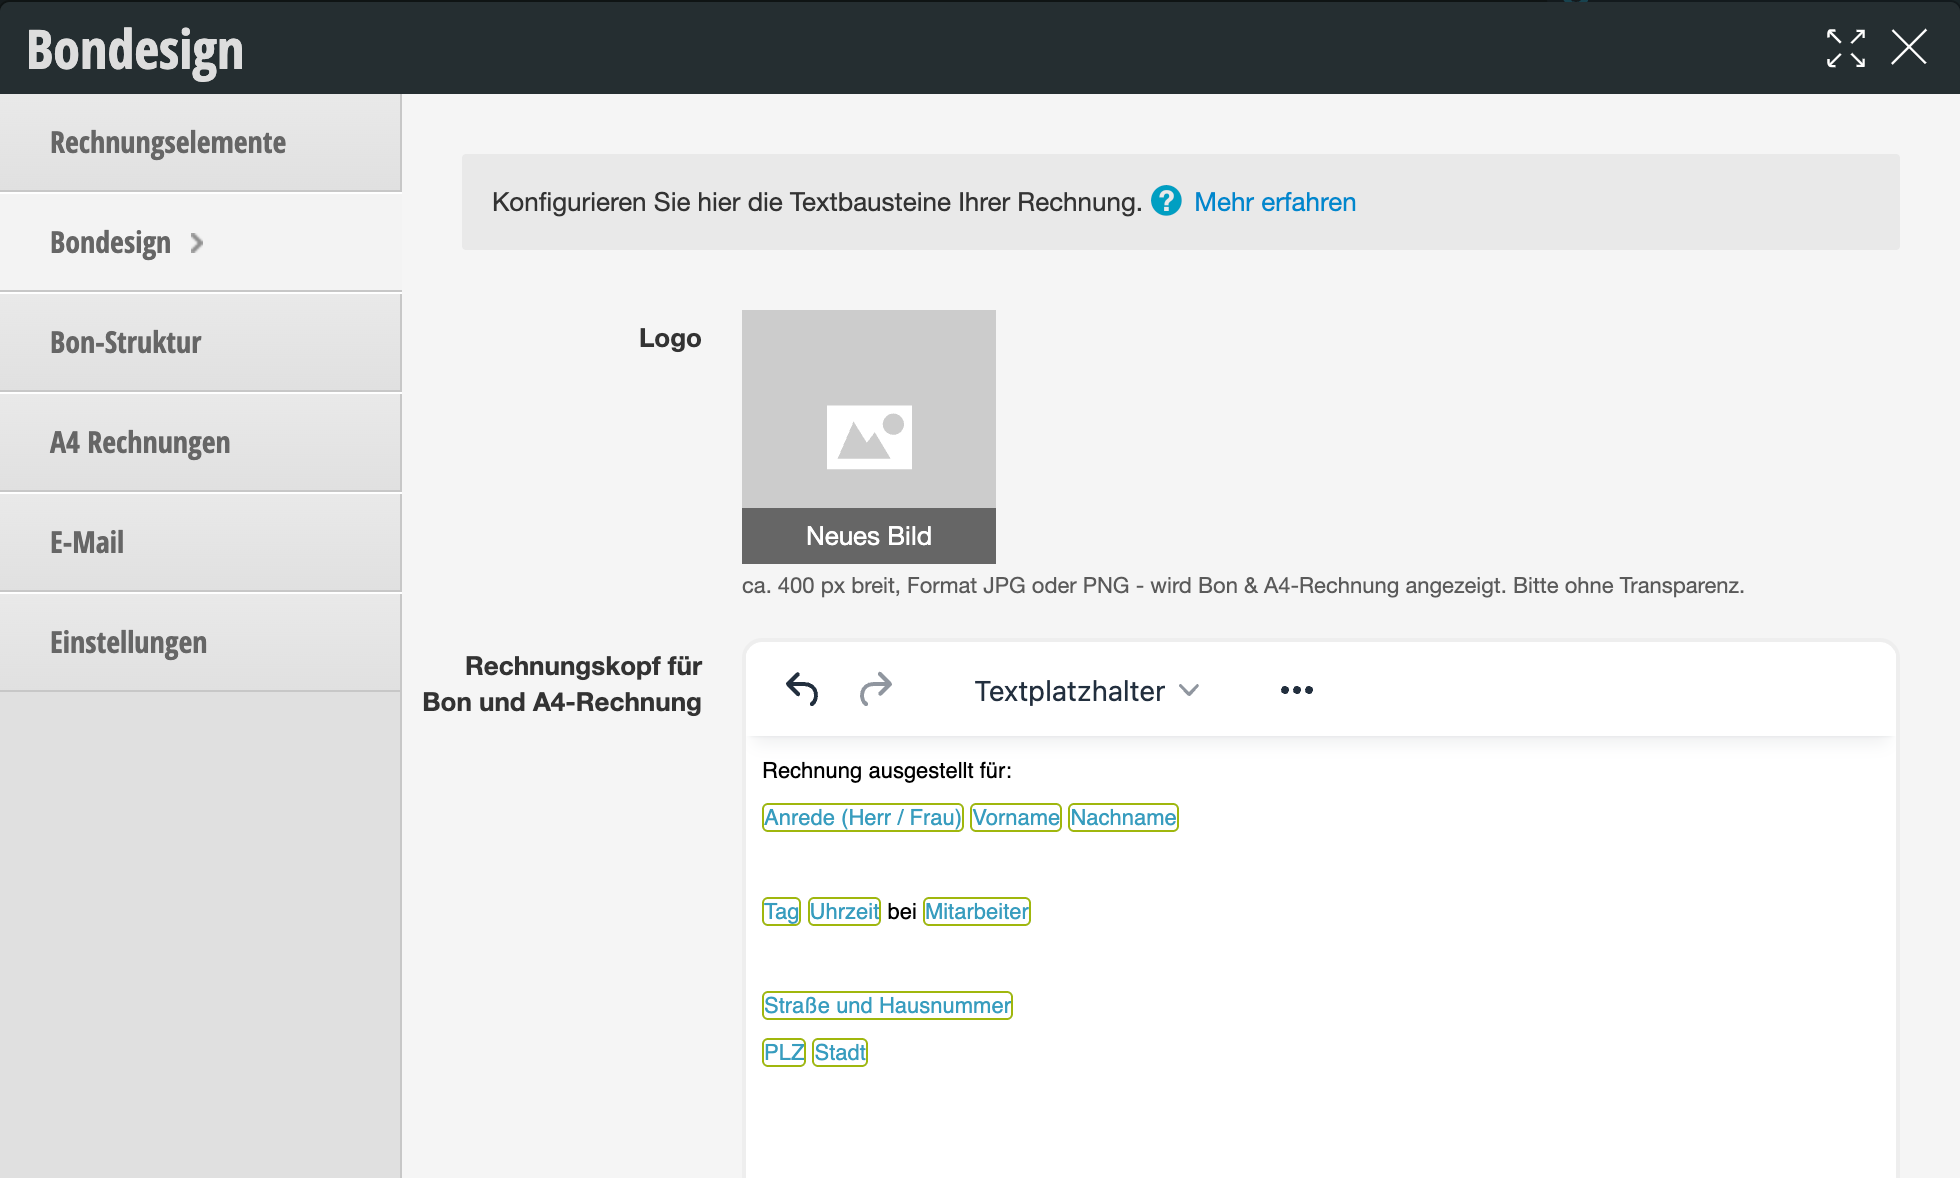
You can upload a logo here. Logo graphics should be black and white and have high contrast so that your receipt printer can display them correctly.
Receipt Header
If you want to display additional information in the header area of the receipt, you can enter it here. In addition to freely selectable text, you can also use text placeholders. If you use the text placeholders "Customer Name" or the customer's address fields, this data will be taken from the customer record. The prerequisite for this is that you have created these customer fields in the customer settings and that your employees fill them in conscientiously. You can find instructions on how to create and integrate this data here.
Receipt Footer
If you want to display additional information in the header area of the receipt, you can enter it here. For example, you can draw attention to online booking or current promotions at this location.
Receipt Structure
You can design the appearance of your receipt yourself. Learn more about receipt structure here.
Please note that this is a complex setup. If used improperly, receipts may no longer be printed.
A4 Invoices
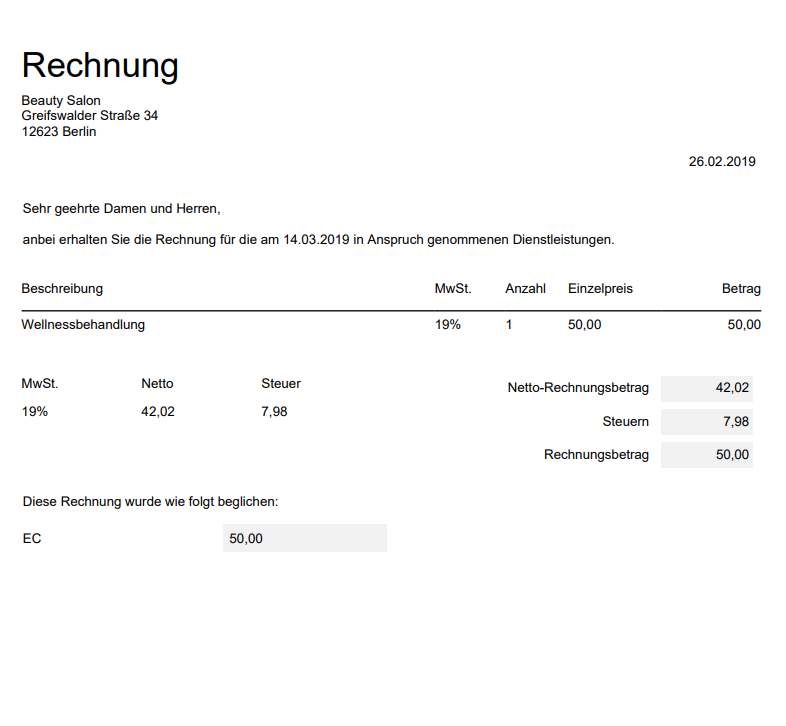
Basically, a receipt is available for each invoice, which can be issued via your receipt printer. Additionally, you can create invoices in A4 format. Once this function is activated, you will receive a new button in the cash register, via which you can send A4 invoices as PDF either by email to the customer or print them on a suitable printer.
Example of an A4 invoice
Payment Notice for Payment on Account
If you offer the payment method "Invoice", you can store your own invoice footer for this payment method. Here you can store your bank details and other payment instructions. This information will only be printed on the invoice if the customer pays by invoice. If another payment method is selected (e.g. "Cash" or "Card"), the footer you have stored under "A4 Invoice Footer" will be used.
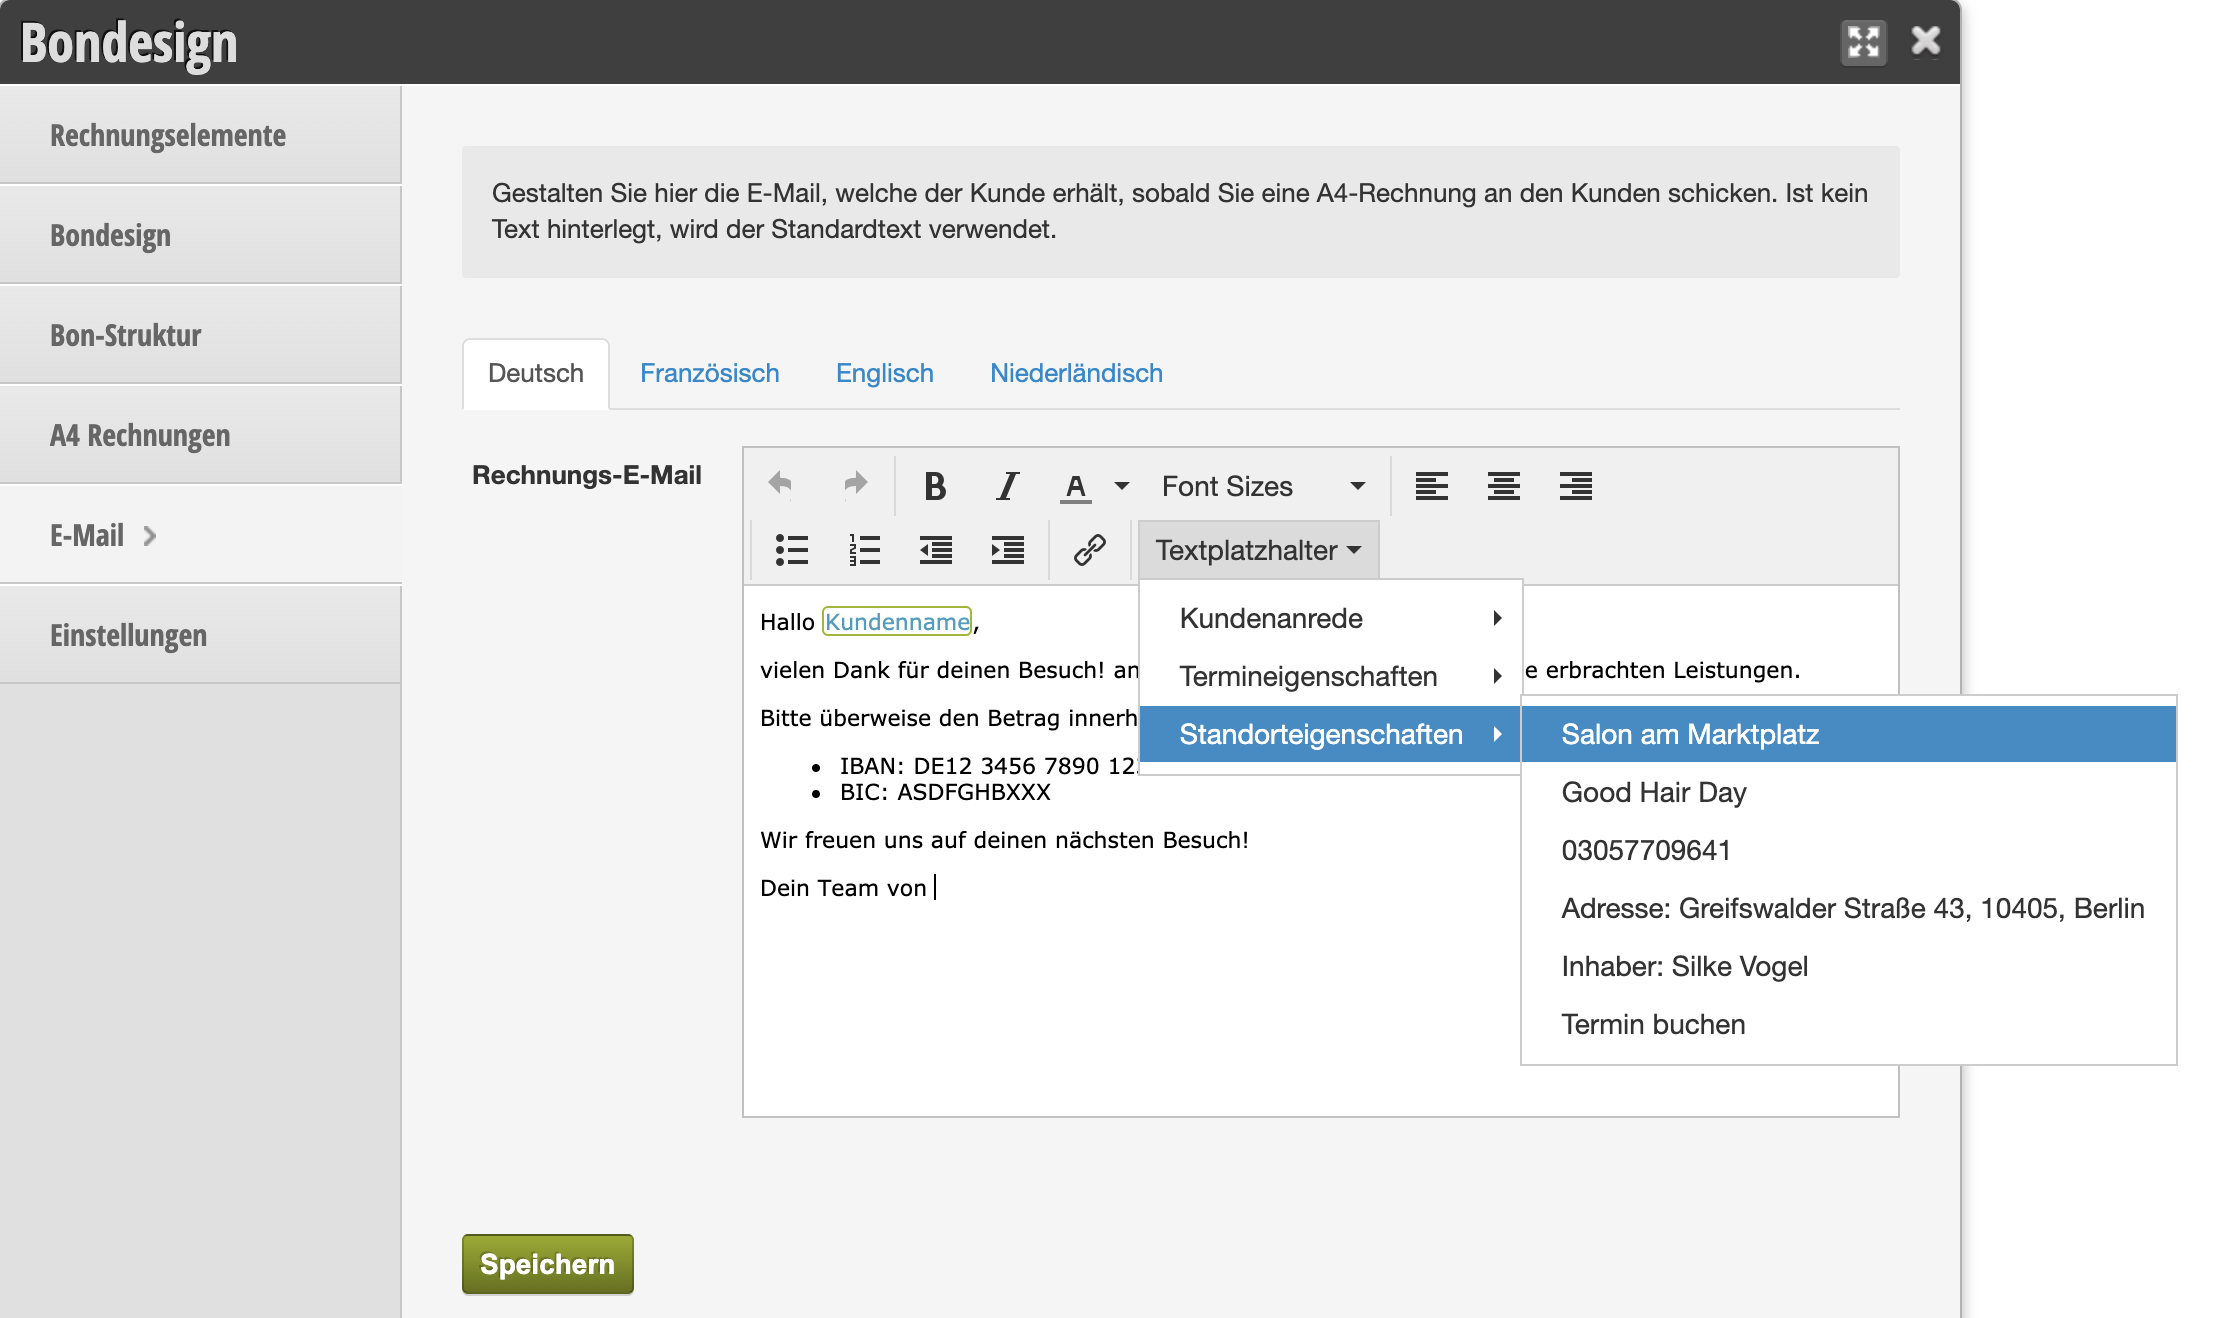
If you want to send A4 invoices to your customers, you can trigger email delivery during the checkout process. The text of the email is a standard text.
If you want to write your own text, you can do so under Settings > Invoice Design > Email. You can also use placeholders here to insert, for example, the customer name.
You can download detailed cash register documentation here.