

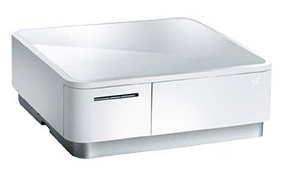
You can connect your mPOP cash register to Belbo to print receipts faster and open the cash drawer with one click. Please follow these steps:
- Step 1: mPOP installation and test
- Step 2: Install Belbo Satellite
- Step 3: Printer connection
Your Star mPOP cash register can be connected to your computer via USB cable. This cable is not included and must be ordered separately. You can do this here.
Step 1 of 3: mPOP Installation
- Important: Do not plug the USB cable into the computer before you perform the installation, otherwise the installation will fail.
- Download the mPOP driver software. Download Driver or here
- Extract the installation file and then run the "setup.exe" file in the "setup" folder.
- Select the "Typical" option and complete the installation. If you receive an error message:
Installation was terminated unexpectedly
Check if the USB cable is connected. If so, remove the cable and restart the installation process.
Error message 'Microsoft.VSC80.CRT'
If you receive an error message with the text "Microsoft.VSC80.CRT", you can try to perform the following installation: Windows Visual C++ Redistributable. You must restart your computer after that
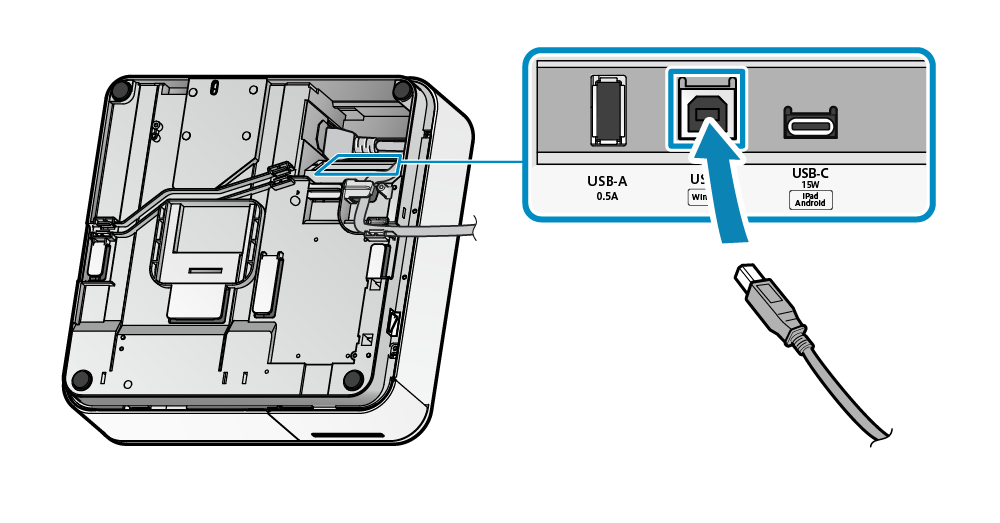
Test on a Windows computer
If the installation and setup were successful, you can test this. To do this, open any text editor and try to print on the printer. Only if this print is successful can you use the printer in the Belbo system.
- Open the "Notepad" software and enter a short test text, for example "Test".
- Then select "File" in the menu and then select "Print".
- Do you see your printer in the printer selection? Good sign! Select and print. Otherwise, check the driver installation or repeat it if necessary.
- Did the receipt arrive? Excellent, then proceed to Step 3. The printer was not recognizedIf no printing occurs, it may be that you already connected the USB cable before the installation. Please plug the cable into another free USB port and test again.
Step 2 of 3: Satellite installation and connection to Belbo
Did the test print work? Then everything is ready to go. Now you just need to connect the printer to Belbo.
- Install the Belbo Satellite software before you proceed to the next step.
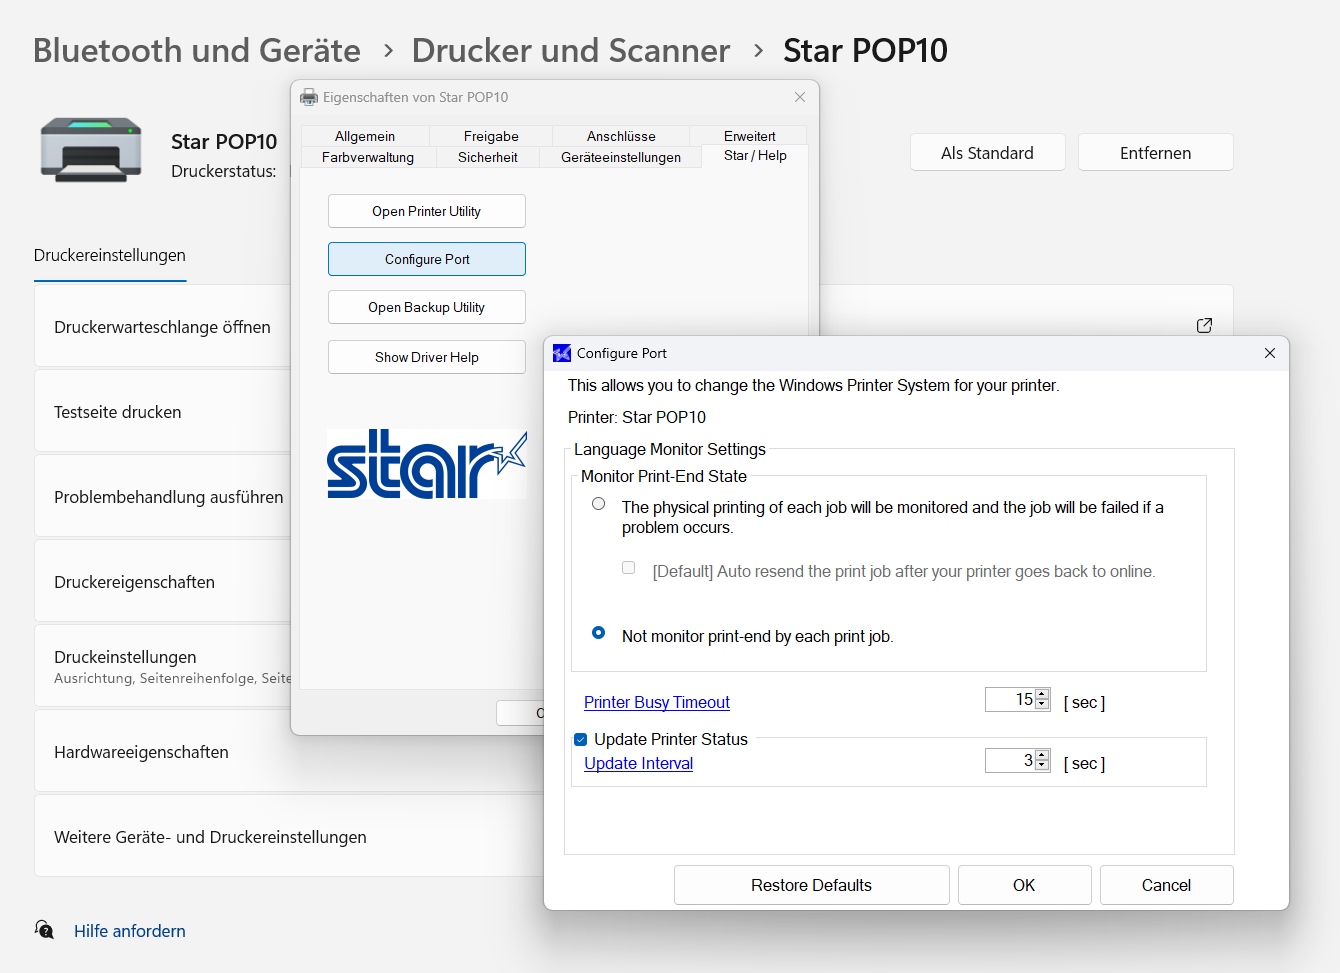
Only for Satellite versions older than 4.4.0: Configure printer port
- Open Settings > Bluetooth and Devices > Printers and Scanners on Windows and select your printer (e.g. "Star POP10").
- Click on Printer properties.
- Switch to the Star / Help tab and click Configure Port.
- In the Monitor Print-End State section, select "Not monitor print-end by each print job".
- Confirm with OK and also close the printer properties with OK.
- Then restart Belbo Satellite and print a test receipt.
Step 3 of 3: Printer connection in Belbo
- Go to "Settings" in your Belbo calendar.
- Enter the term "Printer connection" in the search field at the top of the page and open the "Printer connection" function.
- Switch to the "Printer Configuration" tab.
- Select your printer model under "Printer type".
- Click "Set up printer" to find the installed printer.
- Share your printer and then add it to Belbo.
- A detailed description of printer connection can be found here.
Now you can start a cash register transaction and print a receipt.