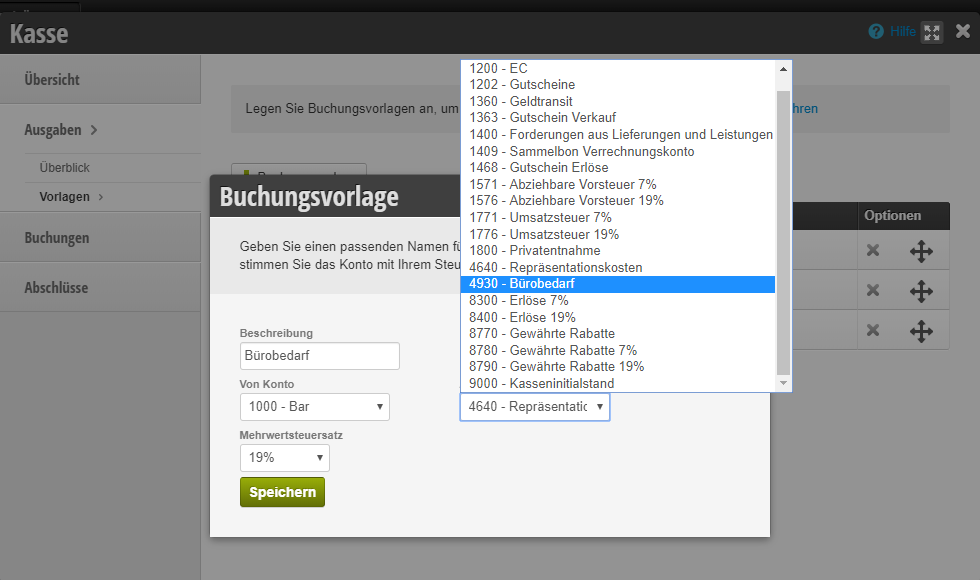
Once you withdraw cash from the register or add a cash deposit, this transaction must be documented before the daily closing is performed.
1. Document expenses and deposits
If you withdraw cash from the register, for example to purchase goods, this transaction must be documented in the register to ensure an accurate cash balance. The same applies to private withdrawals, deposits, or when you withdraw cash from the register to transfer it to the bank.
- Click on the "Expenses" tab in the register.
- Select the appropriate expense button (e.g., "Office Supplies").
- Handwrite the automatically generated receipt number on the cash receipt, which you will submit to your tax office.
- Then enter the amount of the expense and the expense date as shown on the cash receipt.
- Save your expense.
2. Add and manage expense templates
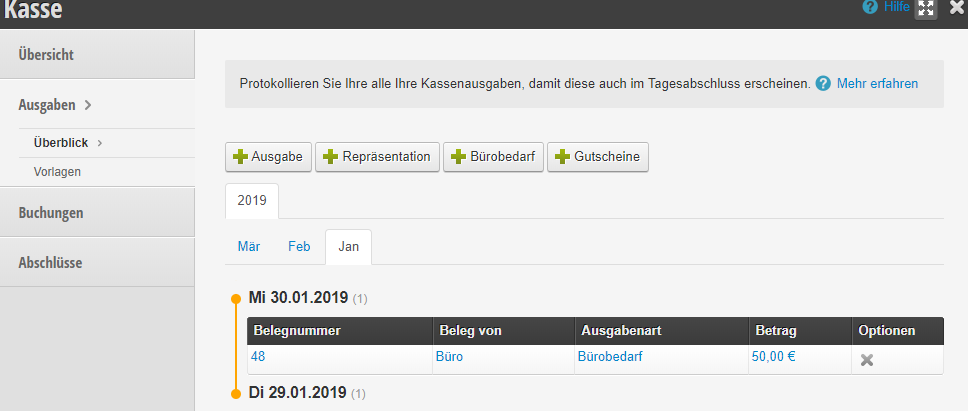
Expense templates facilitate the everyday operation of the cash register system. Depending on your tax office's requirements, template buttons can be added to your register to correctly post expenses and deposits.
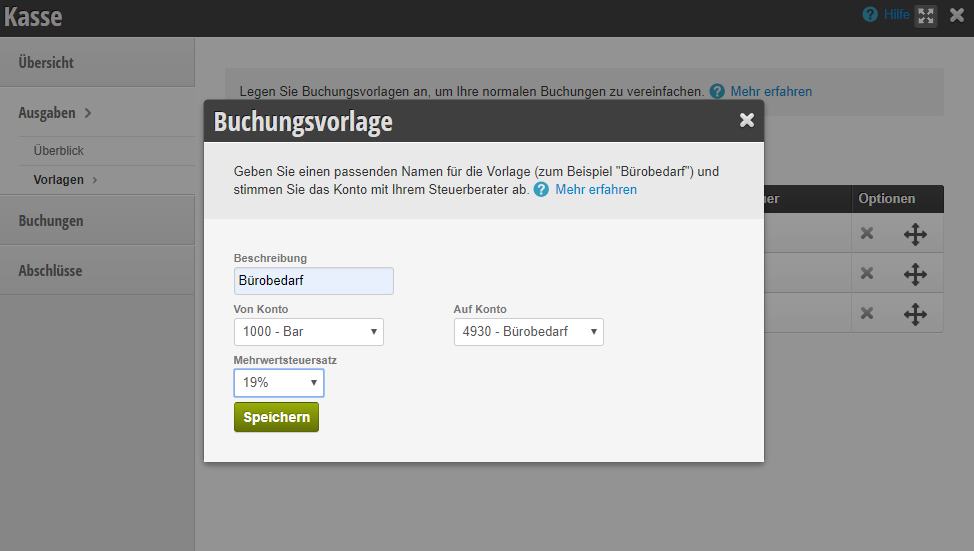
- Click on the register in the main navigation and switch to the "Expenses › Templates" tab.
- Select the "New Booking Template" button and fill in the fields.
- For expenses paid with cash from the register: "From Account" is the register – "To Account" is the target account
(for example, "Representation Costs"). - For cash deposits to the register: "From Account" is the deposit source (for example, "Private Deposit") – "To Account" is the register.
- After saving, you will see the new template in the "Expenses" menu item.
First, consult with your tax office about which regular cash expenses you have and set up the corresponding accounts in your register system if they don't already exist. Examples of such expenses are representation costs, entertainment expenses, or postage.
3. Deleted expense accounts
If you see a hidden button under your expense templates that you cannot click, you most likely deleted a booking account that you need for this expense.
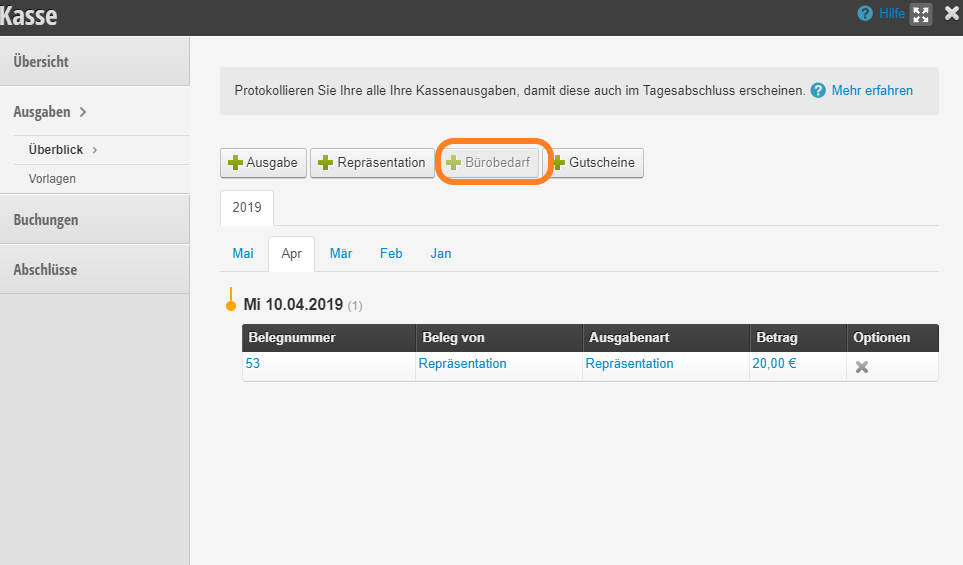
If you have deleted a booking account, you can check this under Settings > Your Chart of Accounts > Accounts > Deleted Accounts. You will receive an overview of deleted accounts where you can quickly see which booking accounts have been deleted.
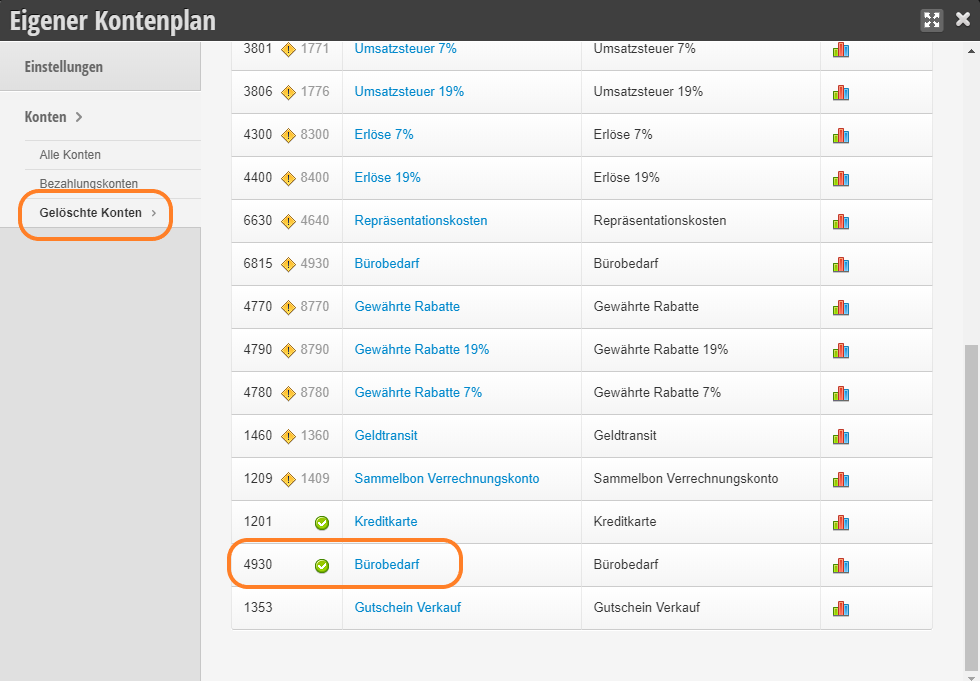 If you need one of these accounts again, simply click on the deleted account and then click the Restore Account button.
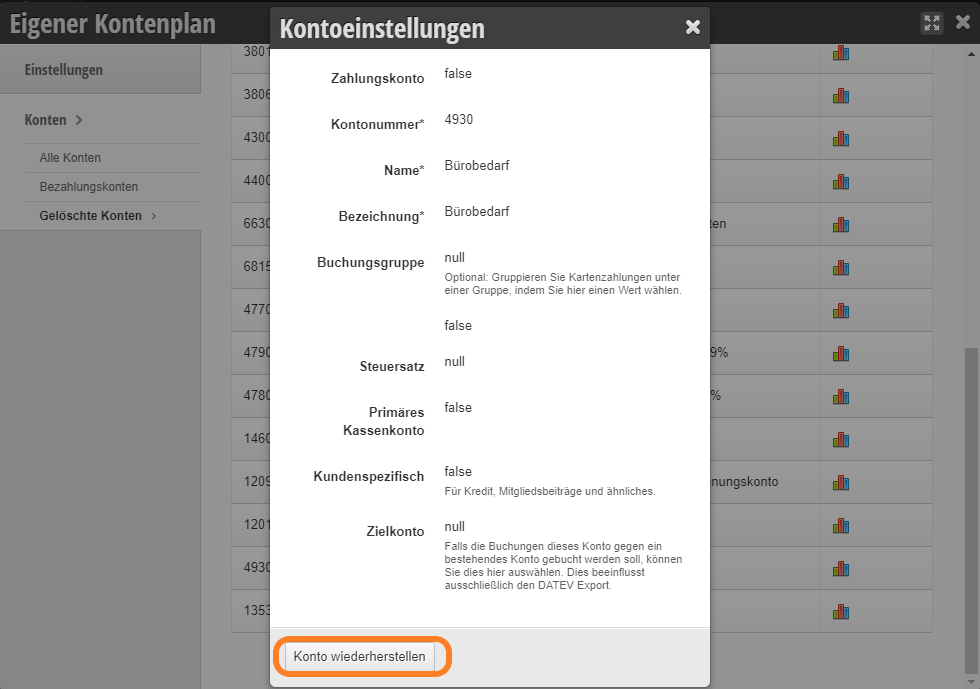 The booking account is quickly restored. The expense also becomes clickable again with the restored account. After you have restored the booking account, make sure the correct link is stored in the expense templates. You can check this by clicking Register > Expenses > Templates > click on desired template > Select target account. The target account is the booking account you restored.