
On the waiting list, you can register customers who would like to book an appointment on an already fully booked day. As soon as an appointment is deleted, the calendar alerts you that there is an interested customer for the newly available appointment.
Important requirements for the waiting list
If you do not see a waiting list button in the top right of the calendar, you can activate the waiting list.
- Go to Settings > Add Function.
- Select "Waiting List".
- Click "Activate".
Waiting list in the calendar with number of entries:

Using the waiting list
When you select the Waiting List button in the top right of the calendar, you can view the current list and add entries.
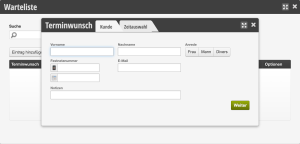
Here you can enter your customer's details and, for example, add a short note. Name and phone number are required fields, the others are optional.
Once you have entered the details, click on "Time Selection".
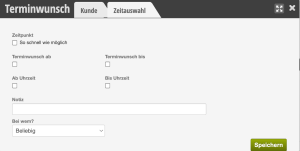
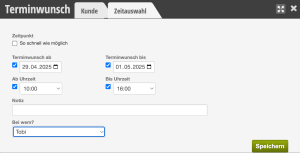
Here you can select the time. "As soon as possible" or a time period within which the customer would like to come. You can also assign the staff member the customer would like to see.
If an appointment is now deleted and a slot becomes available in your calendar, this field automatically appears as a reminder and you can see which customers are still on the waiting list.
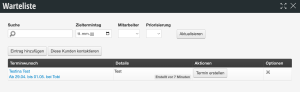
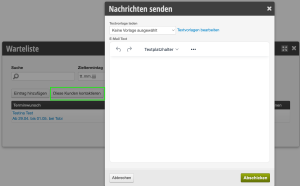
For this, SMS sending must be activated.
Waiting list in online booking
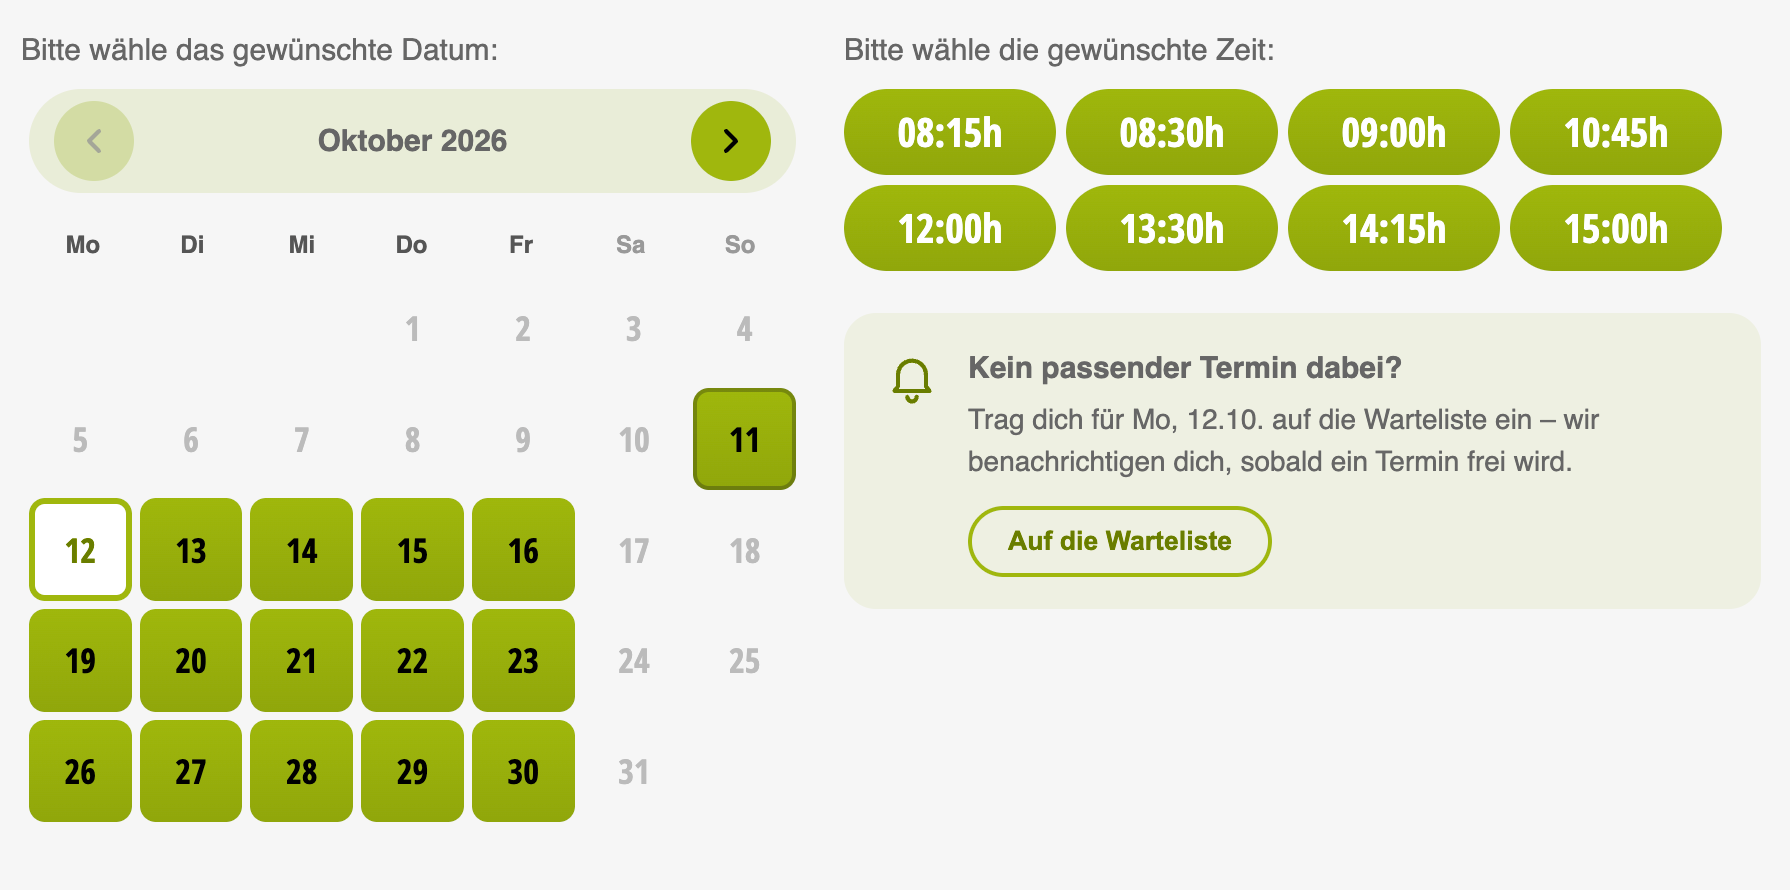
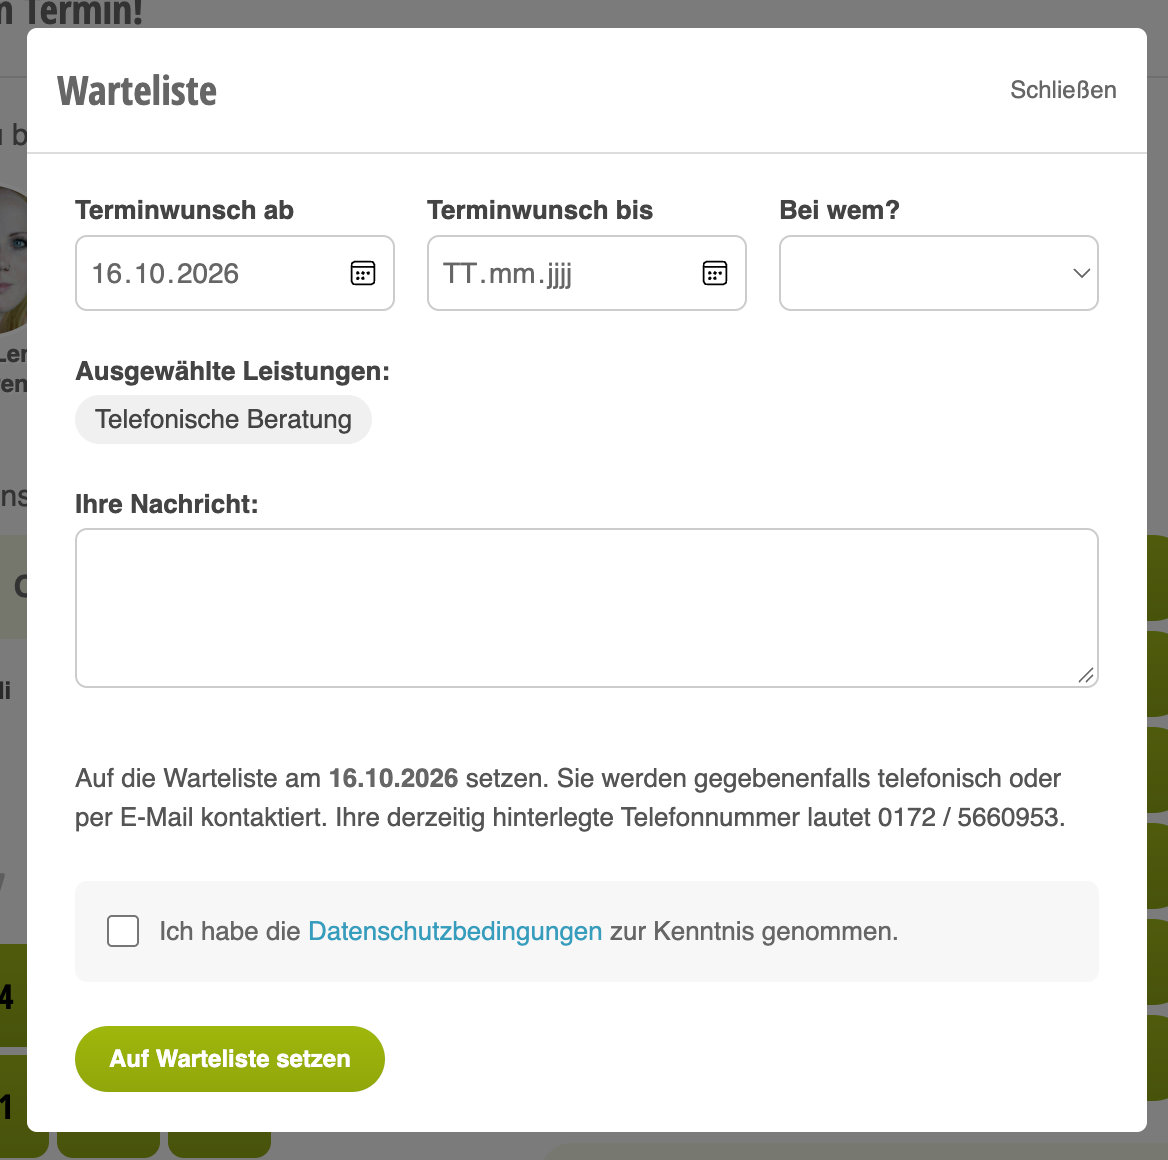
Customers can also register on the waiting list in online booking if the desired time is no longer available.
Settings
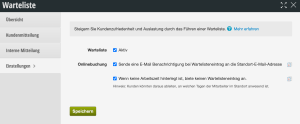
- Waiting List: Here you can enable and disable the waiting list. If you remove this option and then save, the waiting list will no longer be available to your customers in online booking and to you on-site.
- Online Booking - Notification: You can specify that an email is sent to the location address as soon as a customer registers. This address is set in the location settings and is used in many different places.
- Working Hours: Customers only have the option to register on the waiting list on days for which working hours are already entered in the schedule.