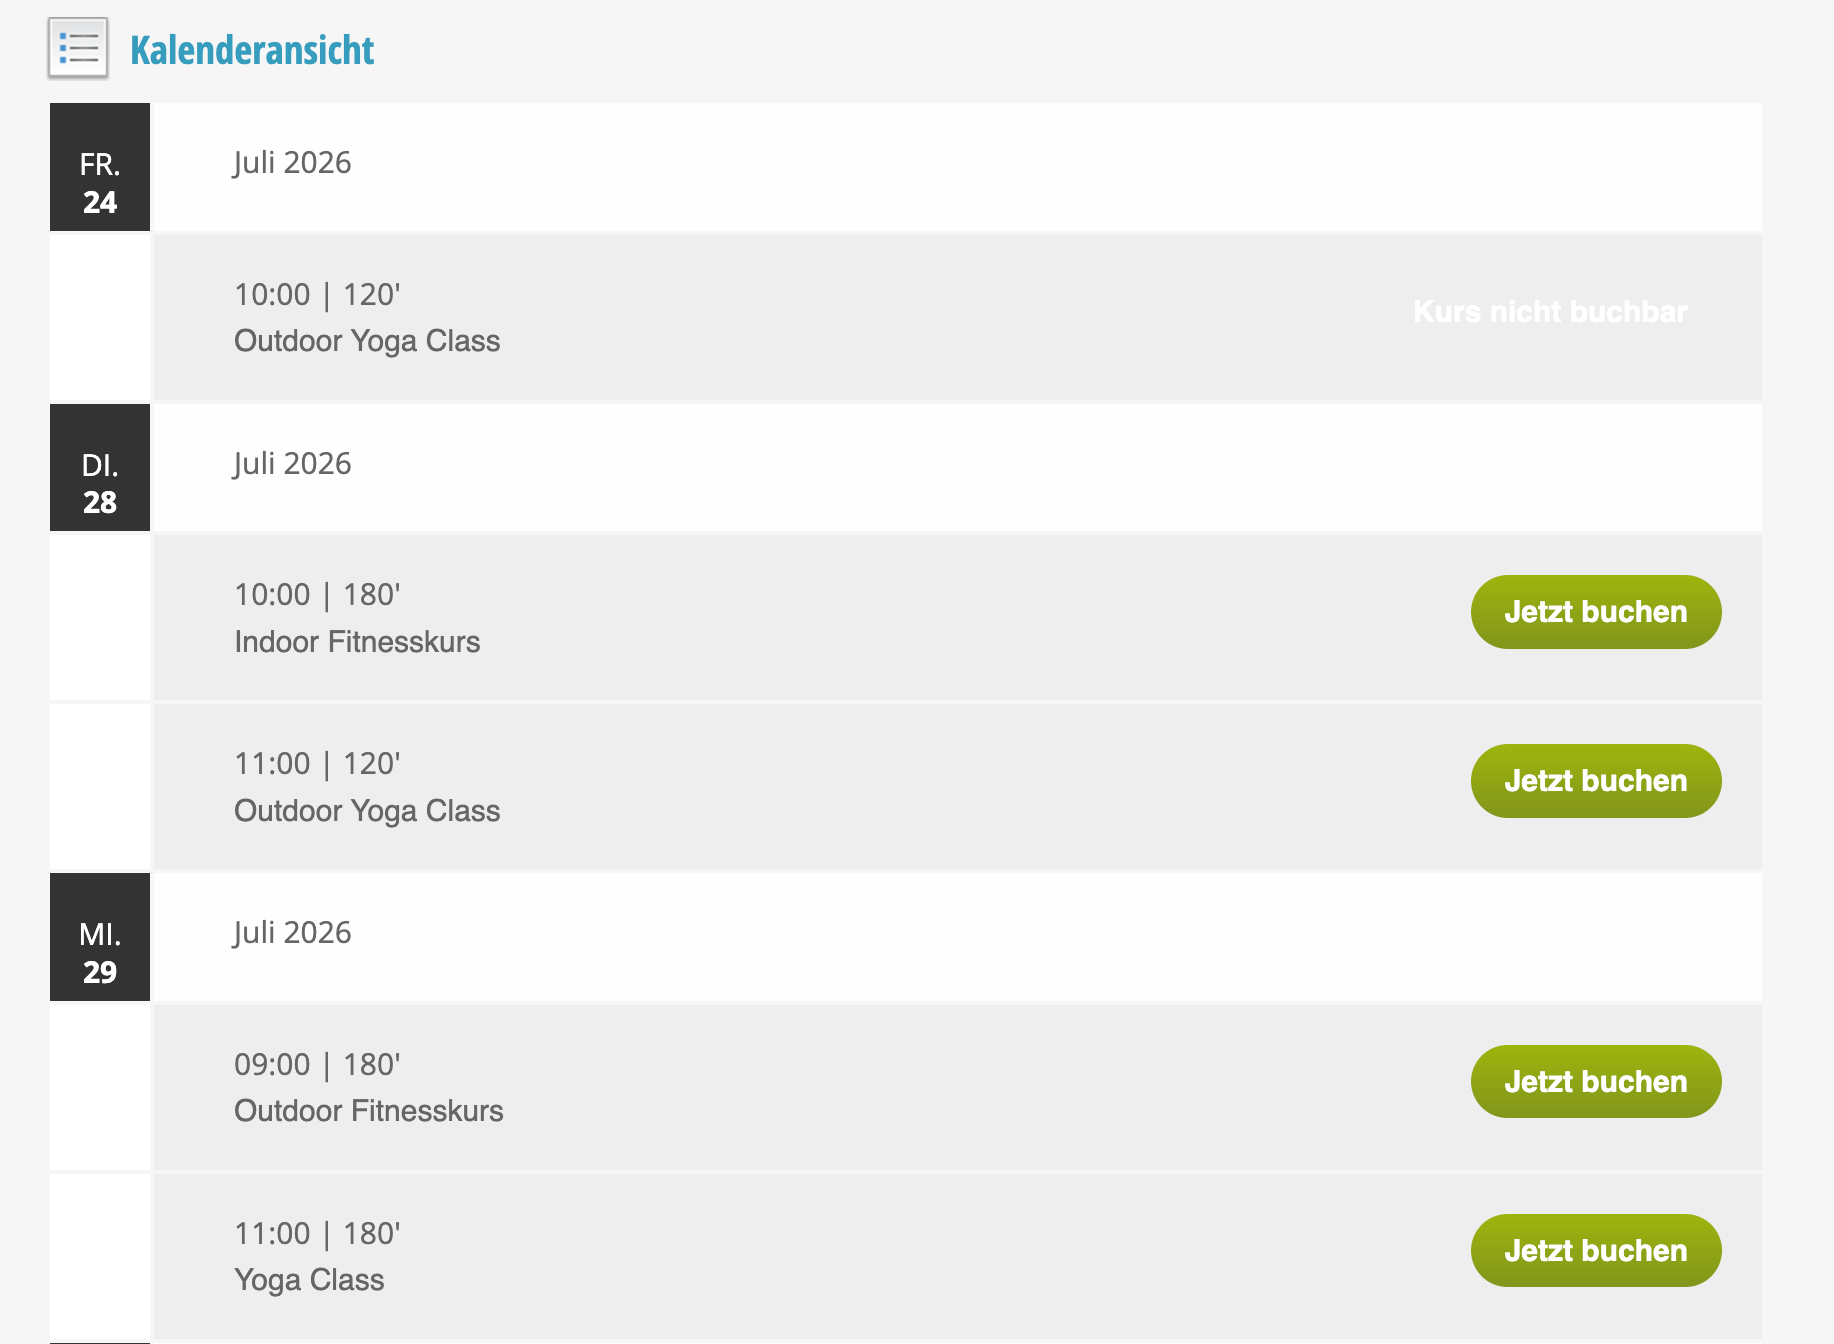
If you offer courses or workshops, you can create them in the Belbo calendar. Employees can view participants and add them, while customers can register for them in the online booking until the maximum number of participants is reached.
Important requirements for managing courses
Activate courses
Under "Settings", you can generally specify that you can create course templates and courses. Click on "Add function" to activate courses.
Choose course designation
Fixed dates to which one or more customers can register are referred to as "courses" by default in the Belbo calendar.
If you would like a different designation, such as "workshops" or "events", you can set this under Settings > Courses > Course type.
If you would like a different designation, such as "workshops" or "events", you can set this under Settings > Courses > Course type.
Courses and course categories
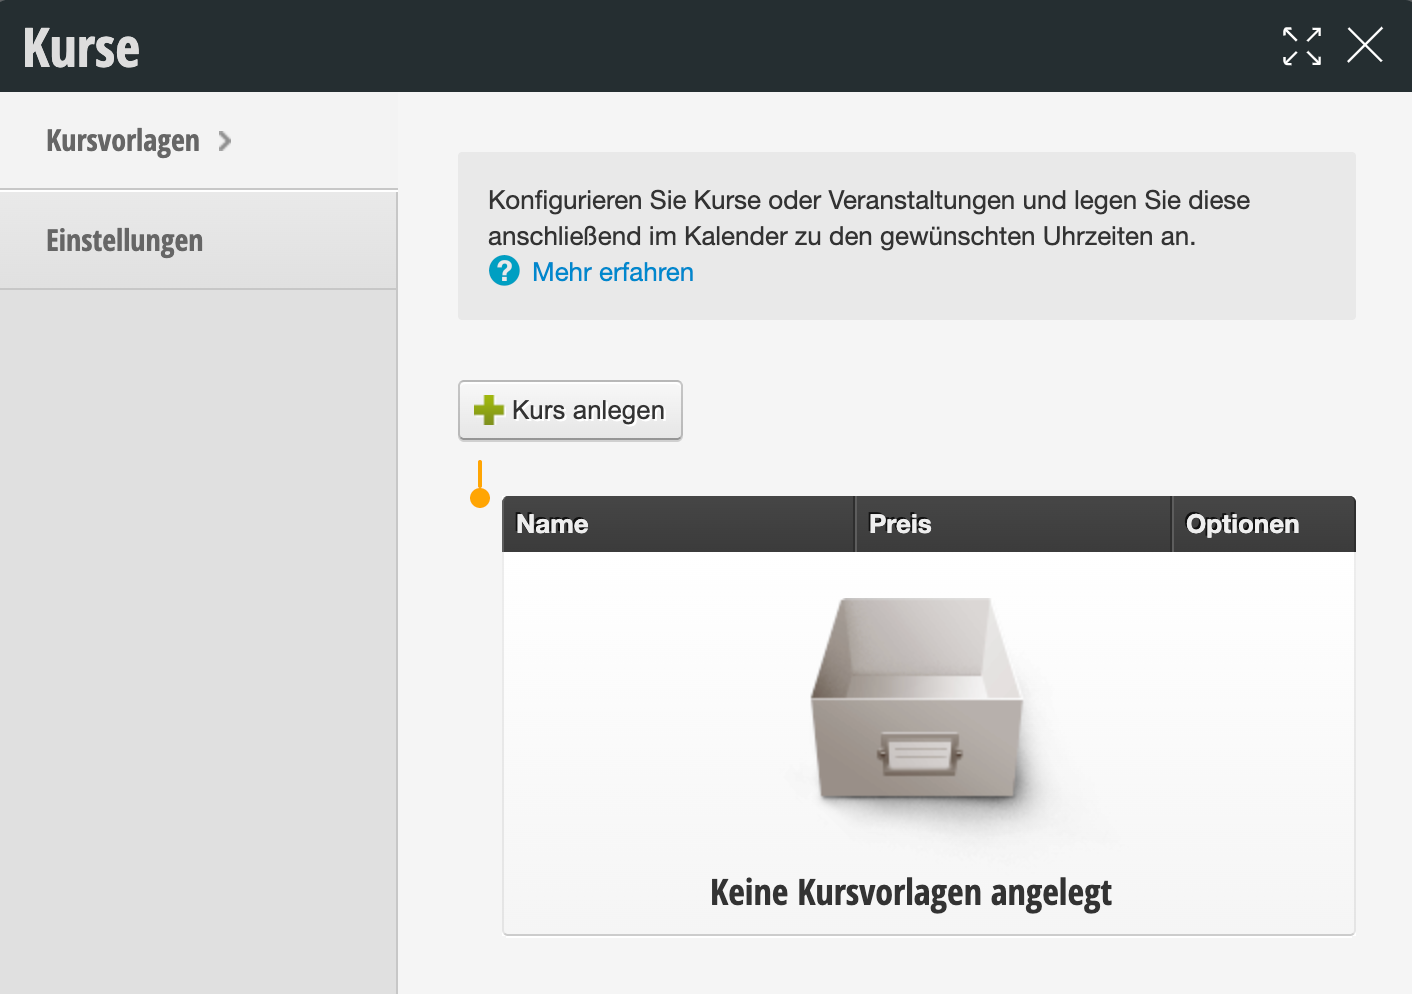
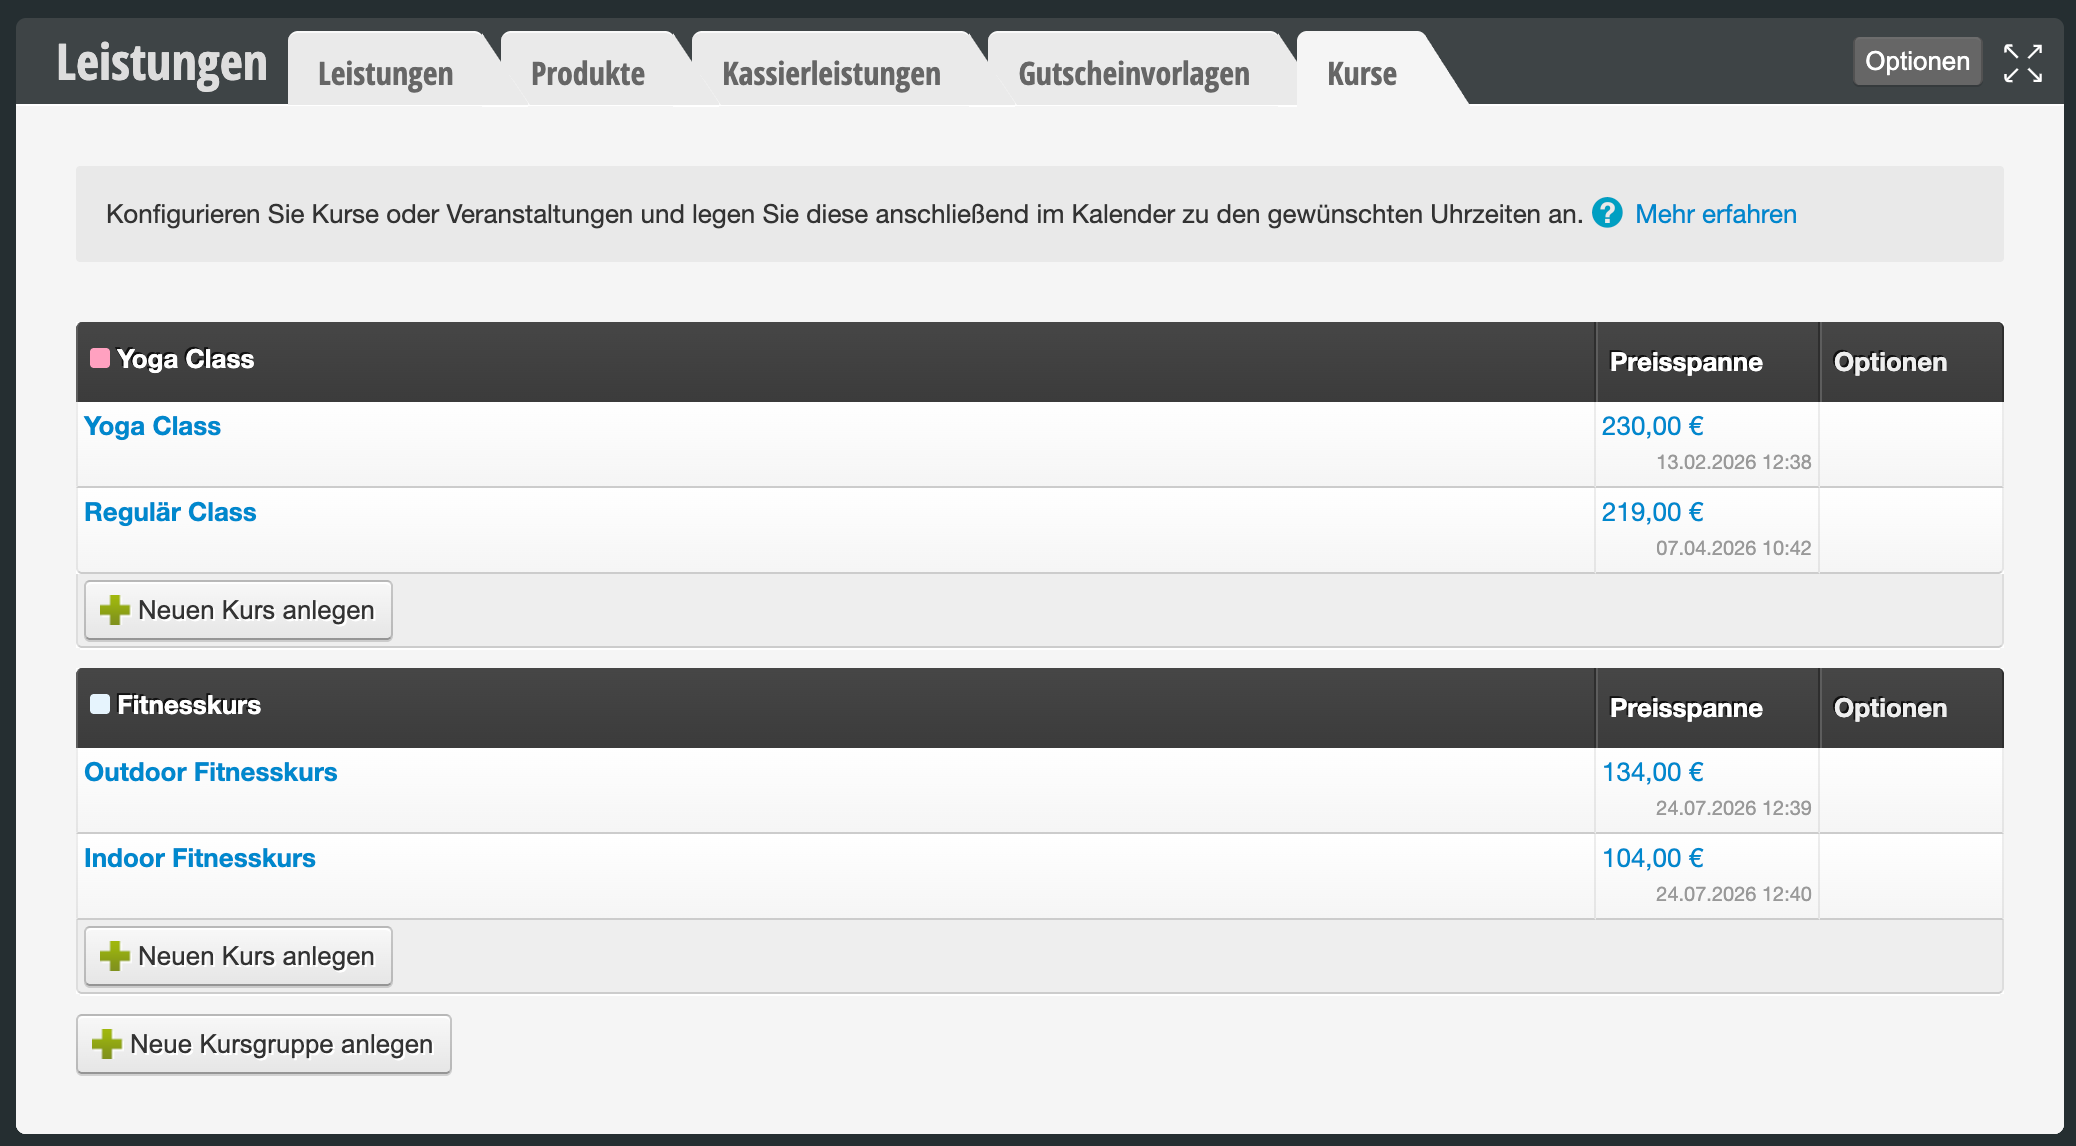
Before you can enter courses in the calendar, you should create course templates. All course templates are organized in course groups.
Create course groups
Click + Create new course group in the course overview and enter the name of the course group. Select the option that the course group is displayed in lists (recommended) and optionally choose a color.
Example of common course group data:
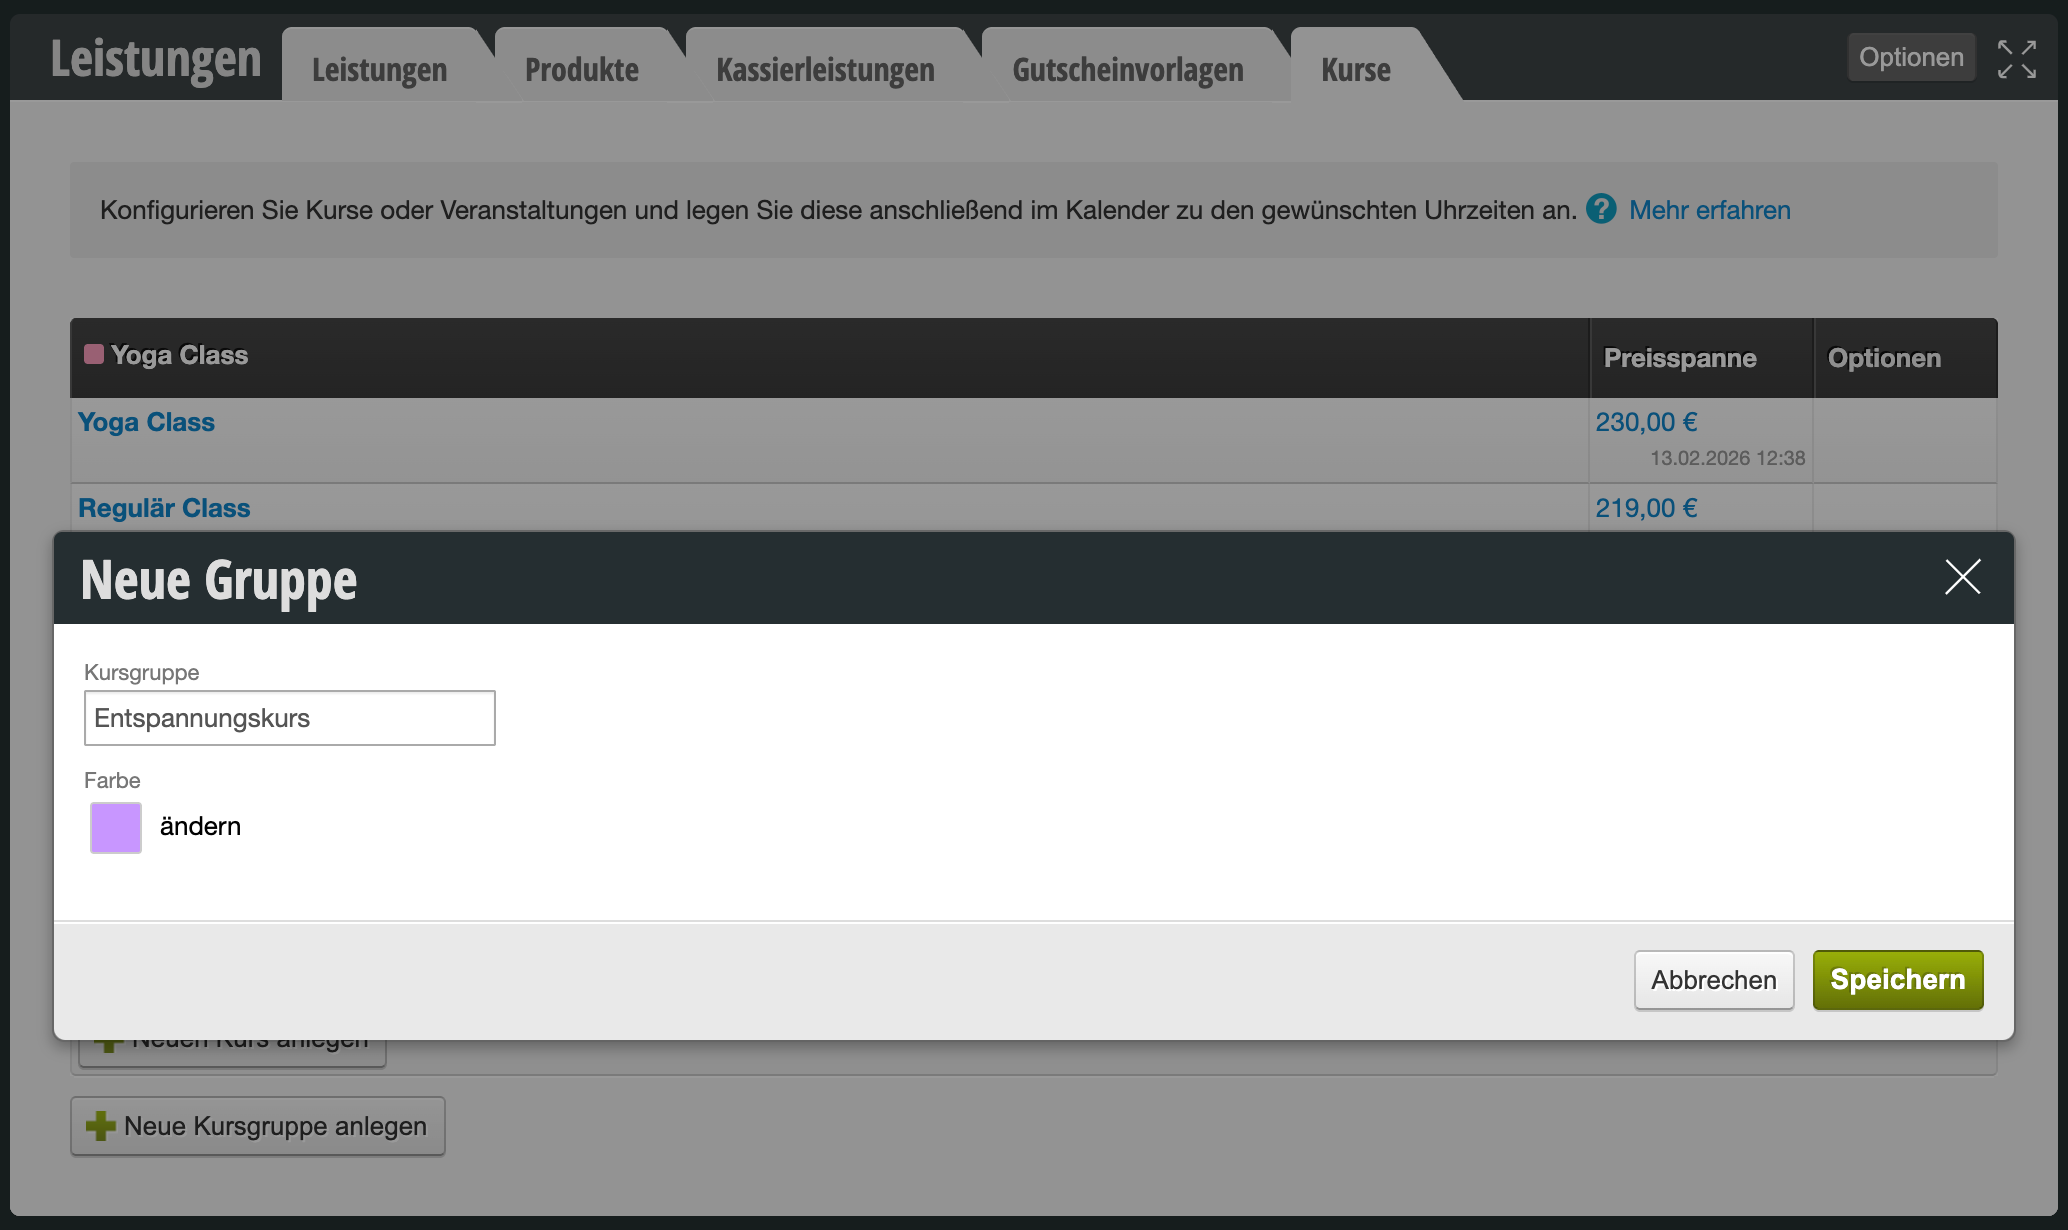
Tip: You can also create course groups when you click + Create new course.
Create courses
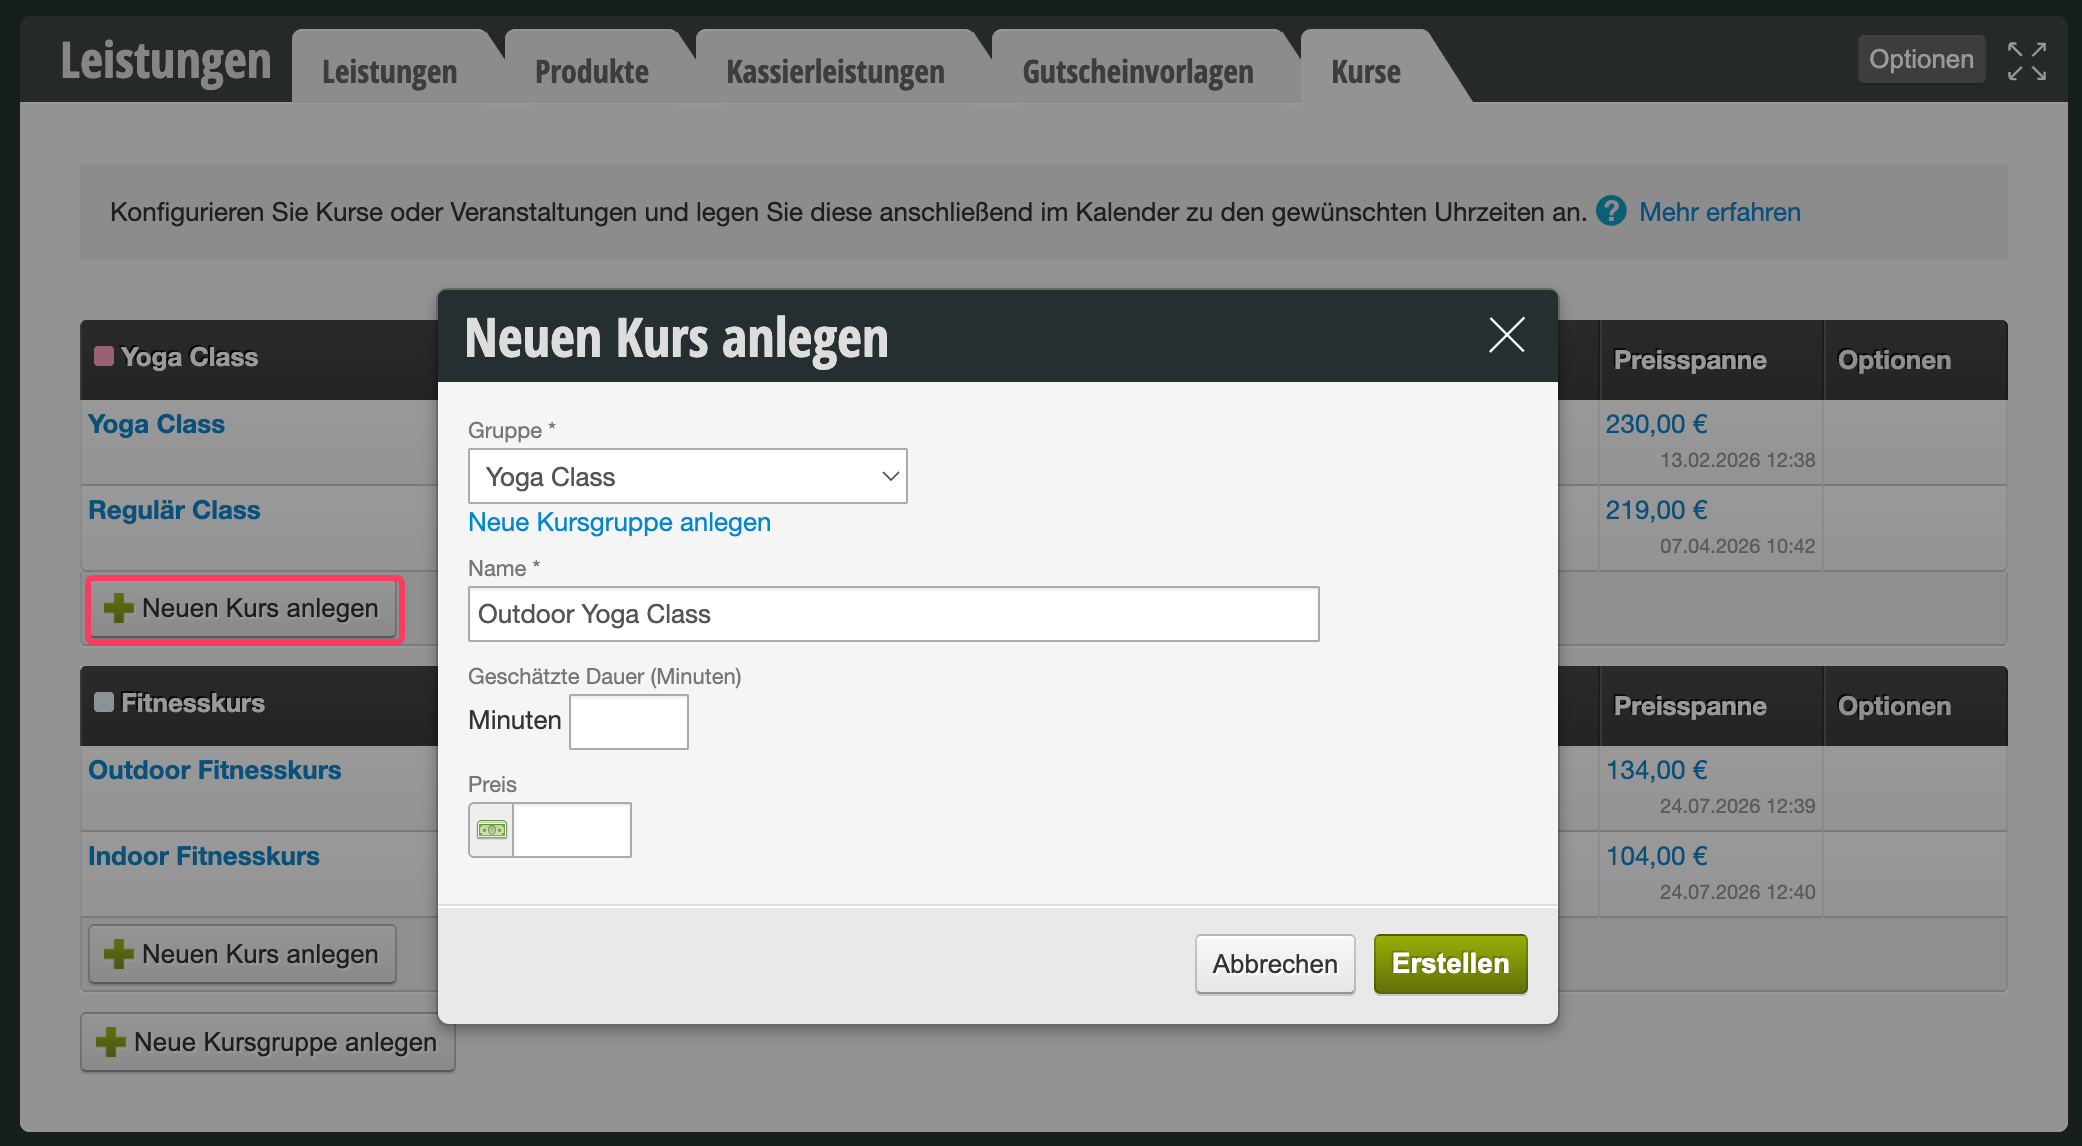
Click + Create new course in the desired course group and enter the name, duration and price of the course.
If your course should have no price – for example because members can book all courses within their contract without additional costs – enter "0" and set the price property later in the completed course.
If your course should have no price – for example because members can book all courses within their contract without additional costs – enter "0" and set the price property later in the completed course.
Edit course properties
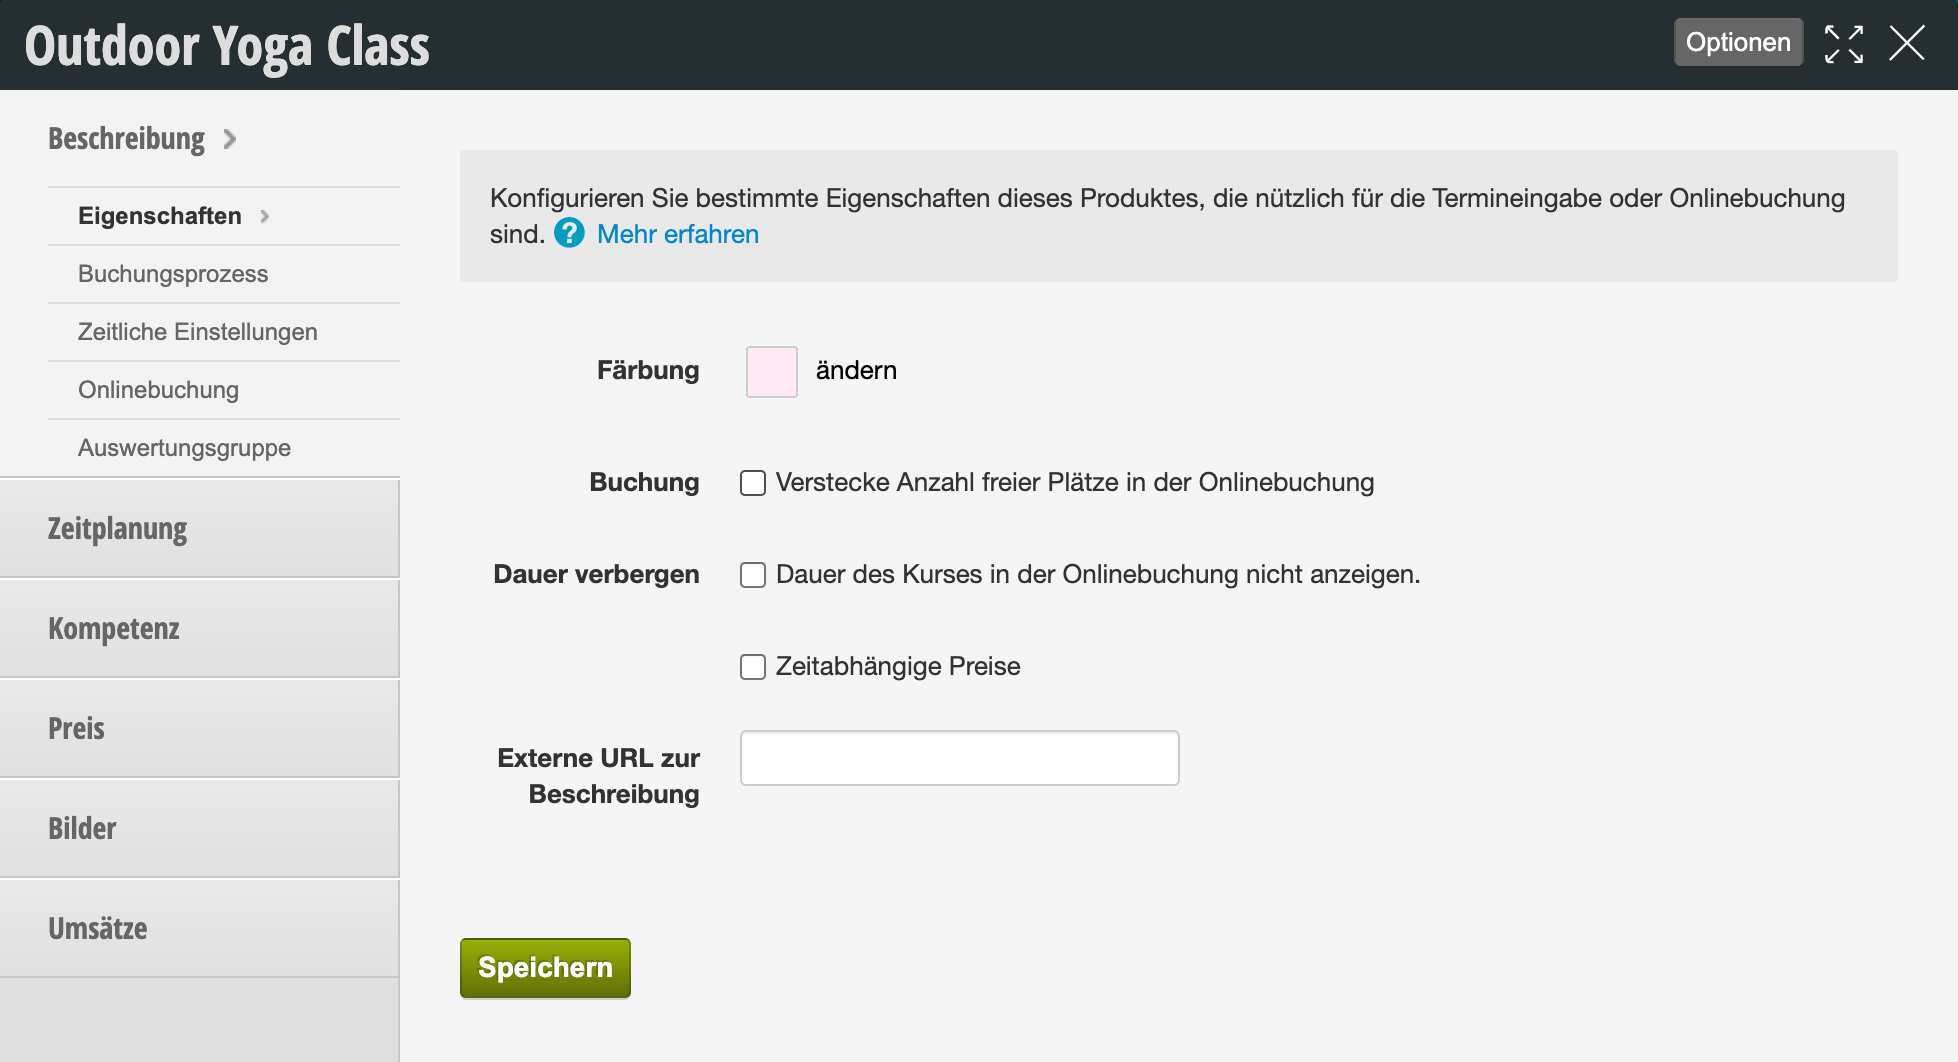
By clicking on the blue linked course name, you can edit numerous properties of the course. You can find detailed information about all service properties here.
Course-specific properties
- Booking: If you wish, you can hide the number of participants in the online booking.
- Hide duration: If you wish, you can hide the duration of the course in the online booking.
Courses in the calendar
Enter courses
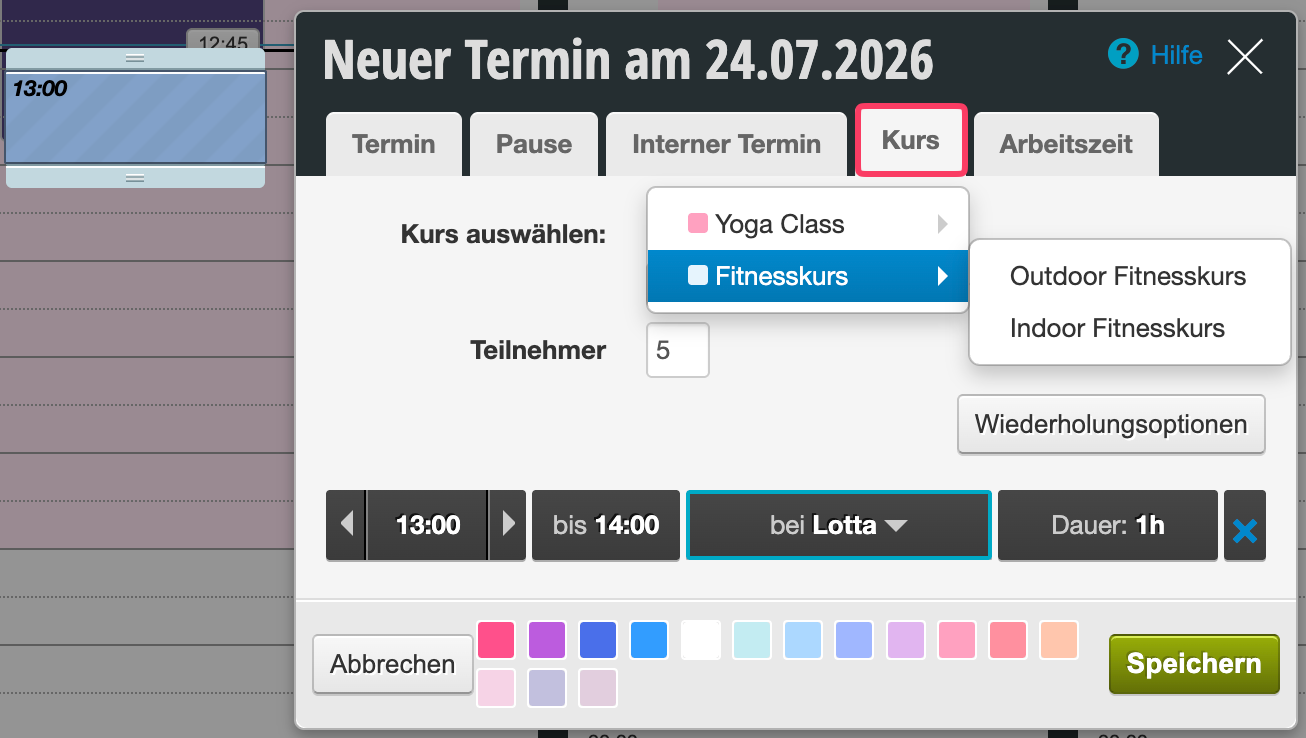
To enter your courses in the calendar at the desired time, click on the time in the calendar on the desired day when the course should take place and select the Courses tab. First select the desired course and define the maximum number of participants.
Recurrence options
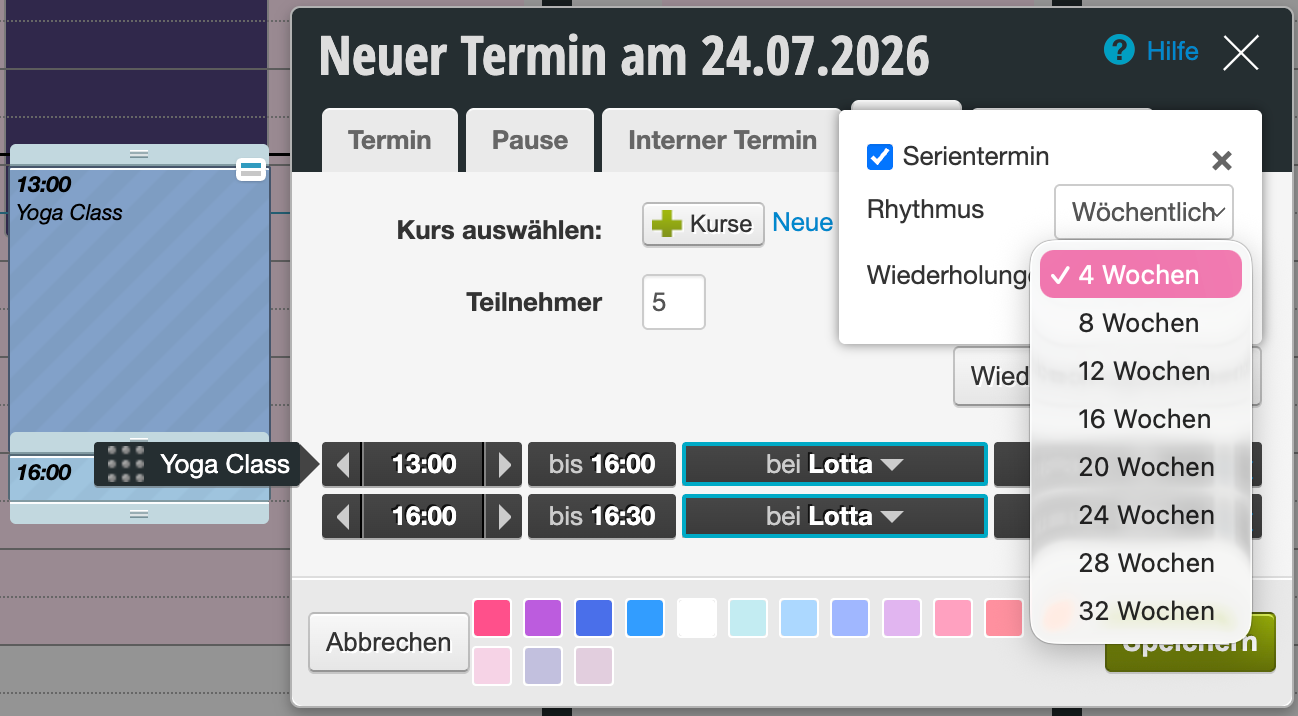
To be able to offer courses regularly on the selected weekday at the selected time, select "Recurrence options" and choose the desired frequency and number of weeks. After saving, the course will be automatically entered for the following weeks as well.
Move, edit or delete courses
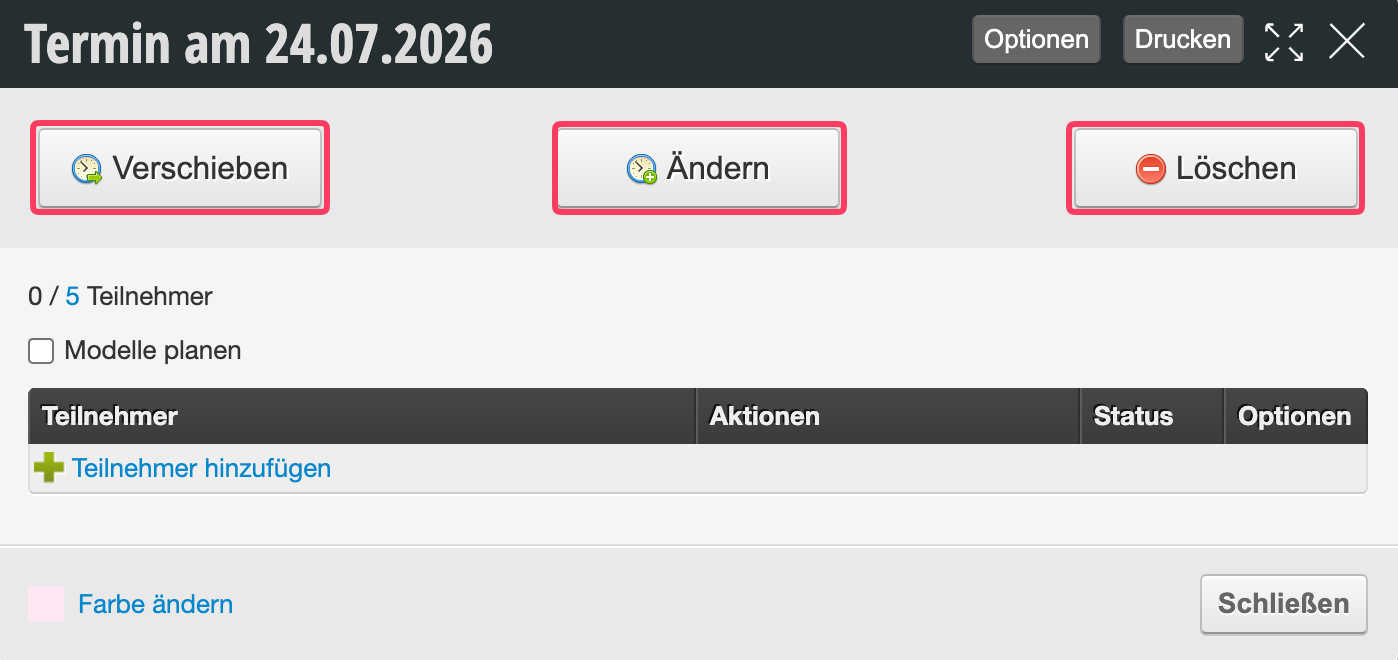
To change the time of a course, move it to another day or delete it, click on the desired course and use the buttons.
Edit course participants
View participants
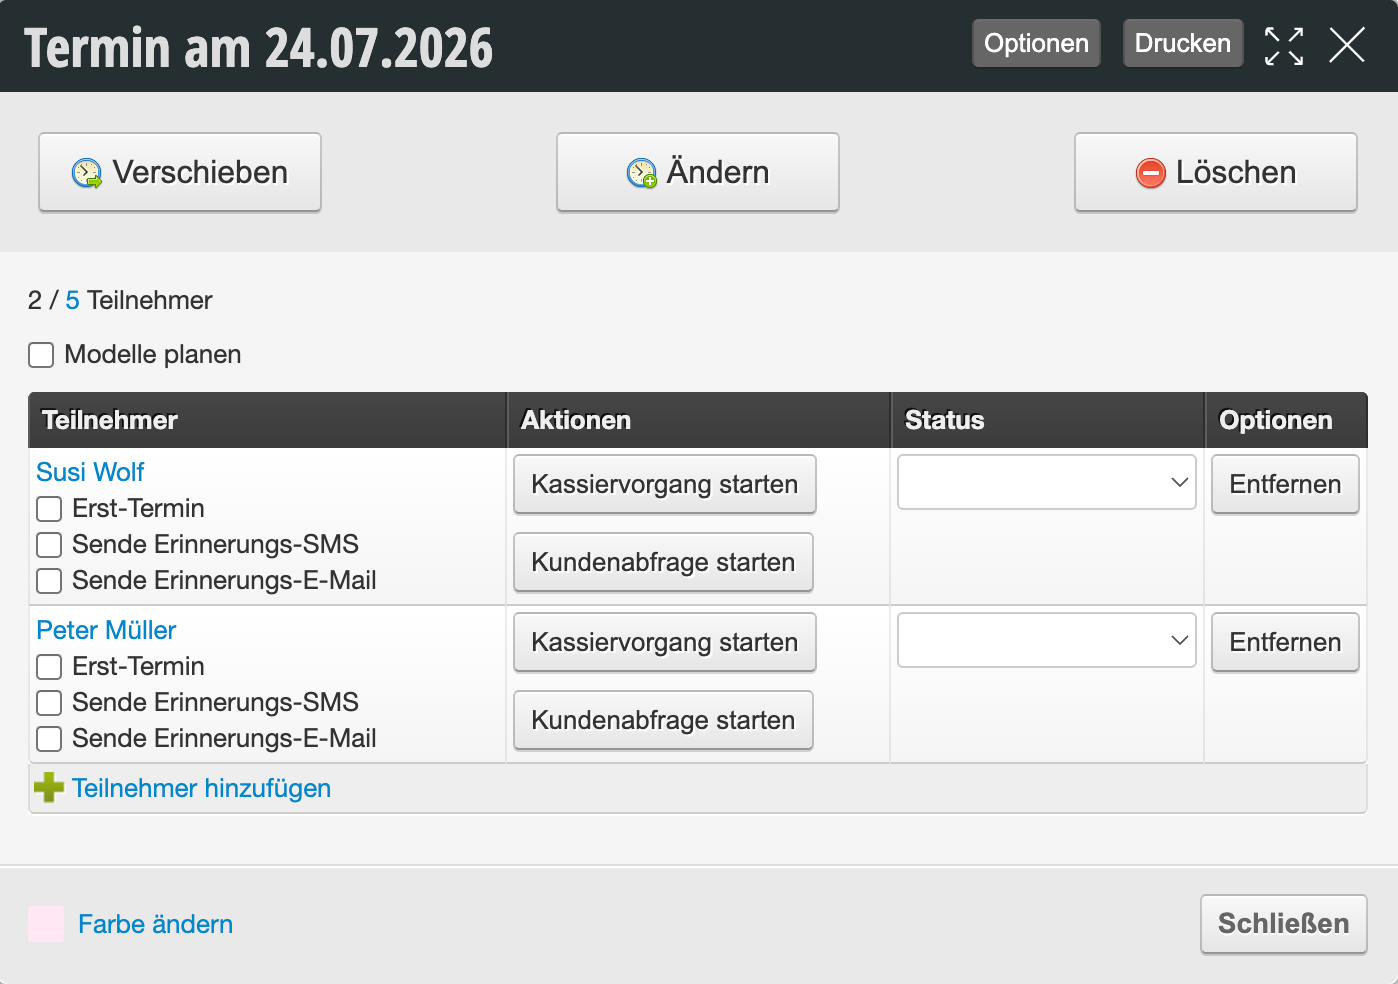
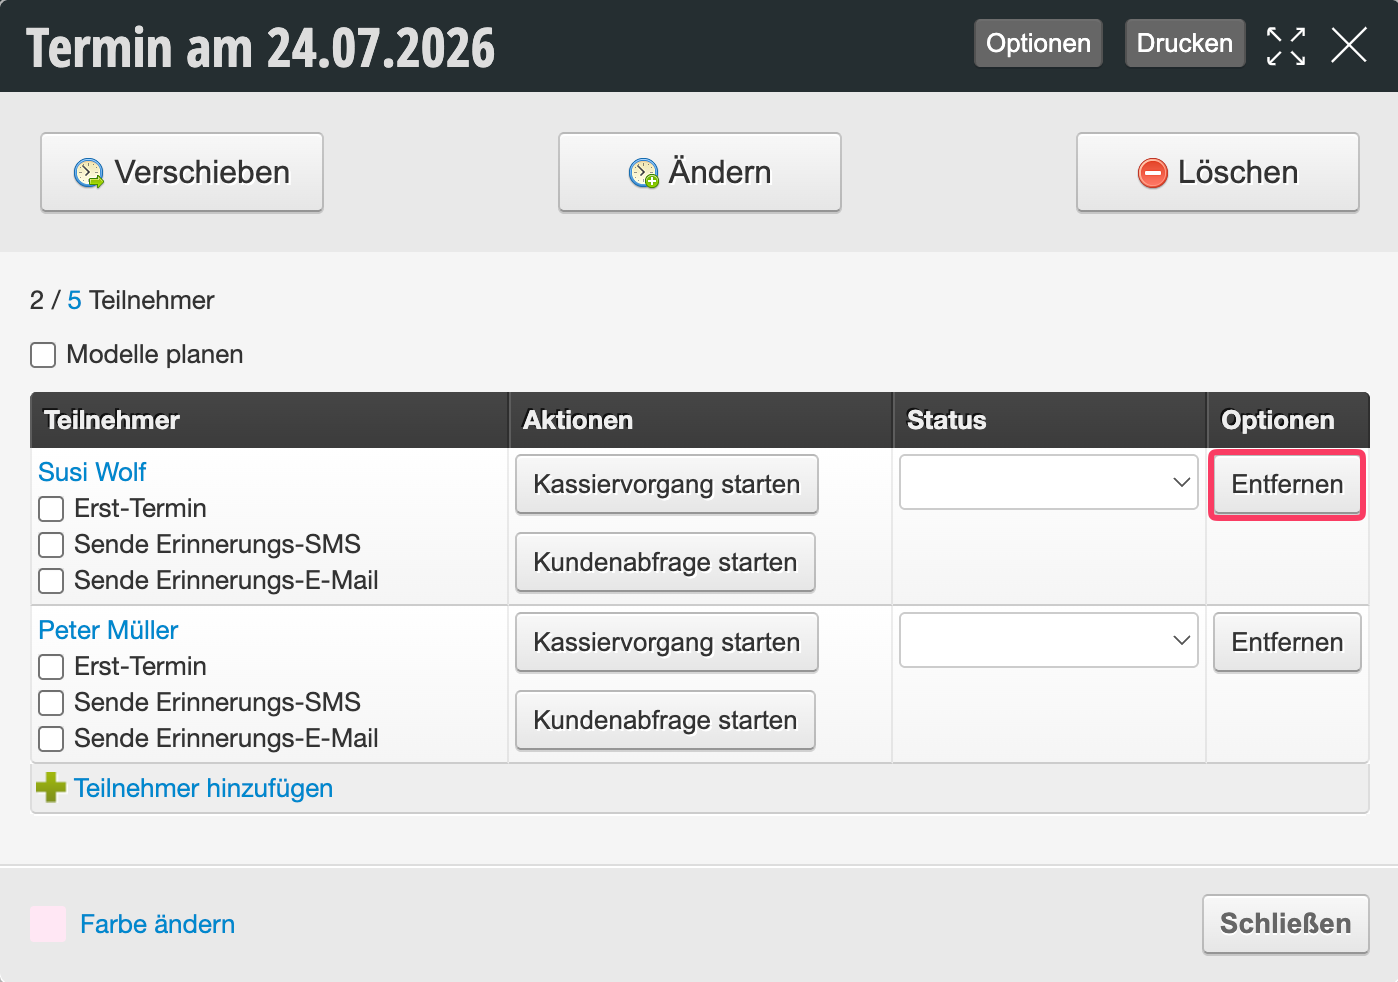
You can see the number of participants directly in the calendar. To see who exactly is participating in the course, click on the course.
Add participants
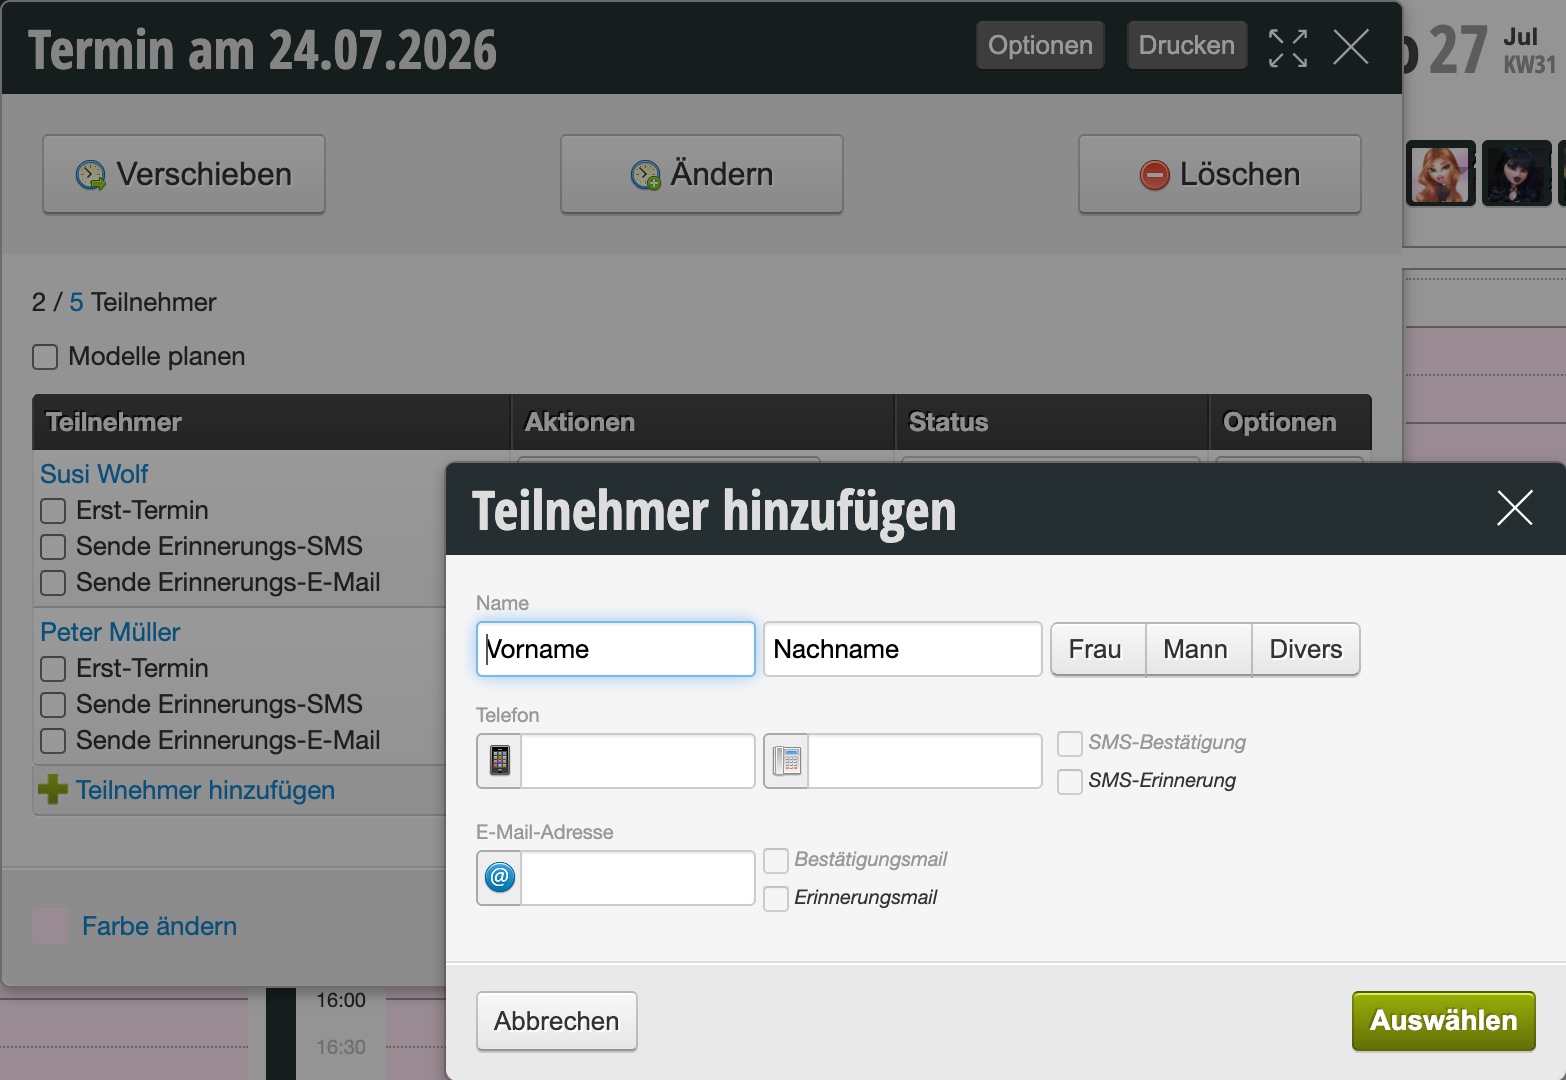
To add participants to the course, click on the desired course, select + Add participant and enter the customer data.
Print participant list
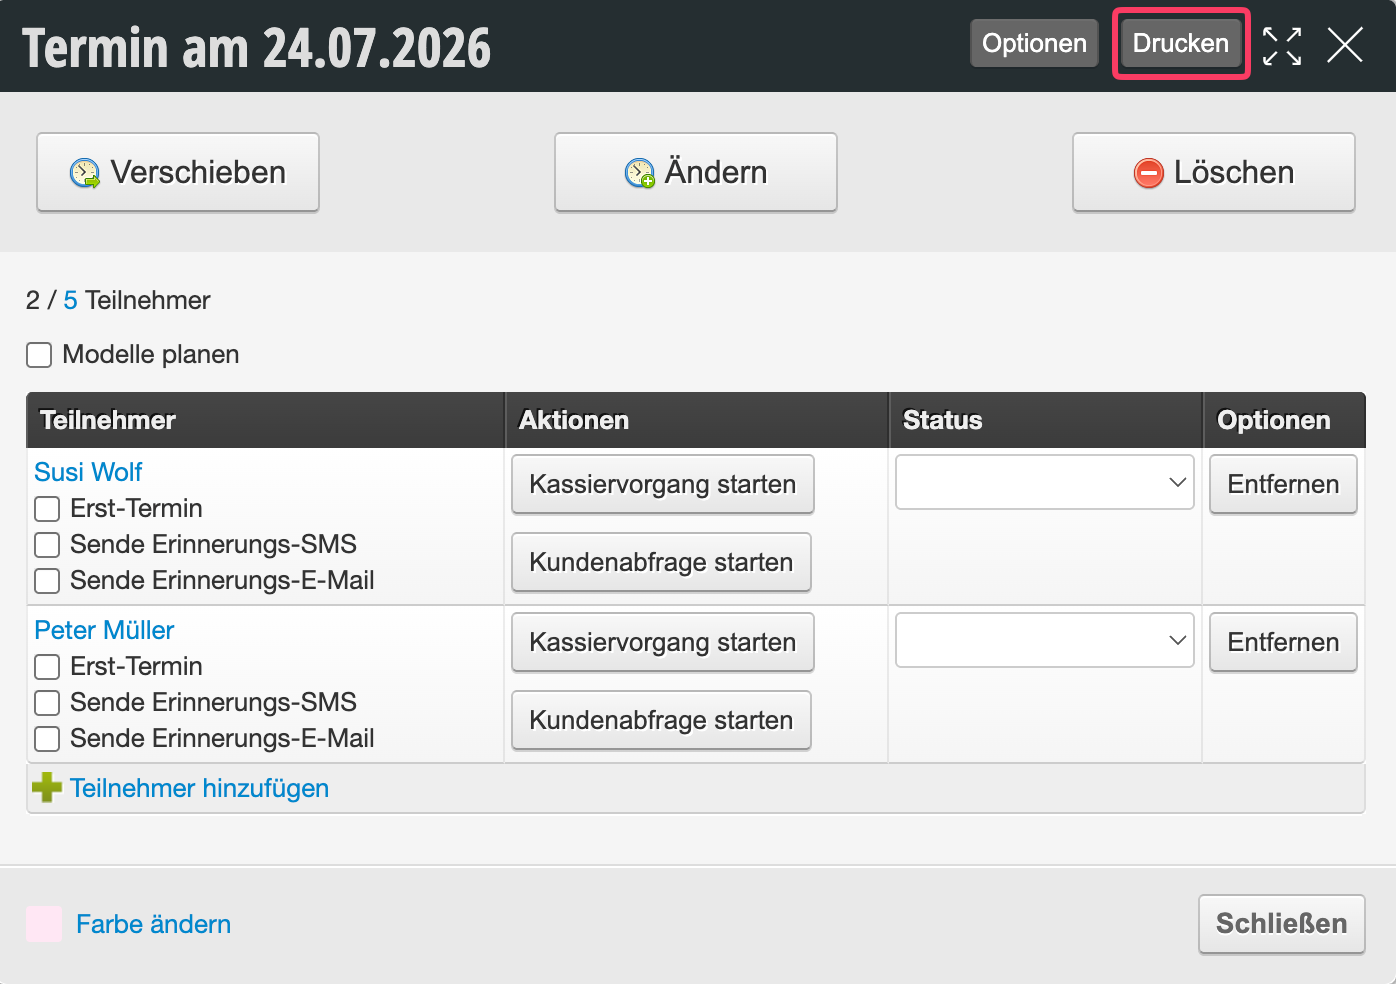
To print a participant table that can be signed by customers, select the Print button.
Remove participants
To delete participants, click on the course and select the Remove button in the row of the customer to be removed.
Courses in online booking
Once you have entered courses in the calendar, customers can register for them in the online booking.
Calendar view of courses
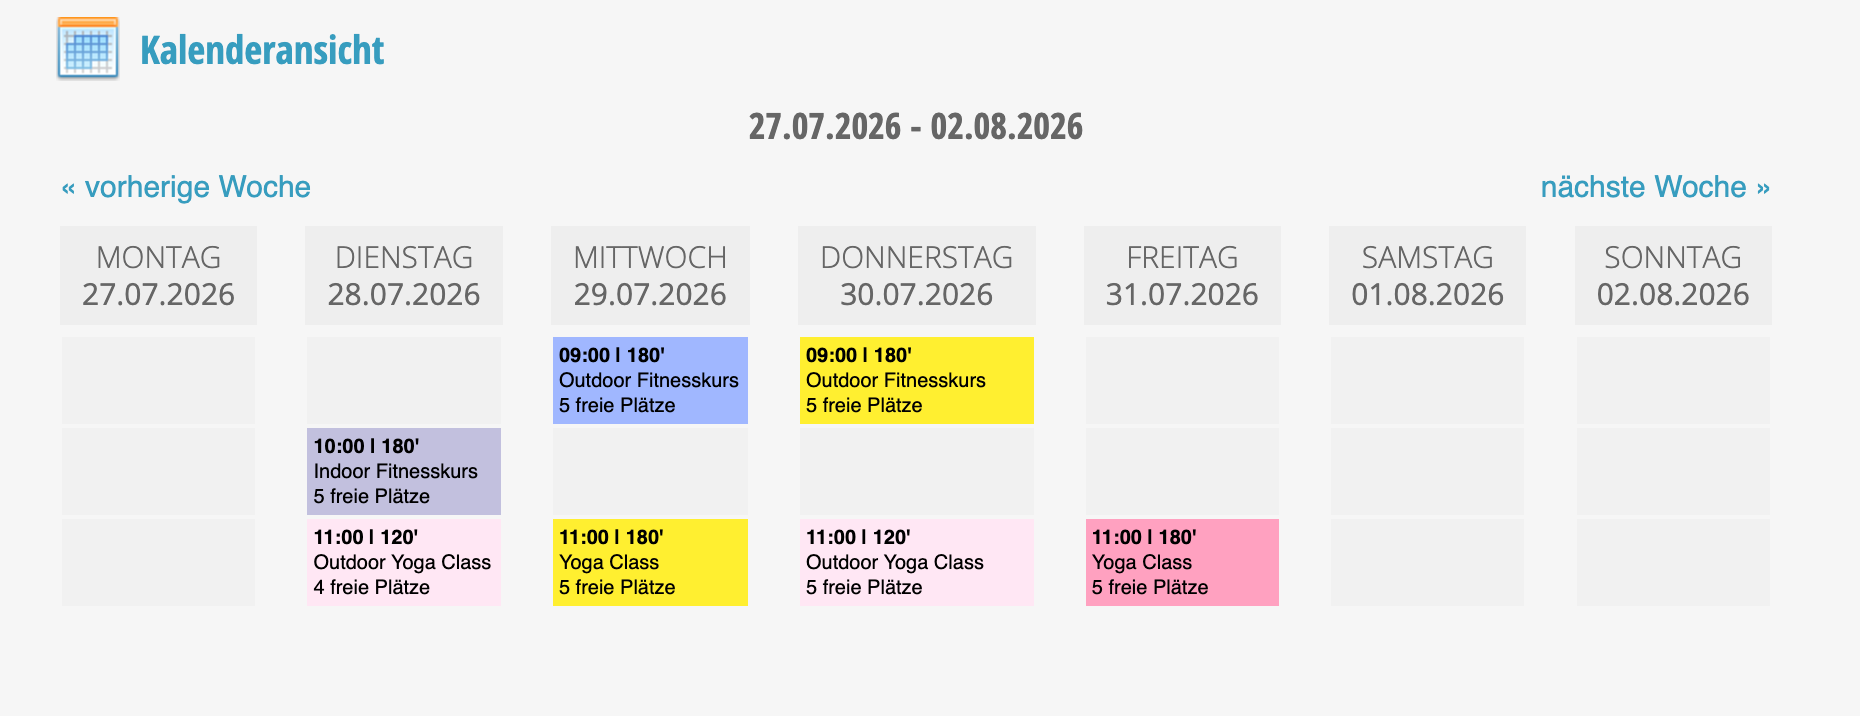
In the calendar view, your customers can see a weekly overview in timetable format.
Example of calendar view of courses in online booking:
Agenda view of courses
In the agenda view, your customers can see a list of all courses.
Example of agenda view of courses in online booking: