
With the help of the cash register menu, you can simplify the checkout process for your employees. This allows you to create buttons that your employees can simply select during checkout.
Function of the Cash Register Menu
If the cash register menu is not enabled, all services you have created can be selected from a selection menu. If the cash register menu is enabled and correctly configured, simple buttons can be selected during the checkout process to enter the desired services.
Warning: if the cash register menu is only enabled but not yet configured, it is not possible to add services during the checkout process.
Short video on how to use the cash register menu:
Setting up the Cash Register Menu
Under Settings > Cash Register Menu you can access the settings area for this function. If it is not enabled, you can activate it under "Add Function". It is best to do this outside of business hours, as the cash register function may not be fully available during the setup process. If you want to start the setup and continue at a later time, you can deactivate the module and reactivate it at a later date without losing your settings.
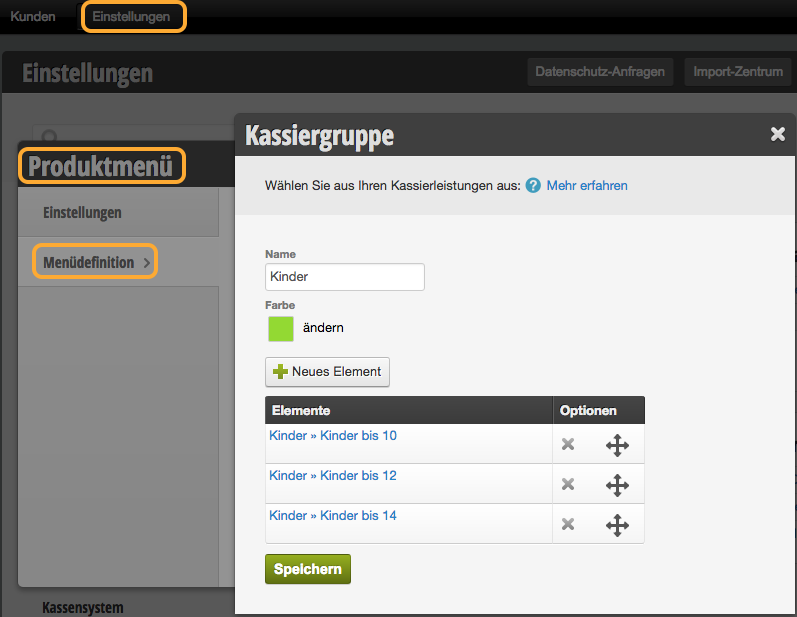
Give your button the desired name and an individual color so that your employees have easy visual orientation.
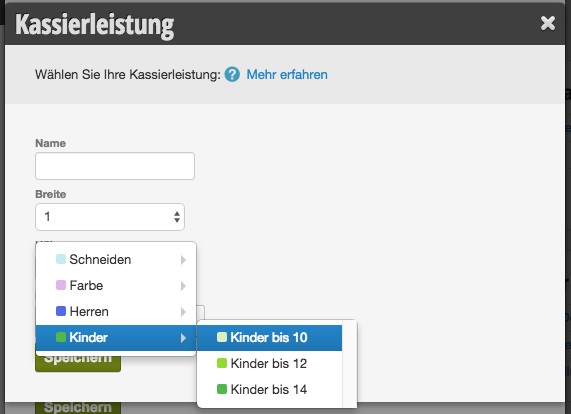
The button is named exactly as the assigned service and also receives its color. To color the buttons of the service in the desired color, define the color within the service.
Repeat this process for each service grouped under the menu button and then save your settings.
Using the Cash Register Menu
Once you have finished setting up your cash register menu, it can be used. When a service is added to a registered appointment or a walk-in customer during checkout, your employees can use the buttons you have created.