belbo
  • Overview
    • Getting to know Belbo
    • Location Settings
    • Switch to Belbo
    • Calendar View & Navigation
    • Recurring Appointments & Courses
    • Appointment Entry & Management
    • Logins & Permissions
    • Multiple Locations & Head Office
    • Manage Employees
    • Absences & Holidays
    • General
    • Working Hours
    • Time Tracking
    • Data Protection (GDPR)
    • Customer Communication (Email, SMS)
    • Customer Management & Records
    • Bonus & Loyalty Programs
    • Campaigns (Newsletter & SMS)
    • Marketing Consents (GDPR)
    • Tracking & Analytics
    • Overview
    • Services & Prices
    • Products
    • Service Packages & Subscriptions
    • Vouchers
    • Purchasing & Suppliers
    • Stock & Inventory
    • Scanning & Sales
    • Materials & Costs
    • Design & Texts
    • Setup & Settings
    • Integration (Website, Google, Instagram, Facebook)
    • Online payment
    • Accounting & Exports
    • Cash Register Settings & Hardware
    • Checkout process
    • Daily Closing & Reports
    • TSE & Cash Register Anti-Tampering Ordinance
    • Export Overview
    • Employee Utilization
    • Revenue & Reports
    • Belbo Satellite
    • Printer
    • EC Terminal & Card Payment
    • Troubleshooting Hardware
    • Scanner & POS Devices
    • General Settings
    • API & Integrations
    • Notifications & Emails
    • Contracts & Legal
Skip to content

Calendar synchronization

We recommend using the Belbo calendar as your company's main calendar.

You can also download the free Belbo app so you can use the calendar on your mobile phone:
to iOS App Store
to Google PlayStore

If you want to synchronize your appointments with Google Calendar, you can activate calendar synchronization.

You can access this area via Settings > Synchronization
If this function is not enabled, it can be activated via "Settings > Add function".

Step 1: Synchronization module

Go to the "Settings" page in your Belbo calendar and open the "Synchronization" module. If it is not activated, you can add it using the search field or the "Add function" button.


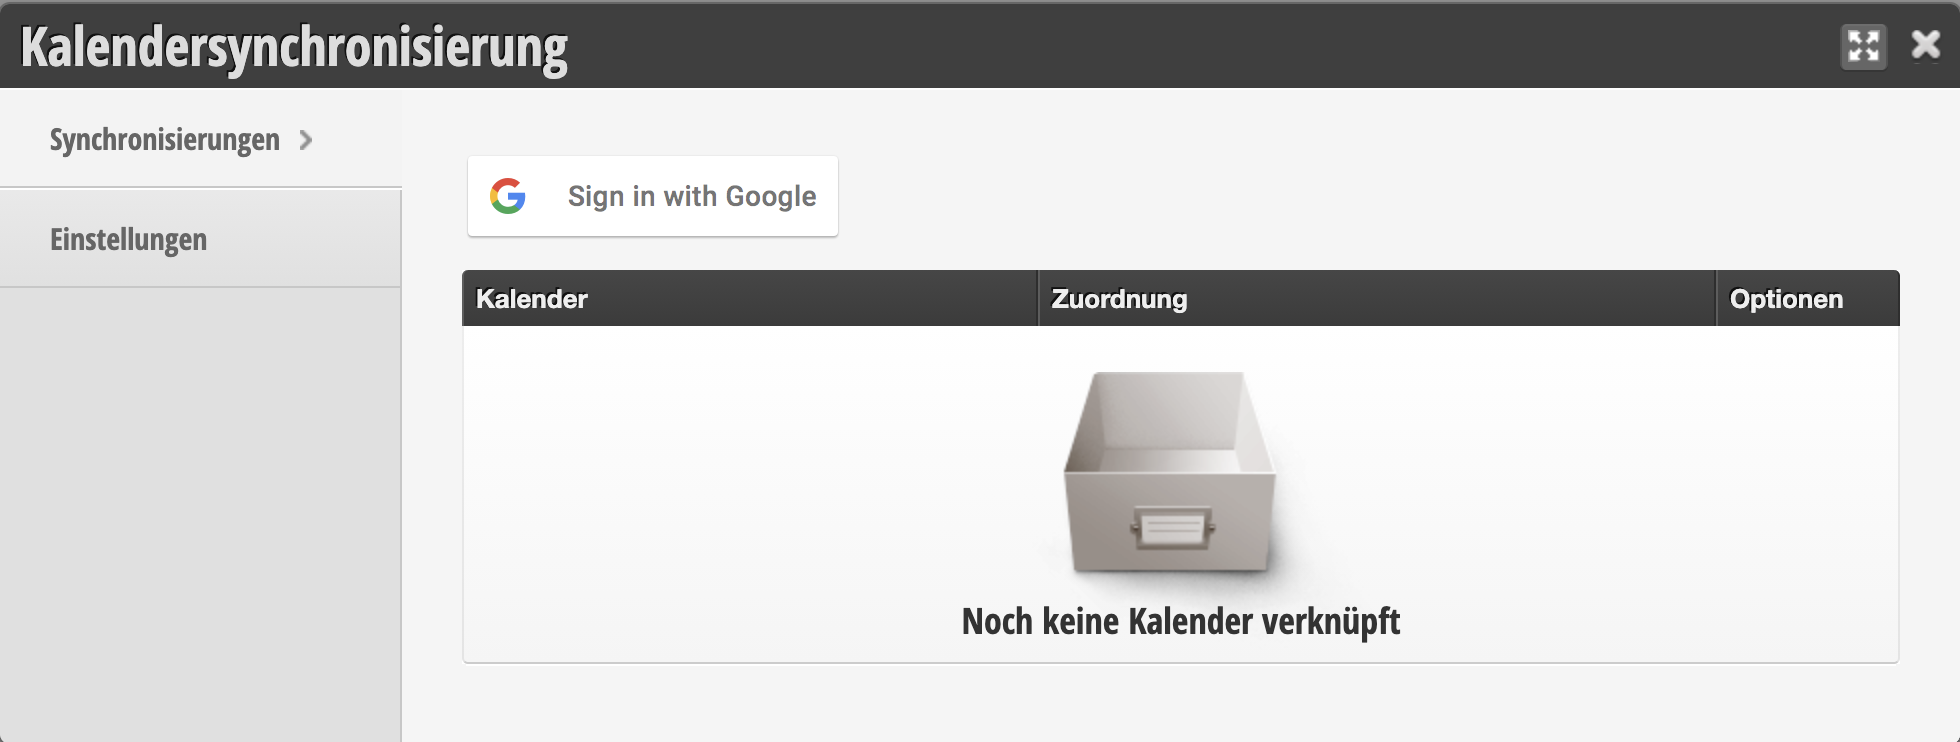
Switch to the "Synchronizations" tab to add or edit calendars.

Step 2: Add calendar

  • Select the "Sign in with Google" button.
  • You will be redirected to Google.
  • Then select the Google account to be linked and confirm access.
  • Your Google account is now linked, but no synchronization will take place yet.
  • After saving, please go back to the "Synchronizations" tab.

Step 3: Link calendar

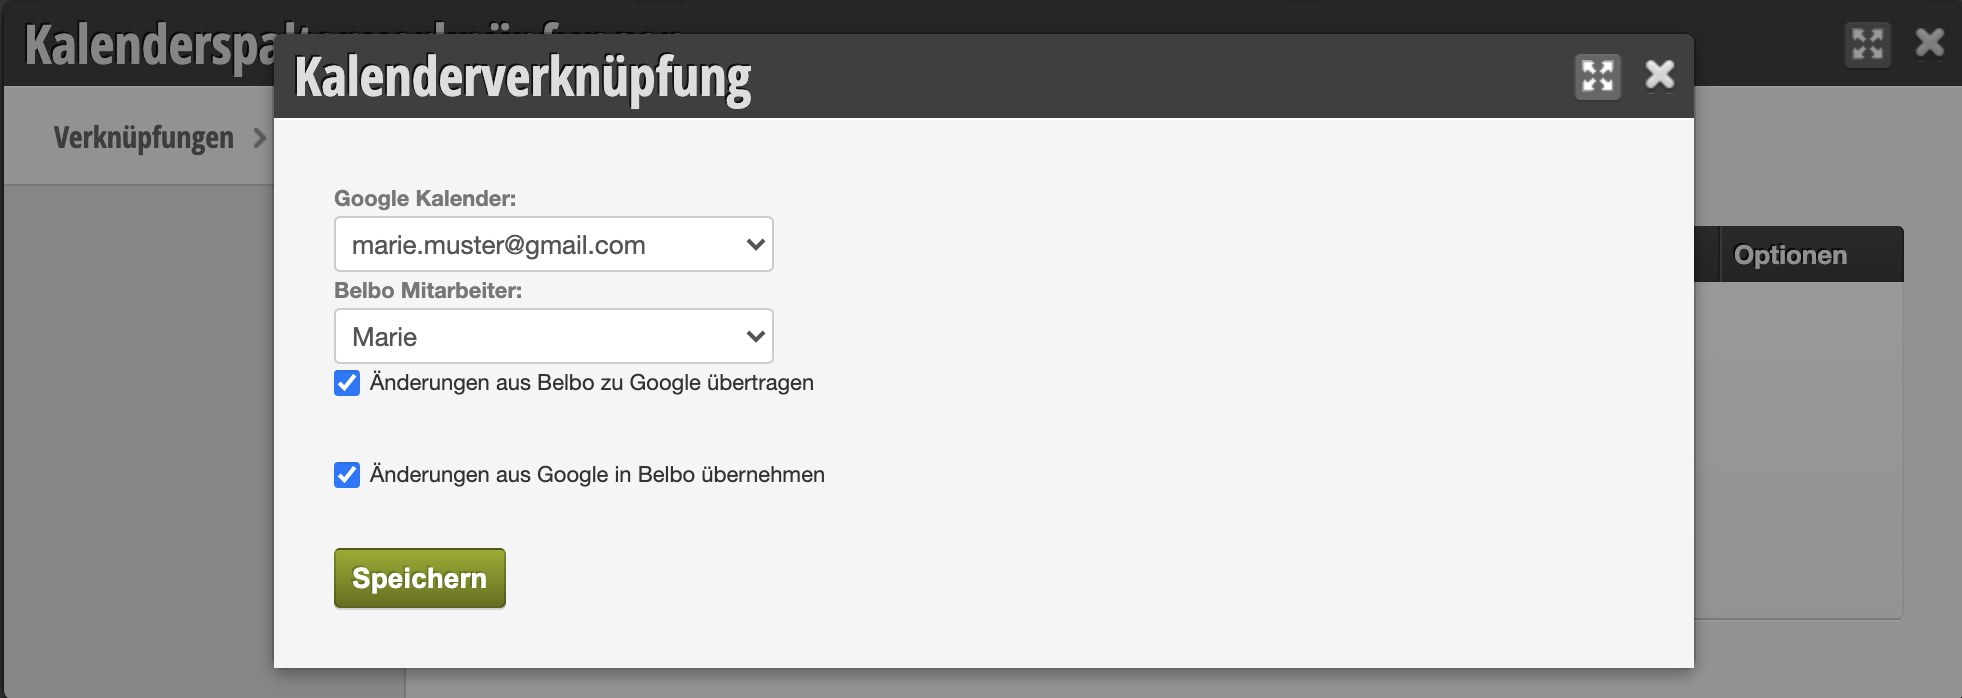
Now click on the "+ Link" button.

  • Then select the Google Calendar that you want to link with Belbo. Google offers additional options by default (holidays, etc.), which you can ignore.
  • Select the employee in the selection box whose calendar column should be synchronized with the Google Calendar
  • Check the boxes for the desired synchronization option: "Belbo to Google", "Google to Belbo" or both.
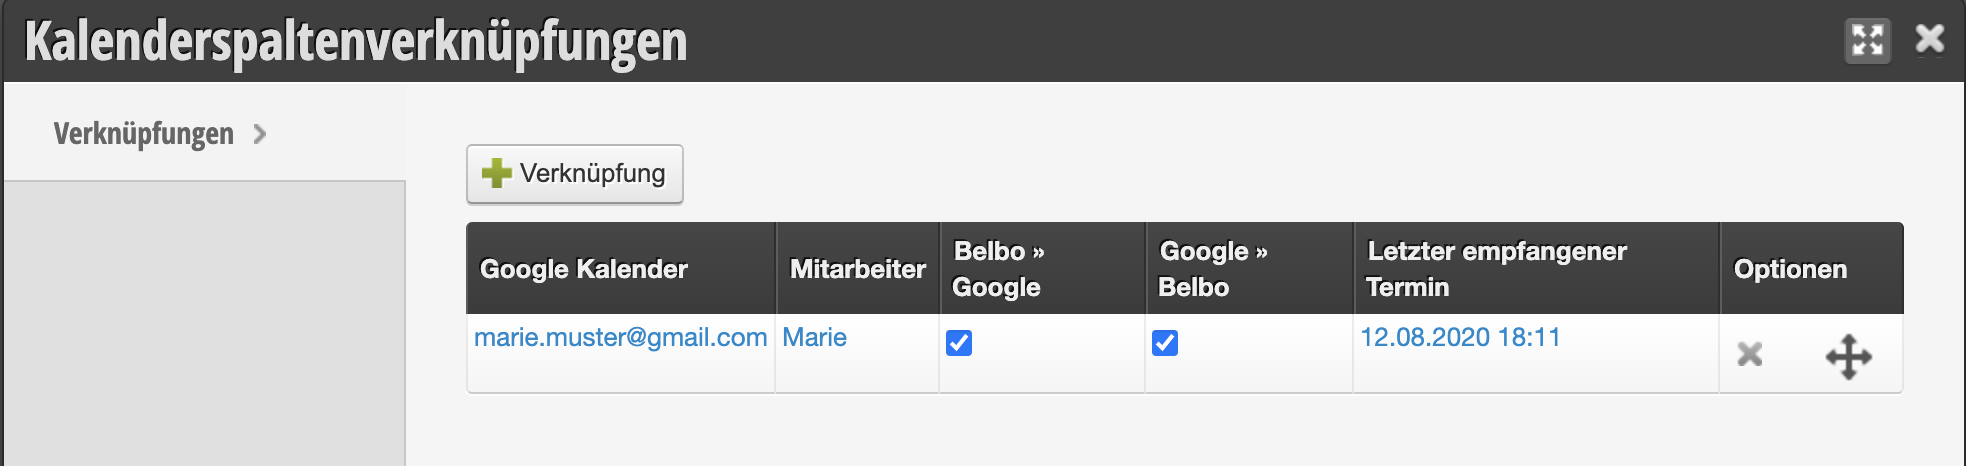

All appointments entered in Belbo or Google from now on will be transferred according to the synchronization option you have selected.
Attention: If you use another calendar that is synchronized with Google, the transfer may take several minutes.

Categories: Calendar View & Navigation
This manual is a service by belbo. Legal notice